Monday, November 15, 2021

Faux-linen dry embossed background

Hello friends! Welcome back to another Simon Says Stamp Monday Challenge Blog theme. This week our theme is Trees, which also happens to be one of my favorite things.

Please note: this post has affiliate links, for which I receive a small percentage of sales generated by the link, at no extra cost to you.



Don't miss the beautiful project by our November guest designer Laura Cassina.


Layers of ink - Faux-linen dry embossed background tutorial by Anna-Karin Evaldsson.

I made a winter or Christmas card this week, using a fun background technique using white glossy paper. It creates almost a faux-linen look, especially if you use a harsher sand paper than I did (I couldn't find my pile of sand papers). I used products mainly from the new Simon Says Stamp Handmade Holiday release.

Layers of ink - Faux-linen dry embossed background tutorial by Anna-Karin Evaldsson. Ink with Bundled Sage.

Start by covering a piece of glossy cardstock with a light shade of Distress Ink. I used Bundled Sage. 

Layers of ink - Faux-linen dry embossed background tutorial by Anna-Karin Evaldsson.

Sand pretty heavily in vertical and/or horizontal strikes. Ink with Antique Linen. Sand again, in one direction only.

Layers of ink - Faux-linen dry embossed background tutorial by Anna-Karin Evaldsson.

Ink with Bundled Sage again. This time I used a brayer. Sand again in one direction only.

Layers of ink - Faux-linen dry embossed background tutorial by Anna-Karin Evaldsson.

Ink with Lucky Clover and Pine Needles also using a brayer. Don't cover the whole background this time. The ink will stick unevenly to the paper because of the sanding.

Layers of ink - Faux-linen dry embossed background tutorial by Anna-Karin Evaldsson. Emboss with Simon Says Stamp Snowflocked Hills.

Emboss in the Simon Says Stamp Snowflocked Hills folder. The folder is one of the new, wonderful embossing folders from the Handmade Holiday release.

Layers of ink - Faux-linen dry embossed background tutorial by Anna-Karin Evaldsson.

Sand pretty heavily to turn the stars white and give the hills and trees a snowy look.

Layers of ink - Faux-linen dry embossed background tutorial by Anna-Karin Evaldsson.

Ink the foreground again, to make it darker and add some ink around the edges.

Layers of ink - Faux-linen dry embossed background tutorial by Anna-Karin Evaldsson.

The subtle textured effect is a little hard to capture on photo, and also feels nice to the touch.

Layers of ink - Faux-linen dry embossed background tutorial by Anna-Karin Evaldsson.

Sentiments from Simon Says Stamp Forest Scenery were stamped on the background with green Archival Ink.

Layers of ink - Faux-linen dry embossed background tutorial by Anna-Karin Evaldsson.

I stamped one of the sentiments on glossy cardstock, so that it would stand out better. The Simon Says Stamp Etched Berry Branch, also from the Handmade Holiday release, was die cut from vellum. I glued two sequins to the branches as berries.

Layers of ink - Faux-linen dry embossed background tutorial by Anna-Karin Evaldsson.

Here you can see the cool textured and layered effect better. The deer from Forest Scenery was stamped with Pine Needles ink and sinks under the surface of the faux-linen texture.

I hope you will join us this week in our Trees challenge. You have a chance to win a $25 gift voucher to do some fun shopping at Simon Says Stamp. You have until Monday 8am Ohio time. 1pm UK time, 2 pm CET to join in.


Do you use Instagram? If so please add #sssmchallenge so we can see your entries there too.


Thank you so much for visiting my blog today! 

Happy crafting!

Anna-Karin

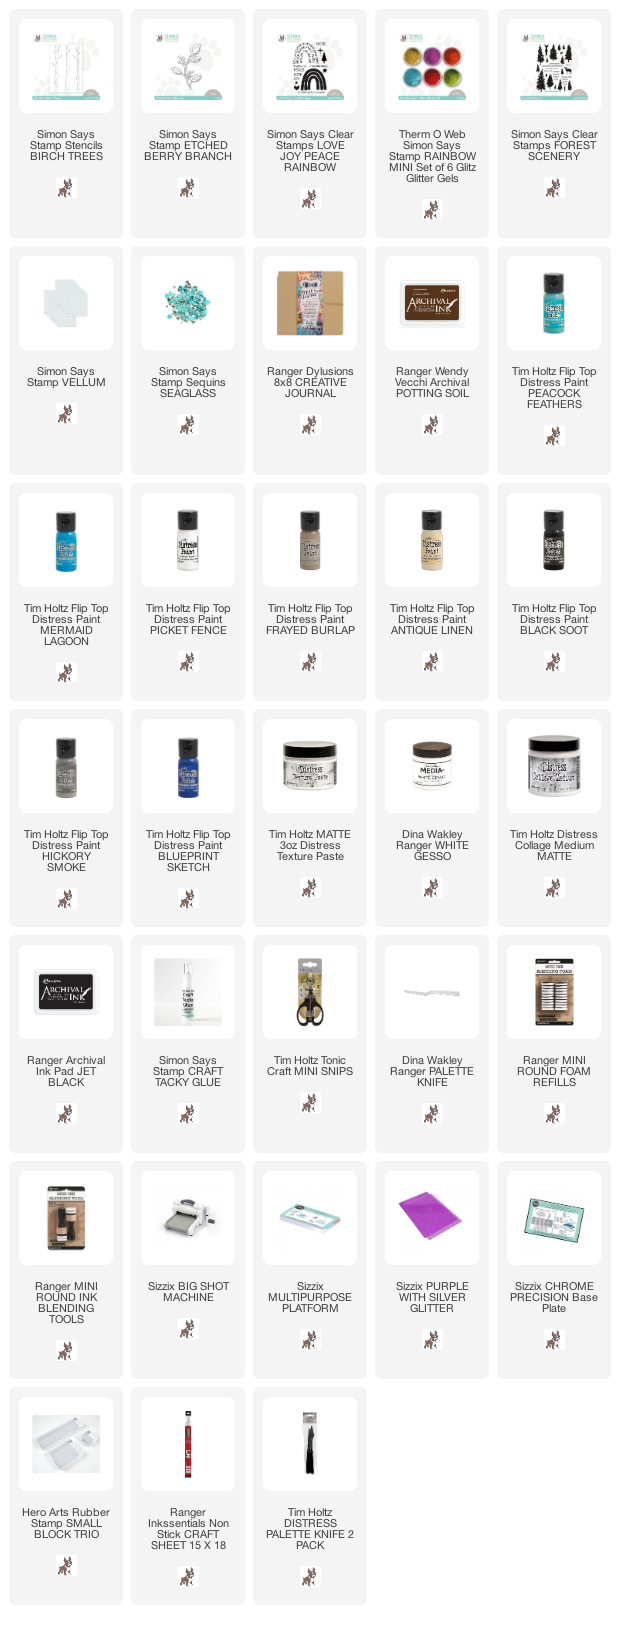
Supplies:

* Please note: the links are affiliate links, for which I receive a small percentage of sales generated by the link, at no extra cost to you.
Friday, November 12, 2021

Simon Says Stamp Handmade Holiday Blog Hop

Hello and welcome to my blog! I am happy to take part in the blog hop to celebrate the new Simon Says Stamp release, which is called Handmade Holiday. If you are following along the hop you should have arrived here from the very creative Keisha Charles.

Please note: this post has affiliate links, for which I receive a small percentage of sales generated by the link, at no extra cost to you.


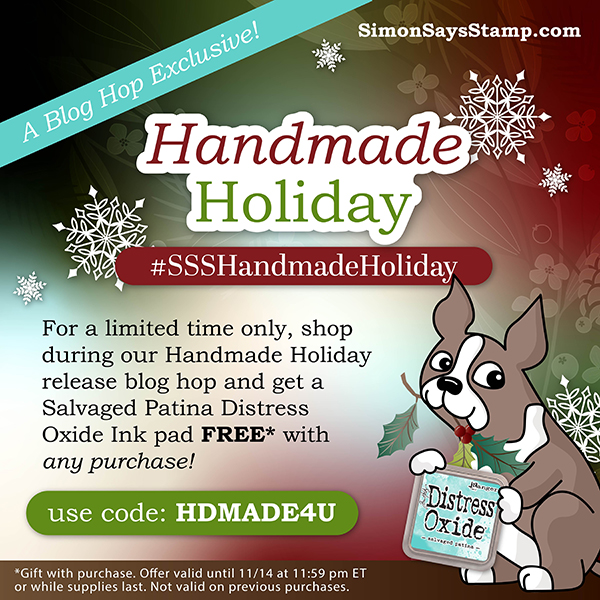
The Handmade Holiday release is full of wonderful new stamps, stencils, dies, ink, glitter glues and other products. It is perfect for holiday crafting, but also for many other themes. You can see the whole release here. If you use the code DMADE4U you will get a Salvaged Patina Distress Oxide ink pad FREE with any purchase! This promotion will expire 11/14 at 11:59 pm EST or while supplies last.


I am also very happy to have designed two of the stamp sets in this release, namely Mixed Labels and Real Leaves.

I made an art journal page, but it could just as well be a card, tag or canvas instead.

Layers of ink - Mixed Media Birch Forest Tutorial by Anna-Karin Evaldsson.

I love trees, and birch trees are one of my favorite trees. The interesting bark texture makes them particularly fun to paint and I created a winter scene in my Dylusions Square 8x8 art journal. From the Handmade Holiday release I used: Birch Trees Stencil, Etched Berry Branch die, Love, Joy, Peace Rainbow stamp set and Glitz Glitter Gel.

Layers of ink - Mixed Media Birch Forest Tutorial by Anna-Karin Evaldsson. Apply gesso.

Start by coating the page with gesso and don't make it too smooth, we want some texture.

Layers of ink - Mixed Media Birch Forest Tutorial by Anna-Karin Evaldsson. Paint with distress paint.

Paint with Distress Paint - I used white at the bottom, but forgot to include it in the photo. Mist lightly with water to blend and create spots. I painted both sides, so the one to the left is ready if I want to do another winter project there.

Layers of ink - Mixed Media Birch Forest Tutorial by Anna-Karin Evaldsson. Apply texture paste through Simon Says Stamp Birch Trees stencil.

When dry, place the Birch Trees stencil on the background and apply Texture Paste through it with a palette knife. Let dry and then add two more trees.

Layers of ink - Mixed Media Birch Forest Tutorial by Anna-Karin Evaldsson.

The texture paste is slightly translucent and I like to either mix a little white into the paste, or paint it afterwards. Here I sponged on the paint with a mini-round ink blending tool, adding texture to the trees. 

Layers of ink - Mixed Media Birch Forest Tutorial by Anna-Karin Evaldsson.

Start with light shades of grey and brown. Decide from which direction the light is coming and make the trees darker on the opposite side.

Layers of ink - Mixed Media Birch Forest Tutorial by Anna-Karin Evaldsson.

Continue, adding darker shades as you go along. I mixed Blueprint Sketch and Black Soot to make a very dark blue, but also used both of them as they are. 

Layers of ink - Mixed Media Birch Forest Tutorial by Anna-Karin Evaldsson.

Stamp two deer from the Simon Says Stamp Forest Scenery set, with Potting Soil ink. Wipe the ink off their feet before stamping, so that it looks like they are standing in the snow.

Layers of ink - Mixed Media Birch Forest Tutorial by Anna-Karin Evaldsson.

Stamp sentiments on the page, from the Love, Joy, Peace, Rainbow set.

Layers of ink - Mixed Media Birch Forest Tutorial by Anna-Karin Evaldsson.

Cover the words with post it notes and splatter the page with white paint to create the look of a snowy sky.

Layers of ink - Mixed Media Birch Forest Tutorial by Anna-Karin Evaldsson.

Add shadows under the deer and some blue and grey in the foreground.

Layers of ink - Mixed Media Birch Forest Tutorial by Anna-Karin Evaldsson.

The new Glitz Glitter Gels are fabulous! I really like glitter gels since they are so mess-free, compared to lose glitter. I applied just a little at the bottom, at the top and on the trees.

Layers of ink - Mixed Media Birch Forest Tutorial by Anna-Karin Evaldsson.

Then I realised that I had forgotten to add shadows to the trees. Paint a thin shadow at the one side of the tree with grey and black.

Layers of ink - Mixed Media Birch Forest Tutorial by Anna-Karin Evaldsson.

The Etched Berry Branch is so pretty. I will be using it a lot. Here I die cut it from vellum.

Layers of ink - Mixed Media Birch Forest Tutorial by Anna-Karin Evaldsson.

I cut two of the branches slightly and rearranged the leaves. Add sequins as berries.

Layers of ink - Mixed Media Birch Forest Tutorial by Anna-Karin Evaldsson.

The stamping will pick up some of the background texture, which adds a nice worn look to the deer.

Layers of ink - Mixed Media Birch Forest Tutorial by Anna-Karin Evaldsson.

I see a lot of deer when I go on my walks and always enjoy seeing them. By wiping off the ink from their feet before stamping, the deer look like they are standing in the snow, rather than on top of it.

Layers of ink - Mixed Media Birch Forest Tutorial by Anna-Karin Evaldsson.

Here you can see the mix of splatters and glitter and paint on the trees.

Layers of ink - Mixed Media Birch Forest Tutorial by Anna-Karin Evaldsson.

Up close you can see how simple the paint marks are on the trees, but together they make the trees look like birch trees.

Don't miss all the inspiration along the hop. There are of course prizes to be won too, and at each stop on the hop SSS is giving away a $25 coupon, randomly drawn from those who leave a comment. The winners will be posted post on the Simon Says Stamp store blog on Wednesday, the 17th of November.

Your next stop on the hop is Vicky Papaioannou who will share beautiful inspiration with you.


Here are all the stops along the hop:


Anna-Karin Evaldsson (you are here)


For more Handmade Holiday inspiration remember to check out the Handmade Holiday gallery at Simon Says Stamp, and if you make something with products from the range, it is fun if you post it in the gallery too. There are galleries for all releases, and for the card kits, full of inspiration. Part one of the blog hop was yesterday, so don't miss all the inspiration there.


Thank you so much for taking the time to stop by here today! I'll see you again tomorrow.

Happy crafting!

Anna-Karin

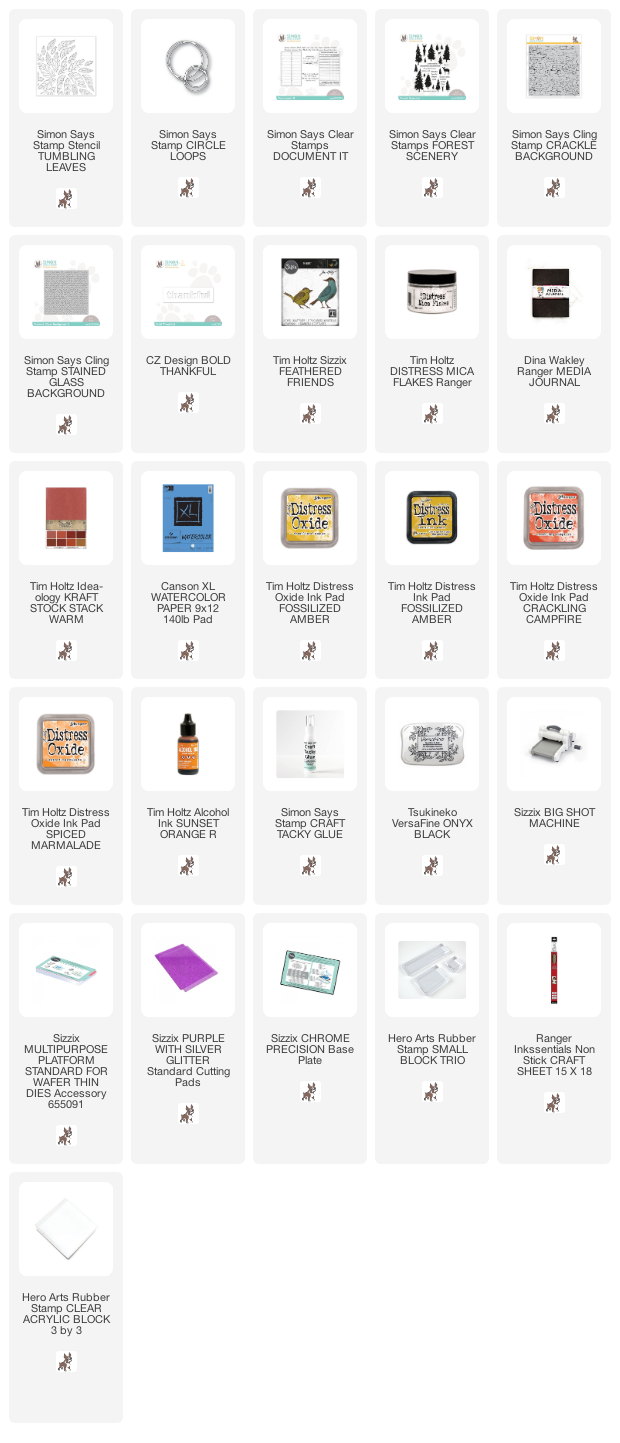
Supplies:

* Please note: the links are affiliate links, for which I receive a small percentage of sales generated by the link, at no extra cost to you.

Monday, November 8, 2021

Thankful Fall Art Journal Page

Hi friends! I hope you had a good weekend! We had a week of autumn school holiday with lots of fun activities.

Please note: this post has affiliate links, for which I receive a small percentage of sales generated by the link, at no extra cost to you.


This week we have a Thankful/Thanksgiving theme at the Simon Says Stamp Monday Challenge Blog. I hope you will join us! Don't miss the beautiful project by our November guest designer Laura Cassina.


Layers of ink - Thankful Art Journal Page Tutorial by Anna-Karin Evaldsson.

I made an art journal page this week, using only yellow and orange shades and featuring two feathered friends chatting to each other. Now and then, I enjoy making a project which is almost completely yellow and it is such a sunny and hopefully color.

Layers of ink - Thankful Art Journal Page Tutorial by Anna-Karin Evaldsson. Color with Distress Ink.

Smear Distress Inks on a non-stick craft sheet and press one of the cotton rag watercolor pages from Dina Wakley's Media Journal into the ink. By mistake, but journal closed so both pages got accidentally inked.

Layers of ink - Thankful Art Journal Page Tutorial by Anna-Karin Evaldsson.

When dry, apply Distress Oxide inks through the Simon Says Stamp Tumbling Leaves stencil.

Layers of ink - Thankful Art Journal Page Tutorial by Anna-Karin Evaldsson. Stamp with Simon Says Stamp Stained Glass Background.

Stamp the background here and there with the Simon Says Stamp Stained Glass background stamp and Crackling Campfire Distress Oxide Ink.

Layers of ink - Thankful Art Journal Page Tutorial by Anna-Karin Evaldsson. Die cut Tim Holtz Feathered Friends.

Die cut the Tim Holtz Feathered Friends from Warm Kraft Stock cardstock and extra pieces of inky yellow paper.

Layers of ink - Thankful Art Journal Page Tutorial by Anna-Karin Evaldsson.

Stamp feather texture with the Simon Says Stamp Crackle Background and Spiced Marmalade Distress Oxide Ink.

Layers of ink - Thankful Art Journal Page Tutorial by Anna-Karin Evaldsson.

Assemble the birds and add some mica flakes, which had been colored with alcohol ink, to create something for the birds to stand on.

Layers of ink - Thankful Art Journal Page Tutorial by Anna-Karin Evaldsson.

Die cut Circle Loops from Warm Kraft Stock Cardstock and stamp sentiments inside and outside the circles. The sentiments come from Simon Says Stamp Forest Scenery.

Layers of ink - Thankful Art Journal Page Tutorial by Anna-Karin Evaldsson.

I messed up the stamping of this work and re-stamped it on inky yellow paper, cut into a strip and covered up the bad stamping.

Layers of ink - Thankful Art Journal Page Tutorial by Anna-Karin Evaldsson.

Die cut the title from Warm Kraft Cardstock and add a piece of Design Tape underneath. Stamp the sentiment from Simon Says Stamp Document It.

Layers of ink - Thankful Art Journal Page Tutorial by Anna-Karin Evaldsson.

The second bird also has a small mica nest to stand on.

Layers of ink - Thankful Art Journal Page Tutorial by Anna-Karin Evaldsson.

Here's a close up of the mica flakes. They were left-over from my Halloween Village project.


I hope you will join us this week in our Thankful/Thanksgiving challenge. You have a chance to win a $25 gift voucher to do some fun shopping at Simon Says Stamp. You have until Monday 8am Ohio time. 1pm UK time, 2 pm CET to join in.


Do you use Instagram? If so please add #sssmchallenge so we can see your entries there too.


Thank you so much for visiting my blog today! 

Happy crafting!

Anna-Karin

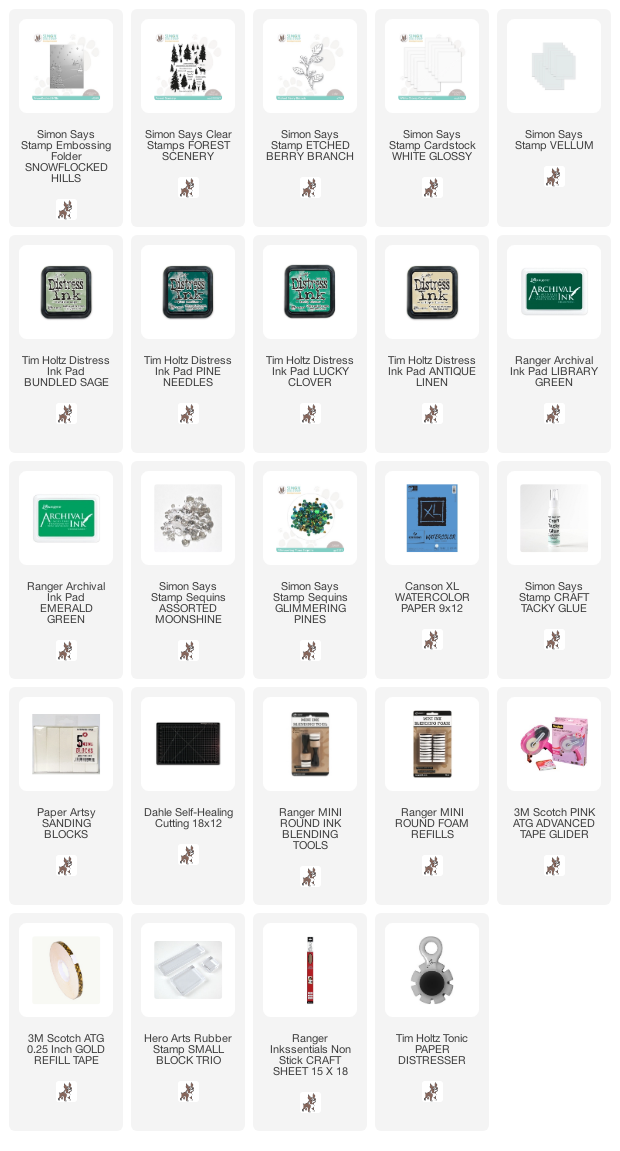
Supplies:

* Please note: the links are affiliate links, for which I receive a small percentage of sales generated by the link, at no extra cost to you.