
Hello friends! I hope you are well. Today I have a textured snowman tutorial to share with you and a fun background technique with vellum.

During November the Eileen Hull Inspiration Team is sharing holiday projects and I thought I'd make a Christmas card with the Snowman Box Bigz L die. Creating snow is one of my favorite things to do and here I used grit-paste, glitter gel and vellum. The background is inspired by parchment craft and is a really fun technique to do with stamps.

I white embossed the SSS Circle Pattern background on vellum.

Turn the vellum around and use a ball embossing tool and a foam pad to dry emboss area inside the dots. Use a circular motion and you can also go over the dots again with a smaller tool.

Turn the vellum around and you get these embossed dots with a great white color and texture.

Add a layer of gesso to Sizzix Little Sizzles Mat Board. Let dry.

Die cut the Snowman pieces from the gesso. I forgot to add the eyes and nose to this photo. The Snowman Box contains many different pieces. I picked the hat and one of the scarves, but you can also use one of the other designs.

Paint the scarf, hat, arms, eyes and nose.

When dry, sand to reveal some of the white mat board.

Stamp the hat with a sentiment from SSS Circle Sentiments Christmas and with a dotted circle stamp from SSS Mix and Match Circles. Stamp the scarf with the dotted circle and with two different small hearts.

Add a layer of opaque Grit-Paste to the snowman and the snowbank. Press them together. Press the rest of the pieces into the paste, which will function as a glue. Let dry.

For more shine, add a little Moon Dust Stickles to the snowman and snowbank.

I added a torn up old book paper on the background, behind the vellum.

Staple the vellum to the cardbase. The words here were found on the old book paper that I used. I like to find little words like these and add to projects.

The dots are embossed, which you might see better here. It's the type of background that you want to reach out and touch.

There is a little Grit-Paste on the hat too.

I added dots of Gina K Crystalline drops to the eyes, to give them shine and dimension. Here you can also see how nicely the matte texture of the Grit-Paste contrasts with the shiny glitter.

The Grit-Paste makes for really cool snow, while the Stickles add sparkle.

The second part of the sentiment was stamped on a left-over piece from the old book paper.

I also used two pieces of mummy cloth, fraying it pretty much.

I hope this project inspired you to play around with vellum and to test some snowy techniques.

Thank you so much for stopping by here today!
Happy crafting!
Anna-Karin
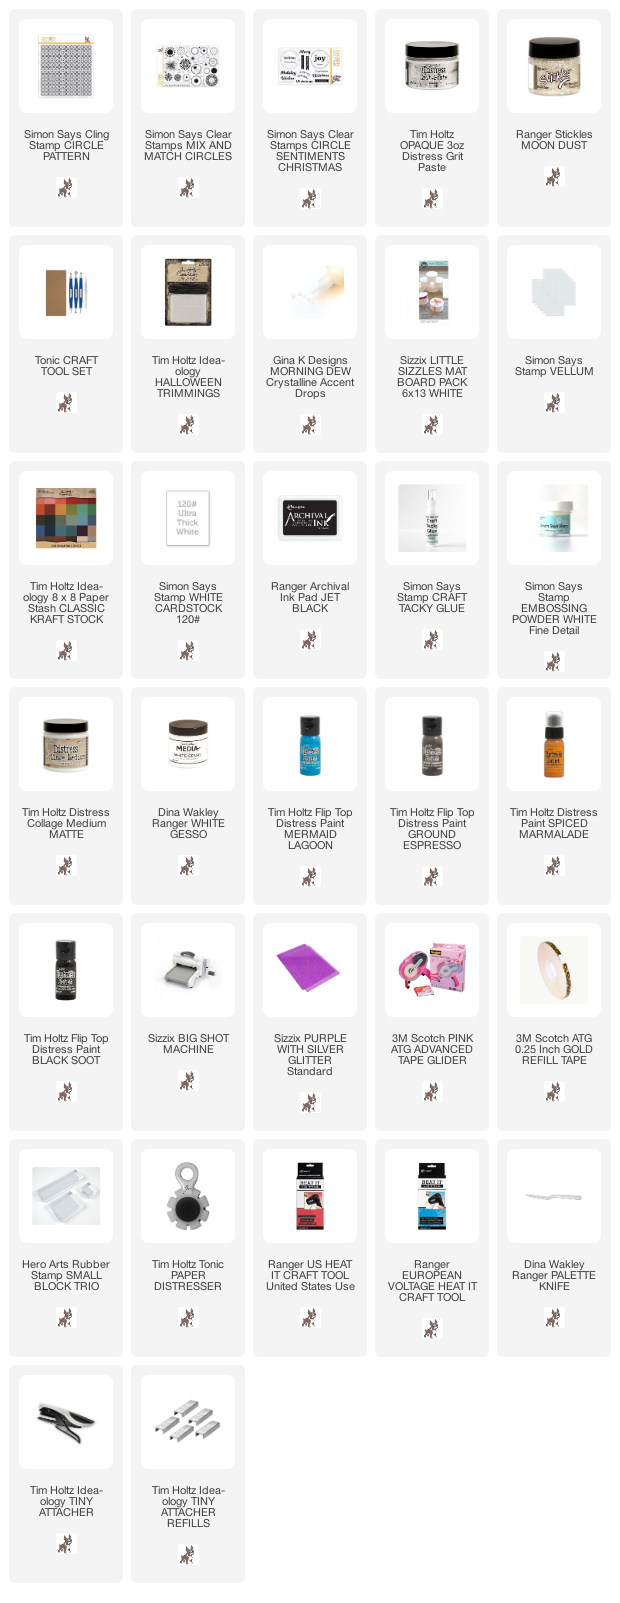
Supplies:
* Please note: the links are affiliate links, for which I receive a small percentage of sales generated by the link, at no extra cost to you.
* Please note: the links are affiliate links, for which I receive a small percentage of sales generated by the link, at no extra cost to you.
Die: Eileen Hull Sizzix: Snowman Box
your vellum background is wonderful Anna-Karin! I love everything about this card and all it's fabulous mixed media details. =)
ReplyDeleteLove all the layers and mediums! Thanks for sharing.
ReplyDelete