
Hello crafters! The month is coming to an end and May is starting tomorrow. May is one of my favorite months of the year, particularly since the nature turns bright green in May.
Please note: this post has affiliate links, for which I receive a small percentage of sales generated by the link, at no extra cost to you.

This is a card for someone who loves to knit and it was made with Simon Says Stamp new Beautiful Days release. The background shimmers, which might be hard to see here. I had fun coloring all the yarn and bits and pieces.

Working on heavystock paper, start by applying Texture Paste through the Simon Says Stamp Chunky Knit with a palette knife.

When it is dry, paint with gesso.

Paint with Distress Paint and mist with water to blend. Let dry.

Add a little Sizzix Silver Luster Wax around the edges.

Dust the background with Turquoise Pearl Powder.

Stamp the images from Yarn Love on watercolor paper and die cut with the coordinating dies. This is a stamp set where the coordinating dies are very helpful and speeds up the cutting process a lot.

Watercolor the images with Distress Paint. Use a Tim Holtz Shaping Kit and the new Simon Says Stamp Place and Score Embellishment Wand.

Use the white tip of the wand to add the Studio Katia Iridescent Bubbles. The wand works wonderfully for this.

I used a silver gel pen to color the knitting needles. I had to check what that was called in English, in Swedish they are called 'knitting sticks'. The sentiment was stamped with Simon Says Stamp Saturated Spring ink and adhered with foam tape.

The watercoloring was done loosely.

I placed Simon Says Stamp Pawsitively Perfect Foam tape in the center of the ball of yarn, so that they would keep their rounded shape. Some of have two layers of foam tape, a few even have three layers.

I added Glossy Accents to the tips of the knitting needles.

Here you can see the effect of the Luster Wax and the Pearl Powder better. It it is a lot more shimmery in real life.

Change the color combo to fit the recipient of the card.

Thank you for taking the time to visit my blog today!
Happy stamping!
Anna-Karin
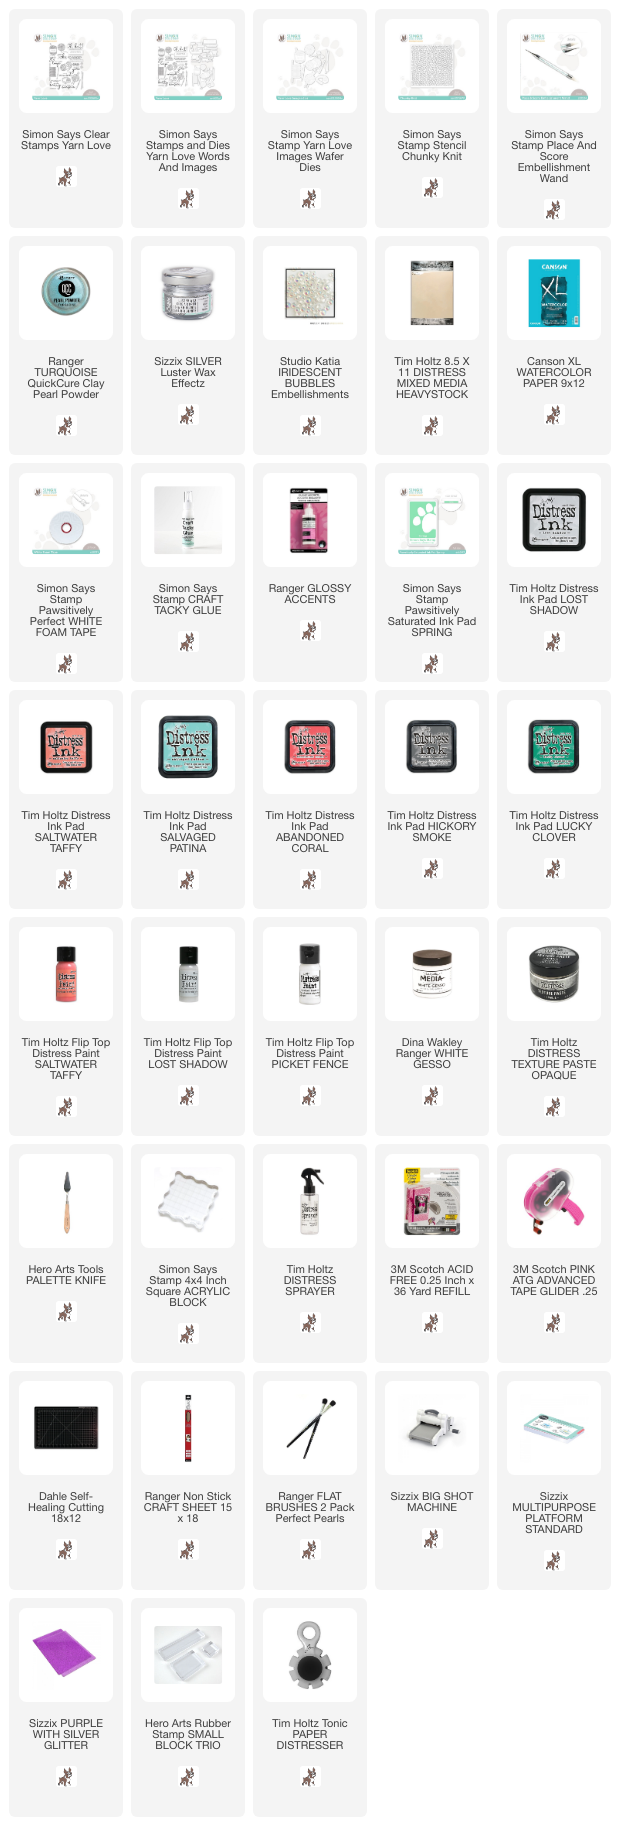
Supplies:
* Please note: the links are affiliate links, for which I receive a small percentage of sales generated by the link, at no extra cost to you.
No comments:
Post a Comment
Thank you so much for leaving a comment! Happy Crafting!