Friday, April 14, 2023

File Folder Notebook Tutorial

Hello crafters! Today I have a notebook / sketchbook / journal tutorial to share, using patterned papers, stamps and die cuts.

Please note: this post has affiliate links, for which I receive a small percentage of sales generated by the link, at no extra cost to you.


Layers of ink - File Folder Notebook Tutorial by Anna-Karin Evaldsson.

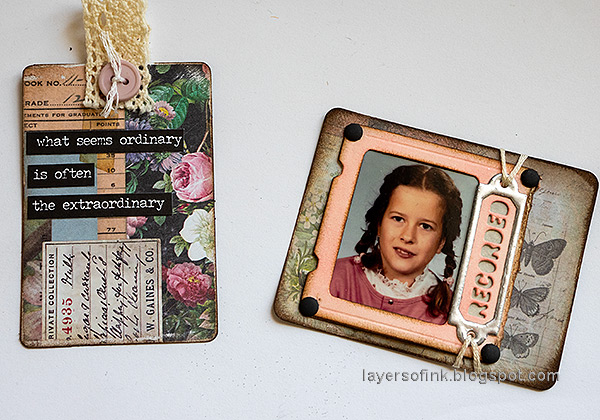
You probably already know that I like to make my own notebooks and sketchbooks. I thought a small file folder would fit very well on the cover of a notebook. Little treasures or ephemera can also be tucked into the folder. I used a school photo from when I was around 10 years old. I used to hate this photo and today I am not sure why, perhaps since I look a little serious. I thought it deserved its place on a cover after all those years of dislike.

Layers of ink - File Folder Notebook Tutorial by Anna-Karin Evaldsson. Cover with Tim Holtz Backdrops paper.

I used Sizzix Little Sizzles Matboard for my covers and cut them to 5 x 6 in. They were covered with Tim Holtz Backdrops papers, using matte medium as adhesive. Place under a heavy book. There was a small space left on the back cover, which was covered up with tissue tape. The outer corners were rounded with a Corner Chomper.

Layers of ink - File Folder Notebook Tutorial by Anna-Karin Evaldsson.

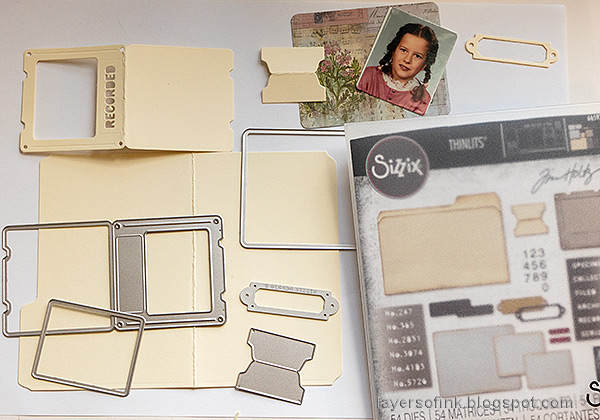
Die cut the file folder, slide holder, photo and label using Tim Holtz Specimen set. I used heavystock paper.

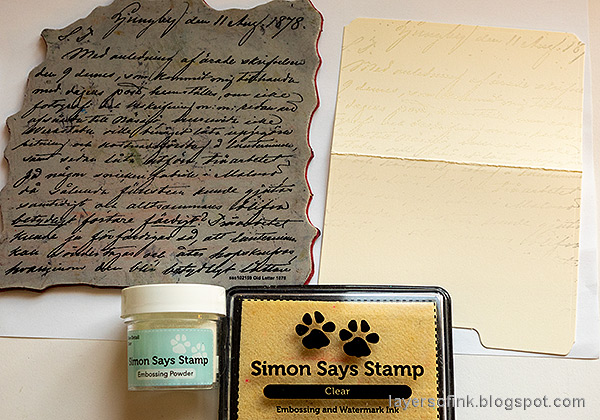
Layers of ink - File Folder Notebook Tutorial by Anna-Karin Evaldsson. Stamp with Simon Says Stamp Old Letter Background.

Clear emboss Simon Says Stamp Old Letter Writing on the file folder.

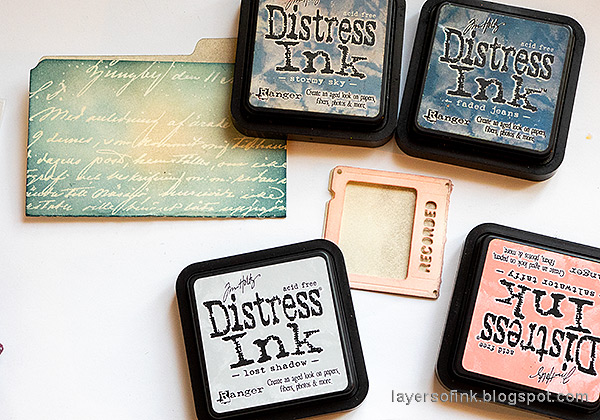
Layers of ink - File Folder Notebook Tutorial by Anna-Karin Evaldsson. Ink with Distress Ink.

Ink the file folder and slide frame with Distress Ink. The embossing will resist the ink.

Layers of ink - File Folder Notebook Tutorial by Anna-Karin Evaldsson.

Staple down each side of the file folder, add design tape and stamp a sentiment. The sentiment comes from Simon Says Stamp Anna's Flowers.

Layers of ink - File Folder Notebook Tutorial by Anna-Karin Evaldsson.

Emboss the label frame twice with silver powder. Be careful not to burn yourself and don't touch the melted powder until it has cooled down completely.

Layers of ink - File Folder Notebook Tutorial by Anna-Karin Evaldsson.

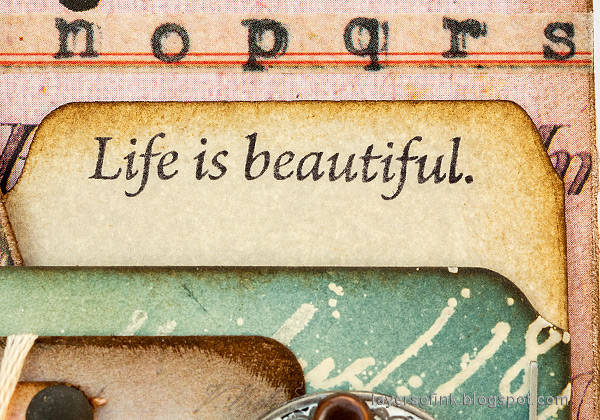
I used a Tim Holtz Journal card as a mat to the slide holder and a Pocket Card to create a tag for the file folder. 


Layers of ink - File Folder Notebook Tutorial by Anna-Karin Evaldsson.

The Distress Ink give a great mottled look to the file folder.

Layers of ink - File Folder Notebook Tutorial by Anna-Karin Evaldsson. Tim Holtz Word Key.

I also used a Tim Holtz Word Key and rubbed white paint into the word.

Layers of ink - File Folder Notebook Tutorial by Anna-Karin Evaldsson. Tim Holtz Journal Cards.

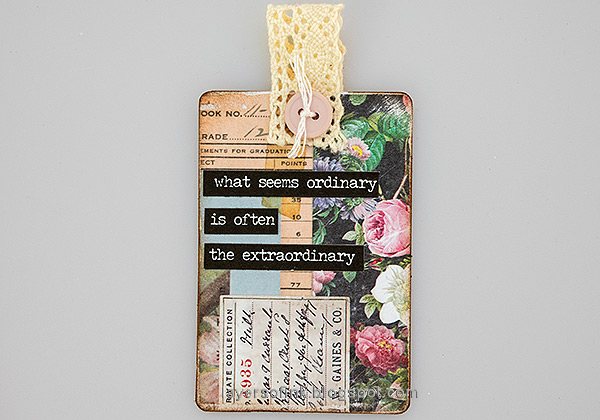
Make a tag topper by folding over a piece of lace and stitch it to the tag through a button.

Layers of ink - File Folder Notebook Tutorial by Anna-Karin Evaldsson.

The sentiments come from Tim Holtz Small Talk.

Layers of ink - File Folder Notebook Tutorial by Anna-Karin Evaldsson.

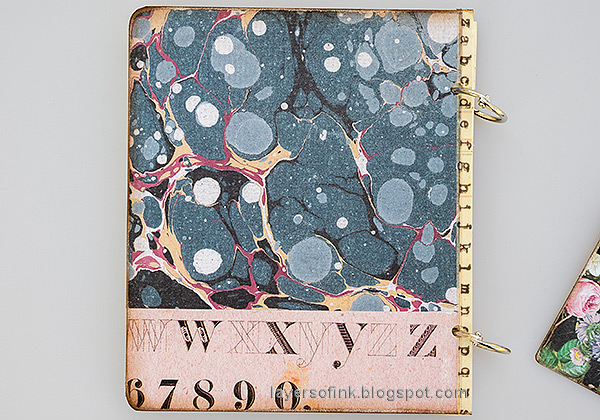
I had been saving both the pink alphabet paper and the cool organic blue paper for a project where you would see a lot of the papers.

Layers of ink - File Folder Notebook Tutorial by Anna-Karin Evaldsson.

Punch holes with a Crop-a-Dile. Cut inside pages from your favorite paper. I used watercolor paper for this sketchbook. Bind with Mini Book Rings.

Layers of ink - File Folder Notebook Tutorial by Anna-Karin Evaldsson.

The label was tied around the panel with embroidery floss. 

Layers of ink - File Folder Notebook Tutorial by Anna-Karin Evaldsson.

This book would make a great gift and you can personalise it by using a photo of the recipient. 

Are you going to the Simon Says Stamp CREATE event? Even if you haven't got a ticket, there will be lots of create and takes, being hosted by lots of fabulous companies AND there will be a Simon Says Stamp pop up shop!! CLICK HERE for more details!



Thank you for taking the time to visit my blog today!

Happy stamping!

Anna-Karin


Supplies:

* Please note: the links are affiliate links, for which I receive a small percentage of sales generated by the link, at no extra cost to you.

No comments:

Post a Comment

Thank you so much for leaving a comment! Happy Crafting!