
Hi friends! The spring flowers are flowering in the garden and we have some lovely purple crocus, which inspired this tag.
Please note: this post has affiliate links, for which I receive a small percentage of sales generated by the link, at no extra cost to you.

My youngest son's favorite crocuses are the purple ones with bits of white and I tried to color these in a similar way. The flowers were colored with colored pencils, which acts as a resist when you color the rest of the tag with Distress Ink and Distress Oxide Ink.

Die cut the tag from watercolor paper with Tim Holtz Framed Tags. Apply green Archival Ink to the die before die cutting, to get the frame.

Stamp the crocus from Simon Says Stamp Thoughtful Flowers with Antique Linen ink. Stamp it again on masking paper, cut out and place on the stamped flower. Stamp the smaller flower at the back with the Thoughtful Flower woodmounted stamp. Stamp the larger crocus one more time, to the right.

Color the flowers with colored pencils. I used Faber-Castell Polychromos pencils. Add some grass. Blend with the white pencil and be sure to apply the white pencil to all the areas which you want to remain white.

Smear Distress Ink on a non-stick craft sheet and mist with water. Press the tag into the ink. The pencil will resist the ink.

When the tag is dry, repeat the process, using darker ink. Repeat again until you are happy with the look.

I added white highlights and lines to the flowers with a white gel pen and a few lines with a black pen. Next, I applied Distress Oxide Inks to the craft sheet and misted with water. Very lightly touch the paper to the ink to get Oxide Ink splotches here and there.


The white and black pen work adds interest to the flowers, but you can skip this step if you want to.


I hadn't planned to add blue to the grass area at first, but this ended up being my favorite part of the background.


The May Arts Wrinkled Faux Silk Ribbon was dyed with Distress Ink. I hope you enjoyed this tutorial. You can of course use the same technique with different flowers or images.

Thank you for taking the time to visit my blog today!
Happy stamping!
Anna-Karin
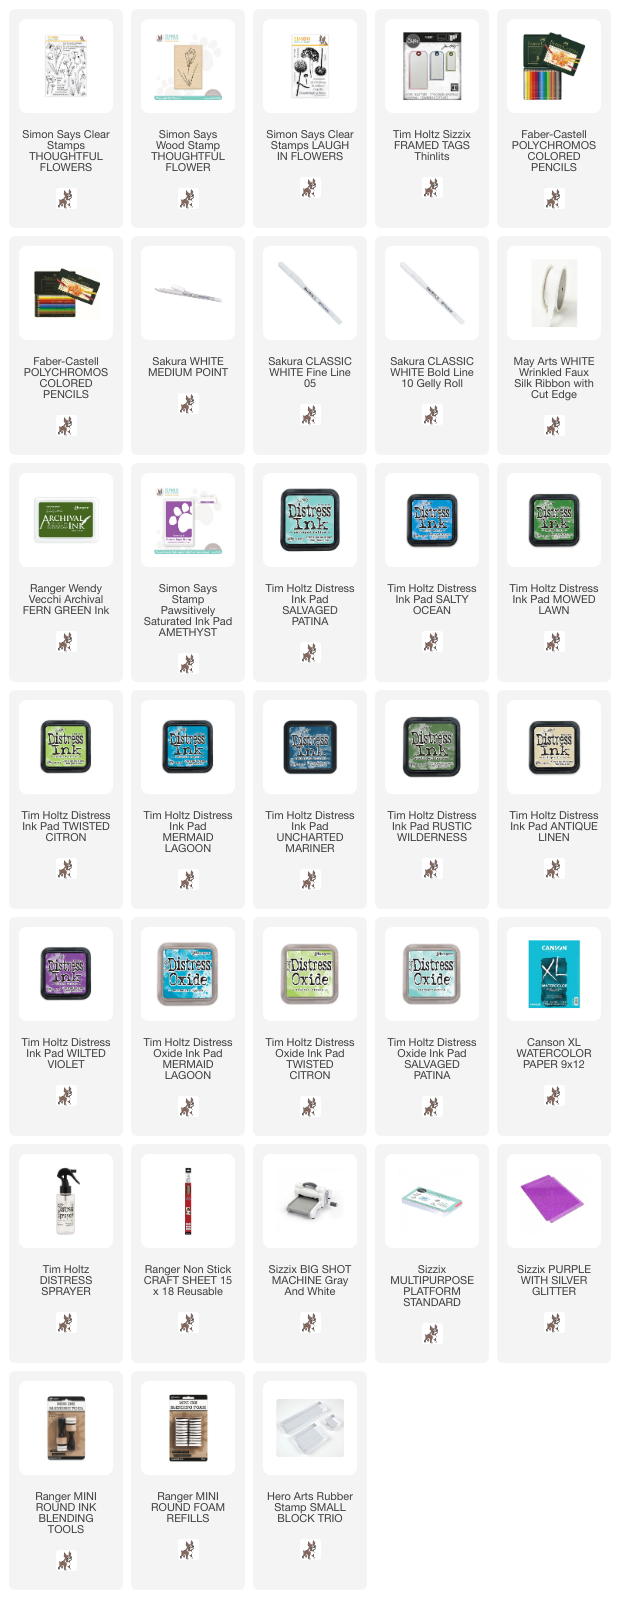
Supplies:
* Please note: the links are affiliate links, for which I receive a small percentage of sales generated by the link, at no extra cost to you.
No comments:
Post a Comment
Thank you so much for leaving a comment! Happy Crafting!