Hello friends! I hope you had a nice weekend! We had beautiful spring weather and went on a fun outing. It is so nice to be able to be out and about without a winter jacket.
Please note: this post has affiliate links, for which I receive a small percentage of sales generated by the link, at no extra cost to you.
This week our theme is Make Your Mark at the Simon Says Stamp Monday Challenge Blog. You can make marks in many ways: doodling, using stamps, stencil, die cuts and more. Don't miss the last project by our April guest designer Ann Chuang.
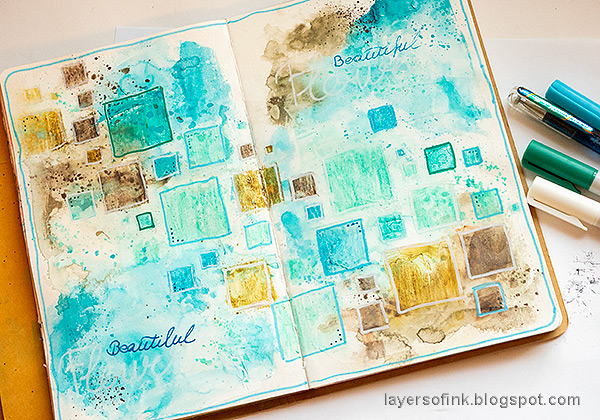
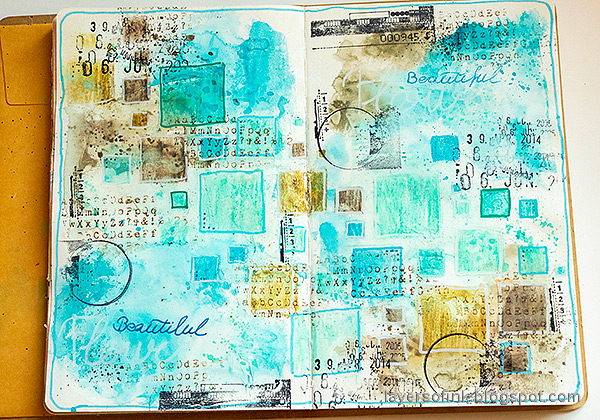
I created an art journal page this week and made marks with stencils, stamps, pens and paint. I started out with a double page in my
Small Creative Journal and also used some very old paper from my pile of scraps.
The page had been coated with gesso and I had used up some left-over paint on it, so it was ready to go.
Mist with water to blend and then add splatters with the pencils. Flick a paint brush against the tip of the pencil.
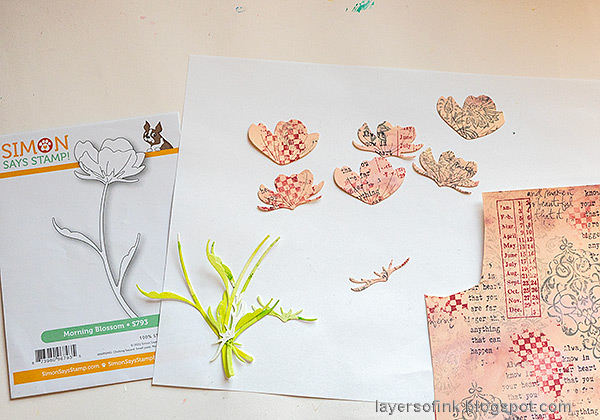
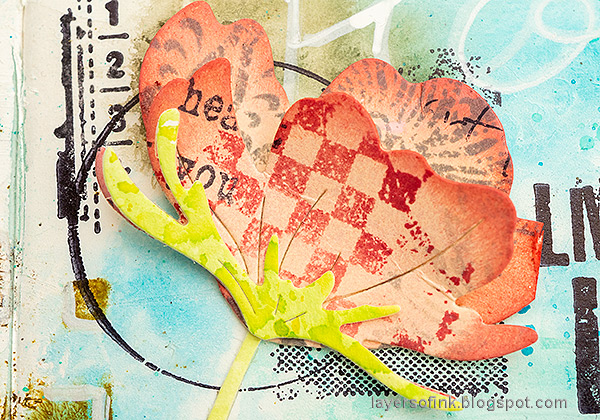
The flower was die cut with
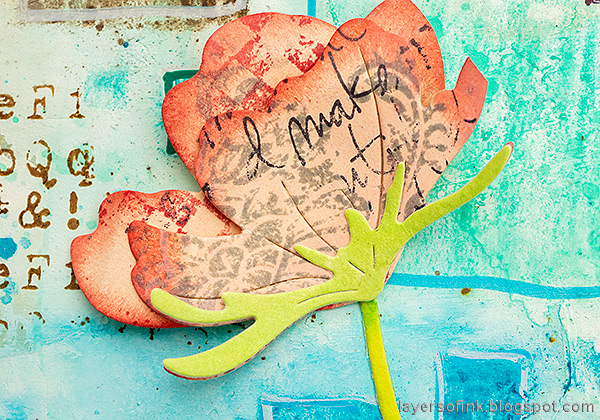
Simon Says Stamp Morning Blossom. The pink paper has been in my scrap box for perhaps 10 years. It is a part of a master board that I in South Africa, using Distress Ink and various Tim Holtz stamps.
Ink the edges of the flower slightly with Abandoned Coral Distress Ink. Use
Tim Holtz Shaping tool kit to add some shape to the flowers. If you are making a card, you can make the flowers more dimensional. I rarely add dimensional elements to my art journal, to keep the pages more or less flat.
Don't worry about getting lines straight since we are aiming for a messy look.
It was fun to use this paper that I made so long ago. And by accident the word 'make' ended up on this flower.
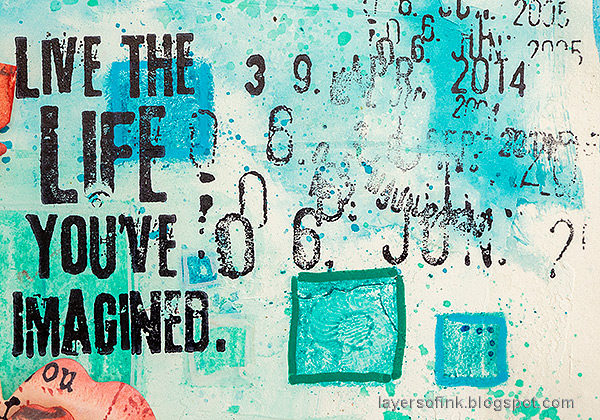
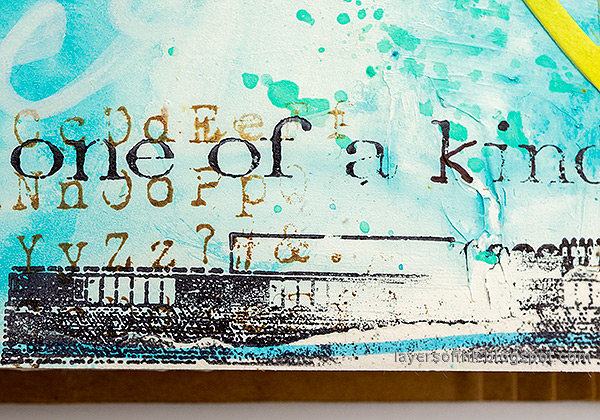
Sentiments were stamped on the background.
Paint pens are great when it comes to adding marks on acrylic paint backgrounds.
I hope you will join us this week in our Make Your Mark challenge. You have a chance to win a $25 gift voucher to do some fun shopping at Simon Says Stamp. You have until Monday 8am Ohio time. 1pm UK time, 2 pm CET to join in.
Do you use Instagram? If so please add #sssmchallenge so we can see your entries there too.
Thank you so much for stopping by here today!
Happy crafting!
Anna-Karin
Supplies:
* Please note: the links are affiliate links, for which I receive a small percentage of sales generated by the link, at no extra cost to you.







No comments:
Post a Comment
Thank you so much for leaving a comment! Happy Crafting!