
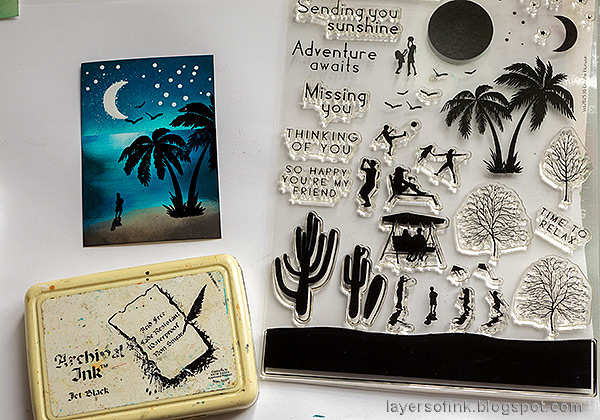
Hi friends! Today I have three Artist Trading Cards to share, with vibrant summer scenes. They are quick and easy to do.
Please note: this post has affiliate links, for which I receive a small percentage of sales generated by the link, at no extra cost to you.

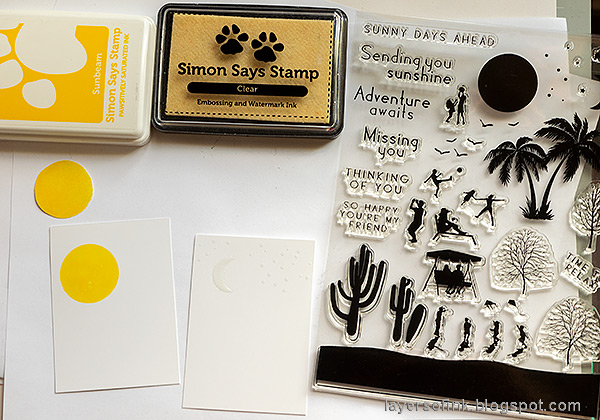
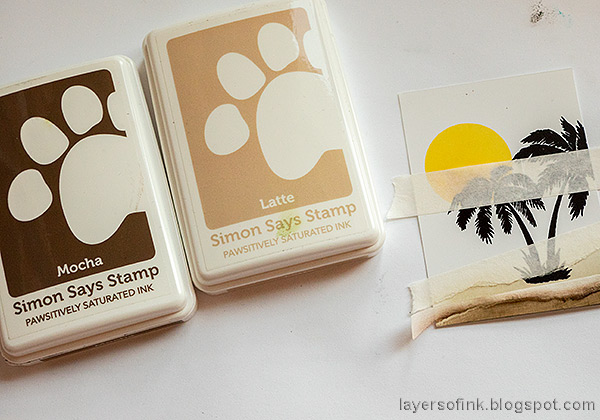
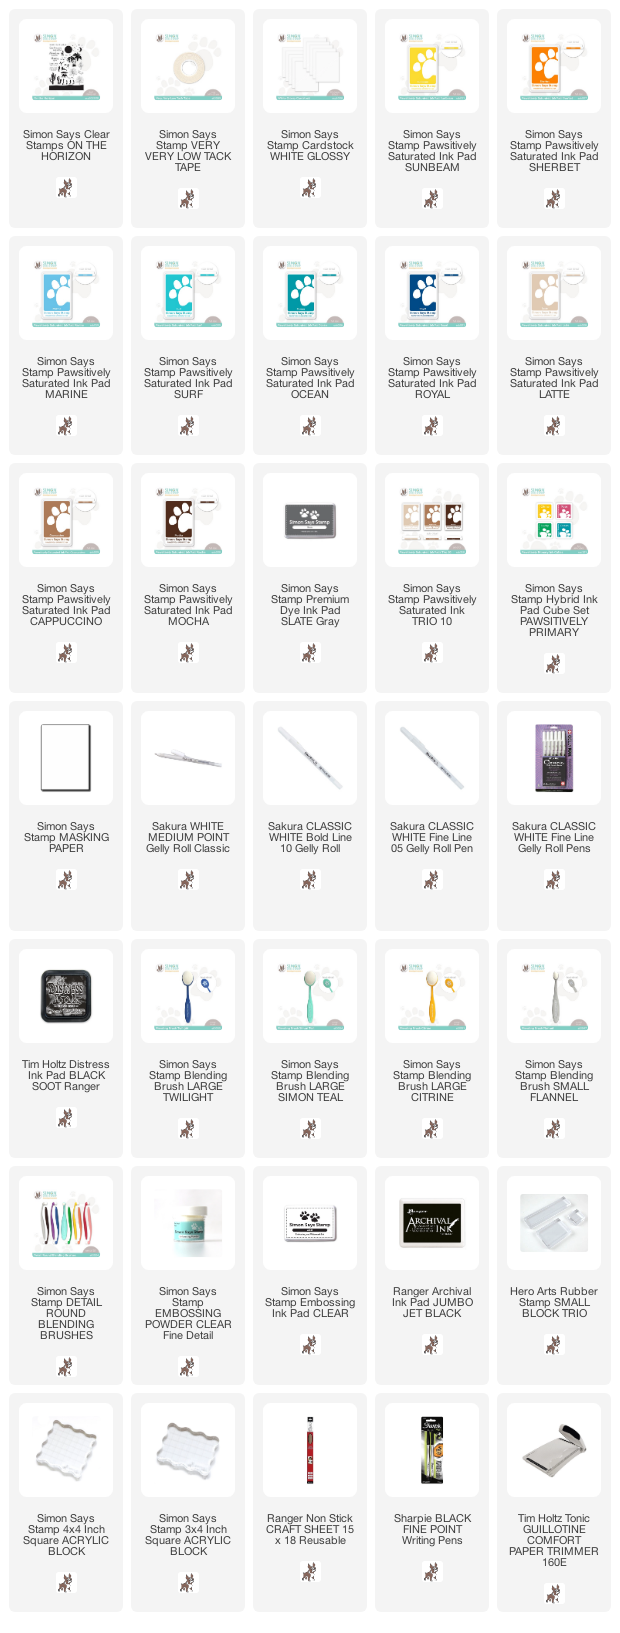
I used stamps and Very Low Tack Tape from Simon Says Stamp new Dream Big release.


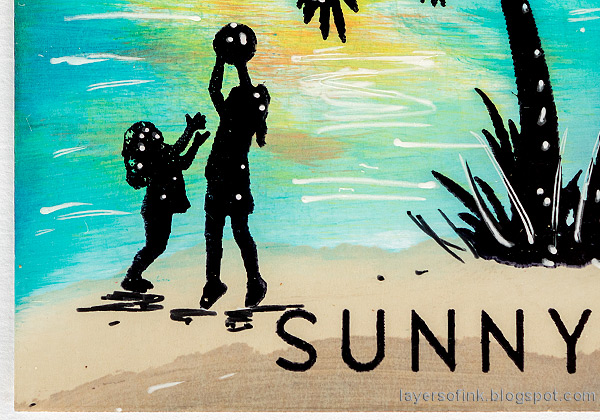
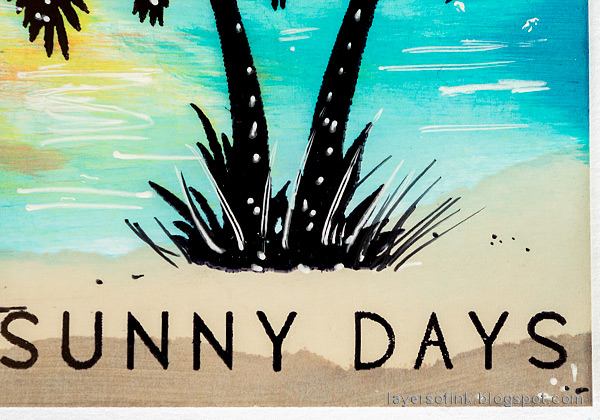
The second day-time scene was done in a slightly different order. Start by stamping the sun and the palm tree from On the Horizon. Sometimes it is easier to position the main stamps before inking.


I added white highlights and details to the day-time cards too.

The card with the slightly smudged palm tree.

Dye ink looks so vibrant on glossy cardstock and the white scribbles add life to the water.

Cut gloss cardstock to 2.5 x 3.5 in. Start by stamping the sun from Simon Says Stamp On The Horizon with Simon Says Stamp Pawsitively Sunbeam ink and the moon and stars with embossing ink. Clear emboss the latter. Stamp the sun on masking paper too and cut out.

The Very Very Low Tack Tape is perfect for masking. It won't stick to your paper as normal masking tape might do. I tore a piece of the beach and added another piece for the horizon line. The masking tape sun is adhered above the sun.

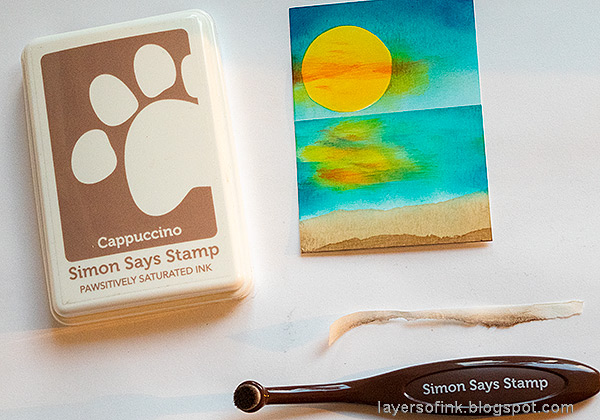
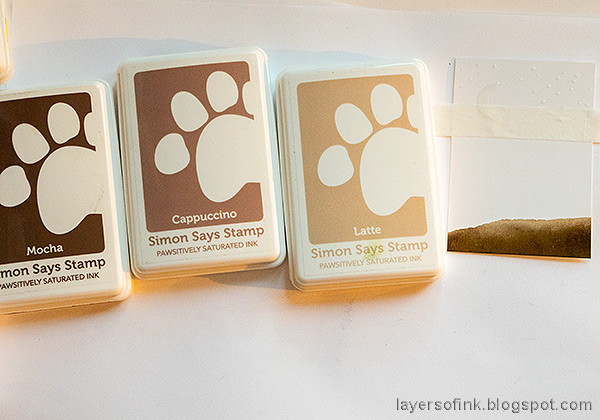
Ink the sand with Simon Says Stamp blending brushes and Latte and Cappuccino inks.

Ink the reflection of the sun in the water. The Detail Round Blending Brushes work great for this.

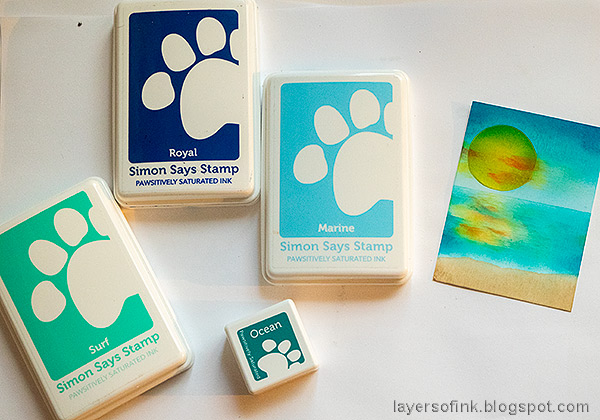
Ink the sea with Marine, Surf, and Ocean Pawsitively Saturated ink.

Continue with the sky, using tape to mask the horizon and the sea.

Remove the sun mask and add some ink over the sun. I didn't cut the circle mask for the sun carefully enough and the sun doesn't look perfectly round because of that. I used left-over torn tape to darken an area of the beach.

Next the night-time card. The beach was done in the same way on the night-time card, making it darker by also adding Mocha ink.

Mask the sky with the Very Very Low Tack Tape and ink the sea.

Ink the sky. The embossing will resist the ink.

Stamp the palm tree, child and birds from On The Horizon with Jet Black ink.

Add stars, grass and highlights with white gel pens.


Add Very Very Low Tack Tape as before. Ink the sand.

Ink reflections in the water.

And next comes the sea.

Add ink to the sun. I didn't mask the sun here (the mask had gone missing on my desk).

Continue in the same way as before and finish the scene.


A black pen was used for the shadows and a few dots here and there.

Stamp a sentiment from On The Horizon in the sand. I used the Very Very Low Tack tape to mask out the word 'ahead' when stamping the sentiment.


The small dots around the moon are from stray embossing powder. I wish there had been even more of that.


Thank you so much for stopping by here today! Have a lovely day!
Happy crafting!
Anna-Karin
Supplies:
* Please note: the links are affiliate links, for which I receive a small percentage of sales generated by the link, at no extra cost to you.
* Please note: the links are affiliate links, for which I receive a small percentage of sales generated by the link, at no extra cost to you.
No comments:
Post a Comment
Thank you so much for leaving a comment! Happy Crafting!