
Hi friends! Today I have a tag to share inspired by a wallpaper in my childhood home.
Please note: this post has affiliate links, for which I receive a small percentage of sales generated by the link, at no extra cost to you.

One of the rooms in my childhood home had fabric wallpaper with dark green threads interwoven with some gold threads. It was a fashionable wallpaper at the time. Tim Holtz Woven 3-D embossing folder reminded me of that wallpaper and inspired me to make this tag. When looking through some papers I found these small photobooth images that I printed on inky paper years ago and decided to use them on the tag, since they were from that same time period.


Mist the tag heavily with Rustic Wilderness and Peeled Paint.

When dry, add a darker shade with Forest Moss here and there. This step brings out the texture.

Apply Sizzix Gold Luster Wax and Cosmic Shimmer Opal Blaze Polish.

The photo slide comes from Simon Says Stamp Mix and Match Squares stamp set. Stamp with Garden Patina ink, cut out and ink the edges slightly with Vintage Photo.

Stamp a sentiment on the photo slide.

Place the photos in the window. Apply Glossy Accents on the photo slide. Let dry.

Cut four pieces of watercolor paper. Smear Distress Inks on a non-stick craft sheet, mist with water and press the papers into the ink. Let dry and repeat until you are happy with the colors.

Die cut flowers with Tim Holtz Small Tattered Florals and leaves with Simon Says Stamp Olive Leaves.


Glue together.


The paper these photos were printed on had been inked with Distress Ink. Probably Antique Linen combined with Frayed Burlap. Printing photos on tinted paper gives a great distressed look.

If you want to, you can ink the edges of the flowers brown, but I liked the contrast of the bright flowers against the darker background.

The Glossy Accents gives a great finished look to the photo frame.

I also added Glossy Accents on the circle around the hole. The tag was tied with a piece of folded over Design Tape. The small tag comes from one of Tim's ephemera packs and I added rub-ons from Labelled remnant rubs on top.

Try this background in different color combinations.

Thank you so much for stopping by here today! Have a lovely day!
Happy crafting!
Anna-Karin
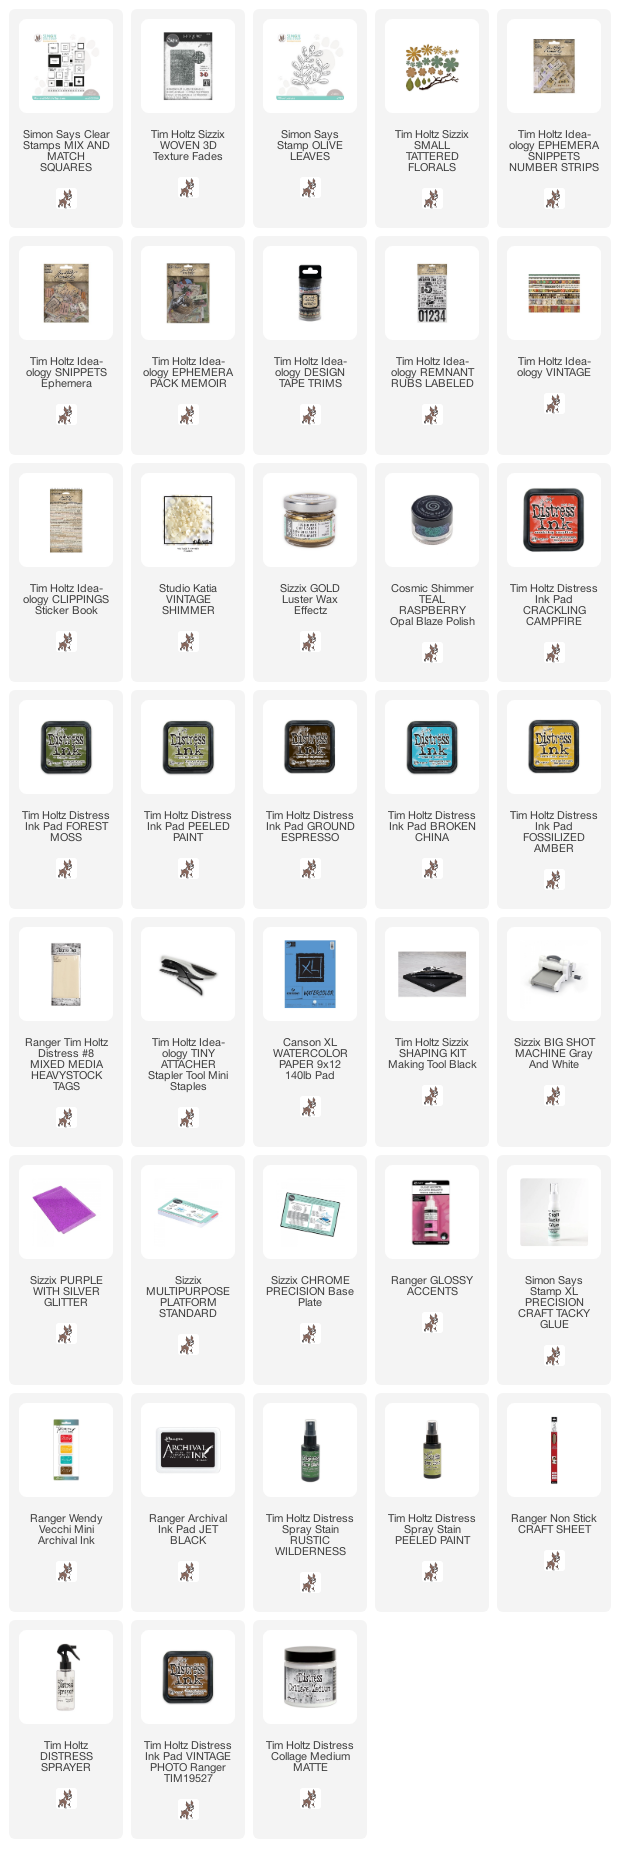
Supplies:
* Please note: the links are affiliate links, for which I receive a small percentage of sales generated by the link, at no extra cost to you.
* Please note: the links are affiliate links, for which I receive a small percentage of sales generated by the link, at no extra cost to you.
Always love your tags! So colorful and creative.
ReplyDelete