
Hi crafters! Today I have a fun tag mini-book to share made entirely from scrap papers.
Please note: this post has affiliate links, for which I receive a small percentage of sales generated by the link, at no extra cost to you.


I used a canvas page as the back cover, but the pages can also easily be rearranged for a different look and order.

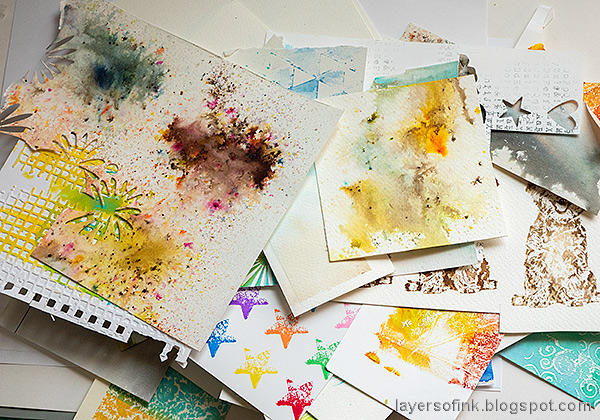
Start by finding a pile of interesting and colorful scraps.

Die cut tags from the scraps using the Simon Says Stamp Large Standard Tag die. I positioned the die on the most interesting parts of the papers.

Next, I stamped images on most of the smooth tags, but not on the dry embossed tags. I used a mix of Simon Says Stamp stamp sets. Some of the tags got a larger sentiments as their focal point instead of an image. I stamped both with black and colored inks and used watercolor stamping on some tags.

I picked out a whole lot of small sentiment stamps and combined them with some border, circle and frame stamps. The latter came mainly from the Simon Says Stamp Mix and Match Circles and Mix And Match Squares sets. Have fun stamping sentiments on the tags. I also used a couple of background stamps, such as the Stained Glass background, and a small text stamp from Document It, to stamp here and there and give more unity to the book.
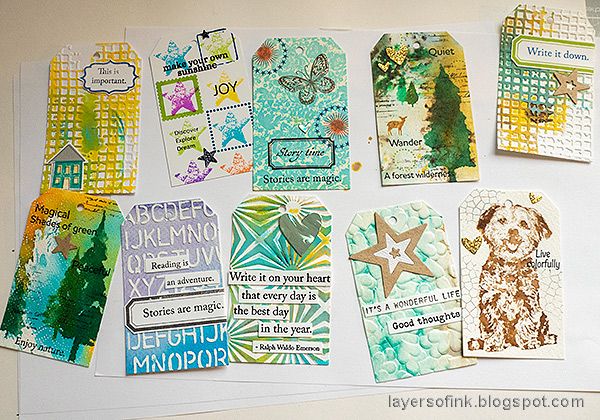
For the tags with so much texture that they were hard to stamp on, I stamped on either paper and cut into strips or on labels stamped with the Simon Says Stamp Mixed Labels set. I also added some die cut and stamped images that I found in small scrap bags on my desk.
Some of the stamped images needed a hint of coloring and I used colored pencils combined with markers and a white gel pen for that.
I glued the tags back to back.
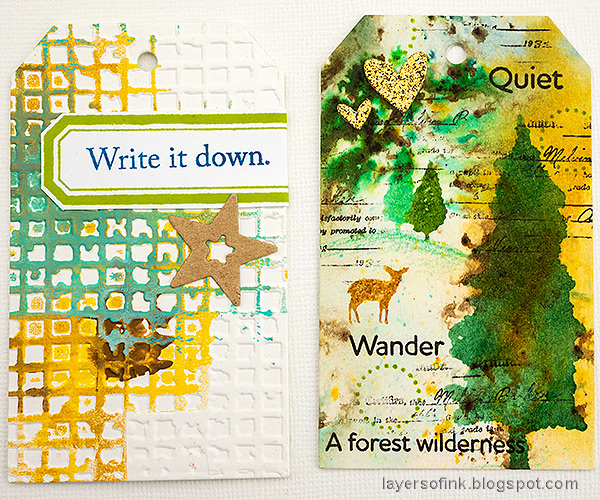
The tag to the left was left-over from a gel printing session long ago. The paper had been used to make patterns in the paint. On the tag to the right, I created a little scene with the Forest Scenery set.
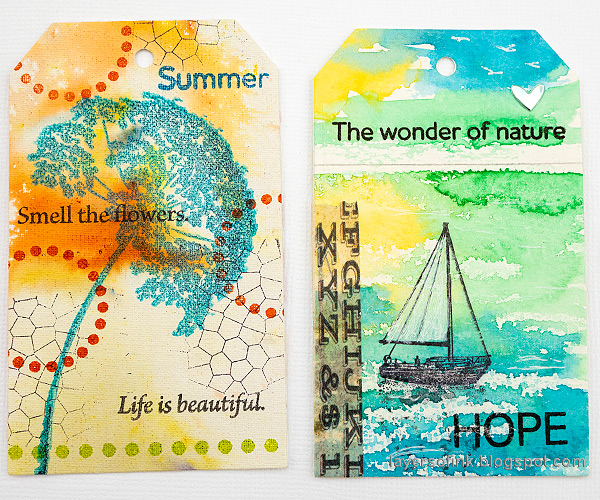
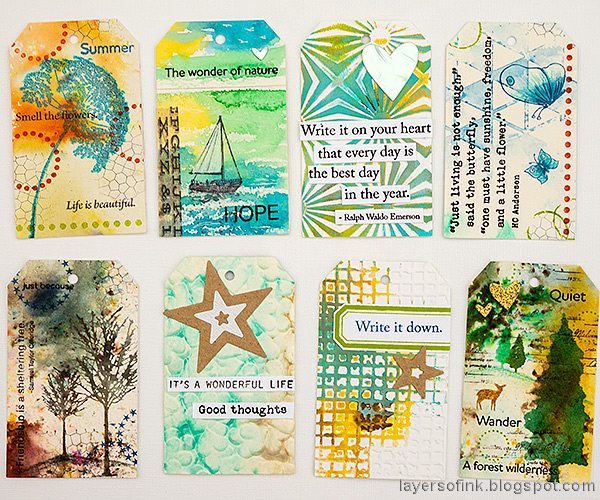
The tag to the left is canvas and the flower comes from Laugh In Flowers. On the tag to the right I had dropped the ship stamp on the background, stamping it twice. I covered the messy stamping up with the Design Tape.

I think I used a white wax crayon to create the resist effect in the water here.
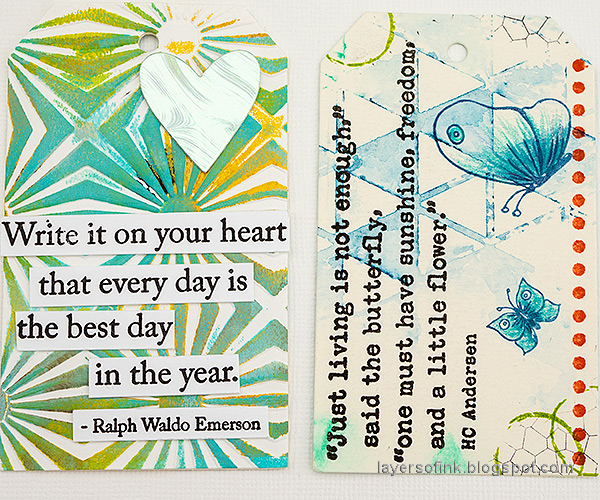
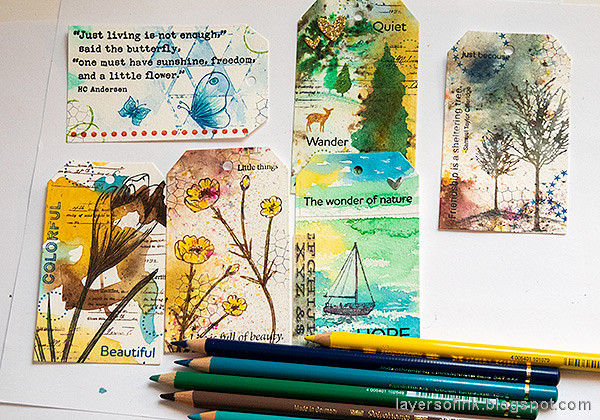
The tag to the left was another gel print left-over and it was stamped with a sentiment from Document It. On the tag to the right, I stamped the sentiment vertically since it wouldn't have fitted otherwise. The sentiment and butterflies come from Thoughtful Flowers.

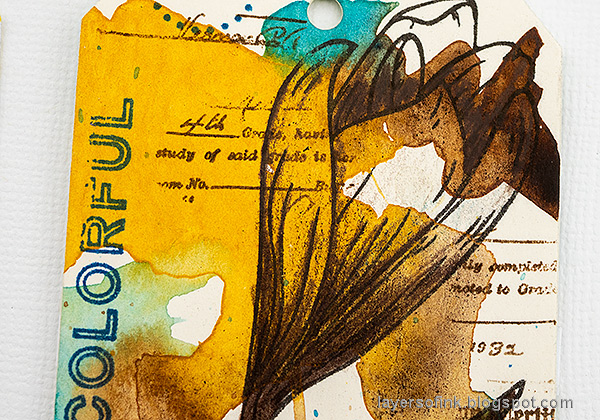
The tag to the left was originally colored with Paper Artsy Color Stains. It was watercolored-stamped with stamps from All Seasons Tree. The stars were die cut with the Stars die.

Using scraps will guarantee that you get a whole bunch of tags in different colors and patterns for the book.

The tag to the left, which is also the cover tag, is a gel print. I stamped it with tone-on-tone flowers from Anna's Flowers, and with the Stained Glass background stamp. The tag to the right is also a left-over from gel printing. I thought you could almost see the globe in the background which is why I added the stamped house and that particular sentiment.

The dotted border from Mix and Match Circles were stamped on many of the tags, bringing them together.

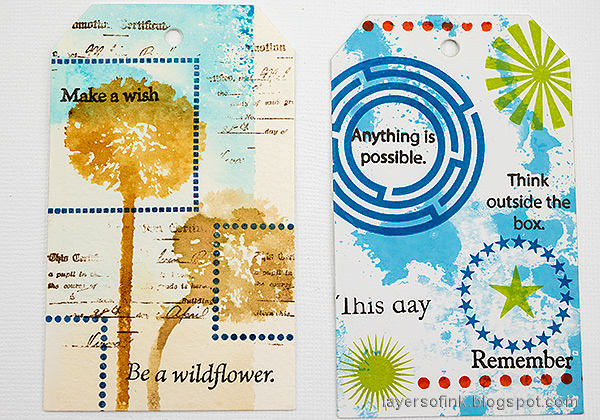
The tag to the left was a paper where I had tested different watercolor paints. It was stamped with the crocus from Thoughtful Flowers and colored lightly with colored pencils. The tag to the right was meant to look a bit like a book cover. The ticket label stamp comes from Mixed Labels.
The flower needed just a little bit of pencil coloring to make it stand out from the background, without covering up the interesting watercolor shapes.
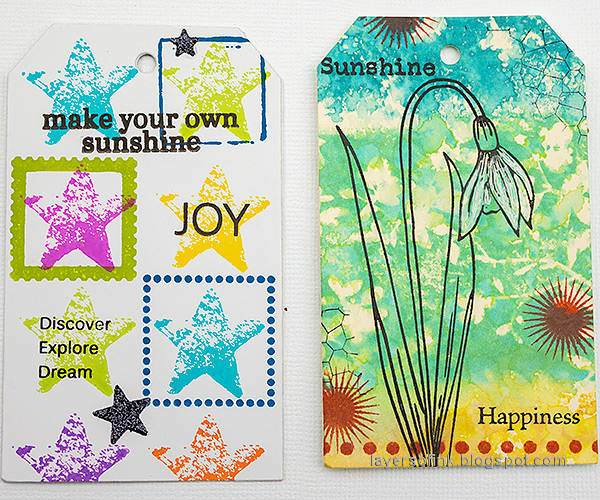
The tag already had the stars stamped on it. I just added frames and sentiments. The frames were stamped with Simon Says Stamp new pawsitively saturated inks, Royal and Pearfection. The tag to the right was a Distress Oxide experiment and was stamped with the snowdrop from Thoughtful Flowers.
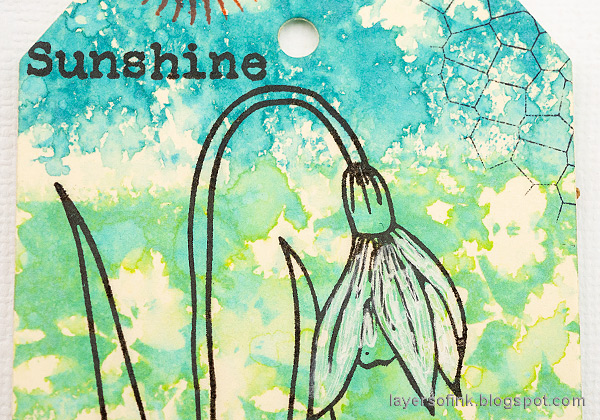
The flower was colored with a white gel pen, while the stem was left uncolored.

The tag to the left was originally a stencil experiment, using the Simon Says Stamp Cosmo Flower stencil. You can find the resulting art journal page here and another one here. The tag to the right was stamped with flowers from Thoughtful Flowers and colored with pencils.

The interesting spots of color in the background comes from Paper Artsy Colored Stains.
The tag to the left had watercolor paint on it. Flowers from Laugh In Flowers were watercolor-stamped with Distress Ink and the squares were stamped with Simon Says Stamp Royal ink, as were the blue circles on the second tag. The circles come from Mix and Match Circles.

Look how well the new inks stamp. That paper came from a failed background experiment.

Here's another forest scene. The Darkroom Door Sitting Dog came from stamping tests when I made this Wonderful Creature tag.

Adding just a hint of ground under the trees make it look as if they aren't floating in the background.
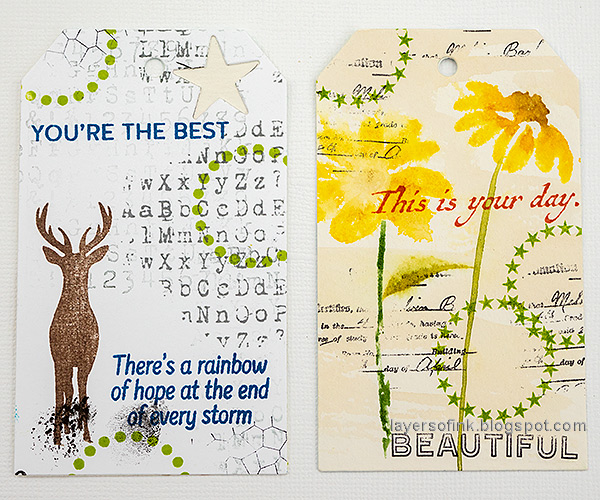
I think the paper to the left was a paper where I stamped off the black ink from the alphabet stamp from Tim Holtz School Desk set. The star had already been die cut from the paper. The deer comes from Forest Scenery. The tag to the right only needed sentiments, script stamping and the circles.
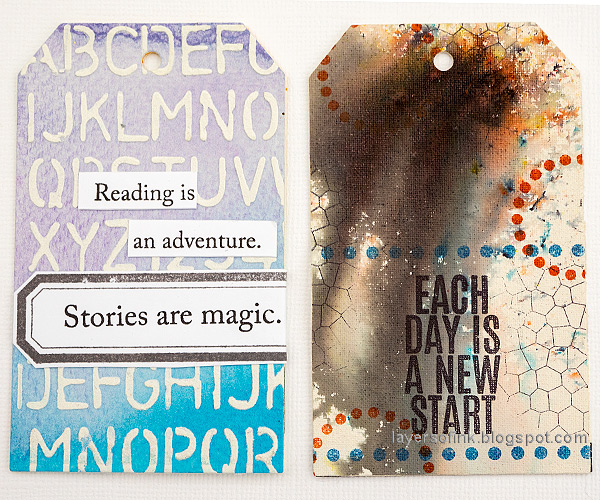
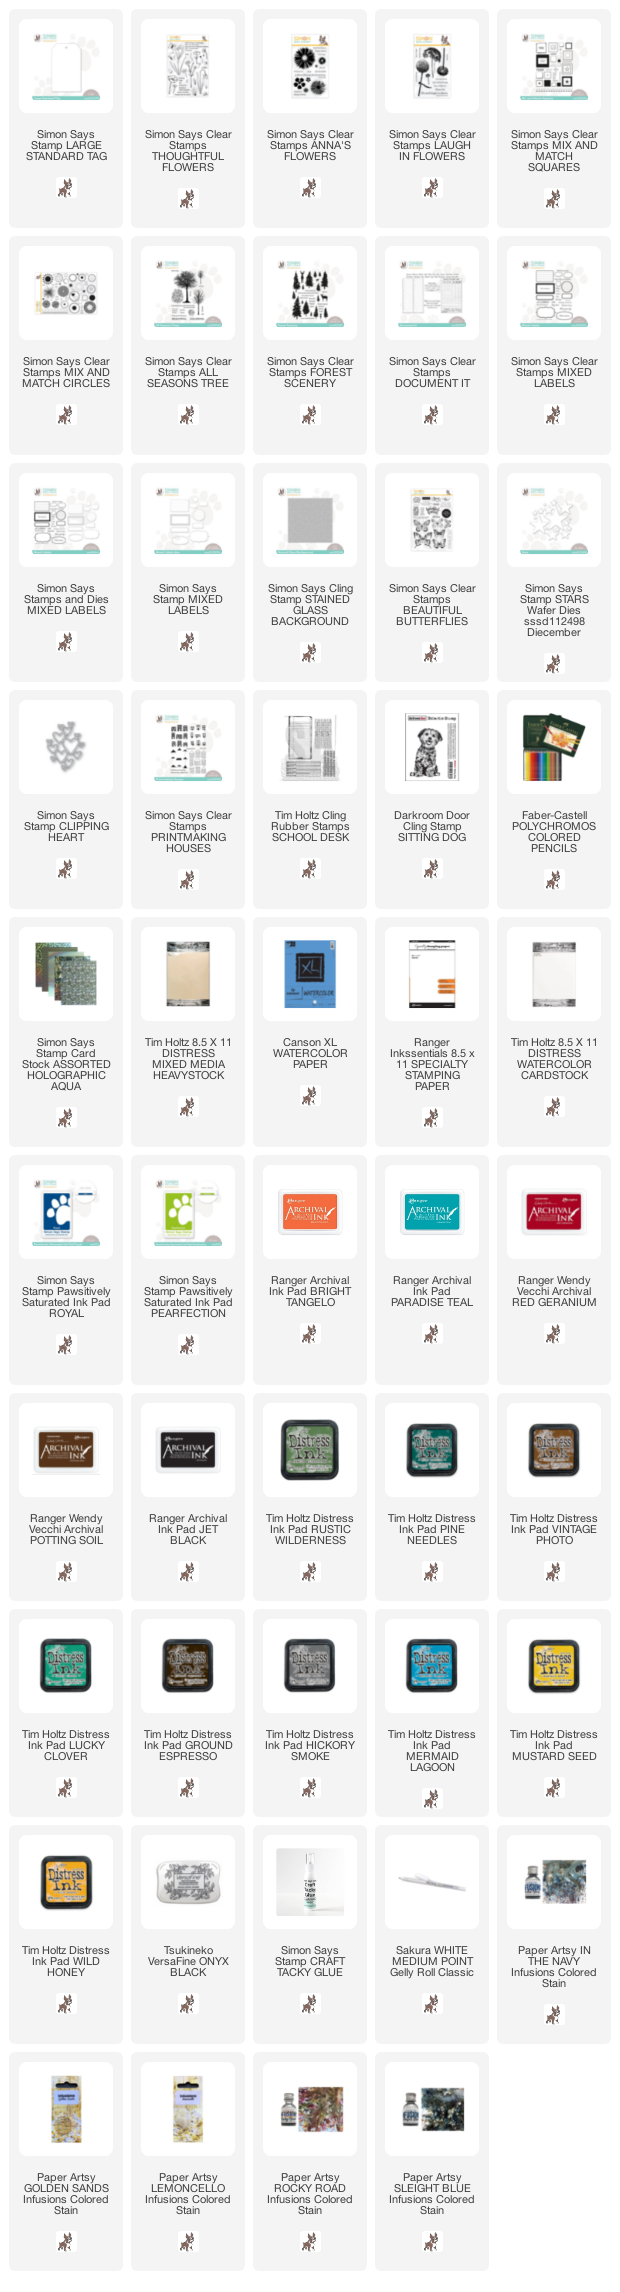
The tag to the left came from a scrap which had been watercolored, with a Tim Holtz alphabet stenciled using texture paste. I only added words and a label. The tag to the right is the back cover of the tag book and is canvas colored with Paper Artsy Colored Stains.

This sentiment comes from Simon Says Stamp Beautiful Butterflies.


Thank you so much for taking the time to stop by here today!
Happy crafting!
Anna-Karin
Supplies:
* Please note: the links are affiliate links, for which I receive a small percentage of sales generated by the link, at no extra cost to you.
* Please note: the links are affiliate links, for which I receive a small percentage of sales generated by the link, at no extra cost to you.
Just discovered your blog. Wow, so much inspiration here. Making it a goal in 2022 to explore the realm of more mixed media and playfulness in my card and tag making. So glad I found you!
ReplyDelete