Hello stampers! I hope your weekend was good! We were lucky to see the northern lights this weekend, which is rare where we live. I have only seen them once in my life before, when I was a child.
Please note: this post has affiliate links, for which I receive a small percentage of sales generated by the link, at no extra cost to you.
We have an Insects and/or Birds theme at the Simon Says Stamp Monday Challenge Blog this week. I hope you will join us and don't miss the amazing project by our January guest designer Estelle Palumbo aka Atouscrap.
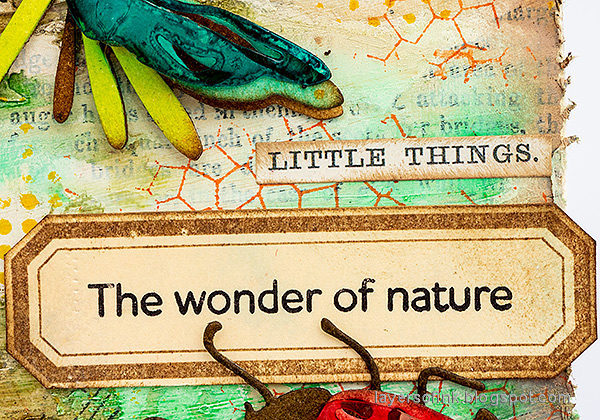
I made a tag with colorful, dimensional insects, using a bunch of fun surfaces and techniques. A couple of days ago I was reading an article about how badly insects are affected by climate change, which inspired me to do a project celebrating the beauty of insects.
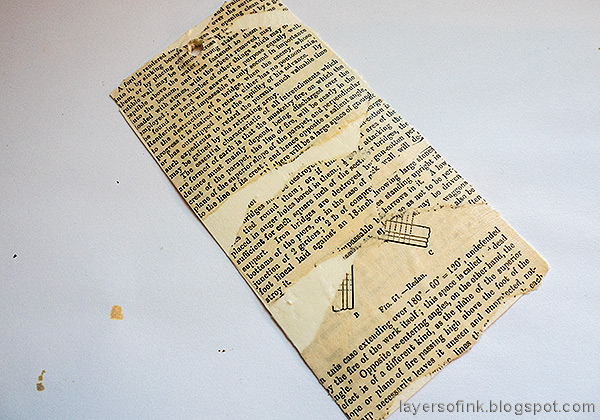
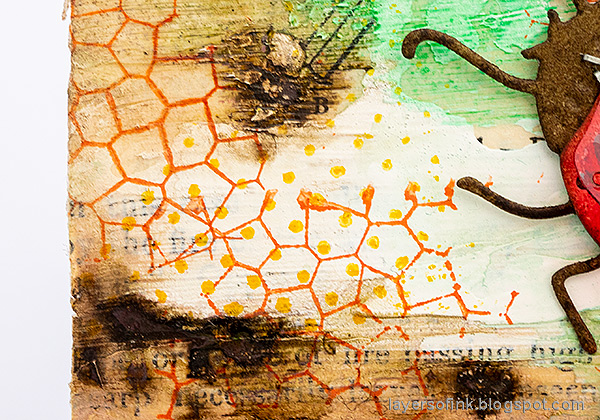
Start by adhering old book paper to a tag, card or art journal page with matte medium.
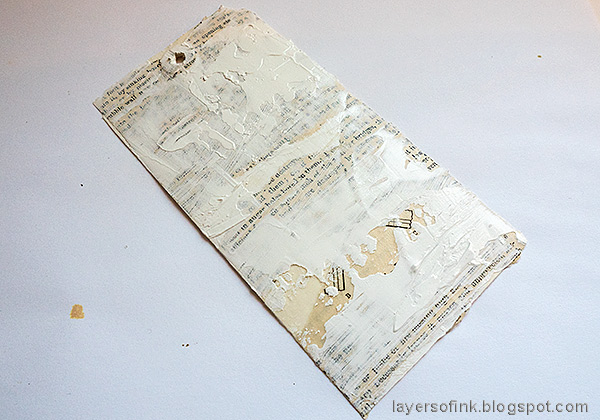
Add an irregular layer of gesso on top, using a palette knife.
Paint with Distress Paint and mist with water to blend.
Ink the heavystock pieces with Distress Ink.
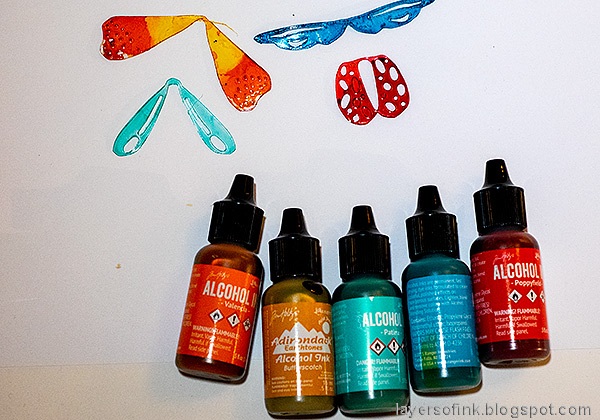
Color the modeling film parts with alcohol inks.
When dry, heat gently with a heat tool and shape the pieces. Be careful not to burn yourself. The
modeling film keeps its shape perfectly when cool.
Layer the pieces together. I used staples for the modeling film, so that it would stick down well. Shape the paper wings too, for even more dimension.
You can mix the colors for the insects in so many ways.
The old book paper, gesso, paint and stamping adds interesting layers to the background.
And finally, the ladybug. I used brown instead of black for the body piece, to get a softer look.
I hope you will join us this week in our
Insects and/or Birds theme. You have a chance to win a $25 gift voucher to do some fun shopping at
Simon Says Stamp. You have until Monday 8am Ohio time. 1pm UK time, 2 pm CET to join in.
Do you use Instagram? If so please add #sssmchallenge so we can see your entries there too.
Thank you so much for visiting my blog today!
Happy crafting!
Anna-Karin
Supplies:
* Please note: the links are affiliate links, for which I receive a small percentage of sales generated by the link, at no extra cost to you.


Fabulous! LOVE the insect wings!!!
ReplyDeleteThese insects are brilliant the way you've created them with the Distress Inks, Alcohol inks & the Modeling film. I'm going to order some of that as I'd not heard of it before & I love the look it gives.
ReplyDelete