
Hello crafters! It is Monday again and I hope you had a good weekend. This month went by so fast.
Please note: this post has affiliate links, for which I receive a small percentage of sales generated by the link, at no extra cost to you.

We have a 'Party' theme at the Simon Says Stamp Monday Challenge Blog this week and this challenge will run for two weeks. Don't miss the project by our December guest designer Susan Babcock aka SusanBCards.

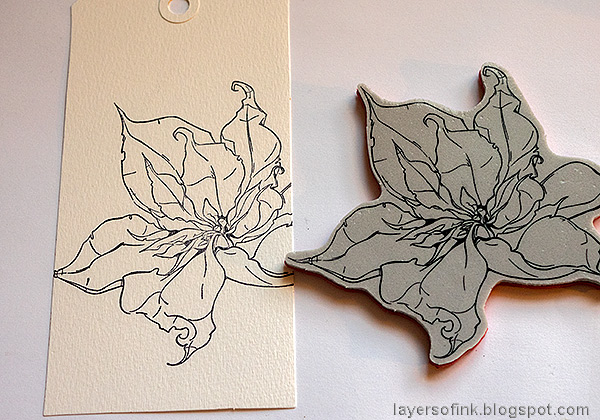
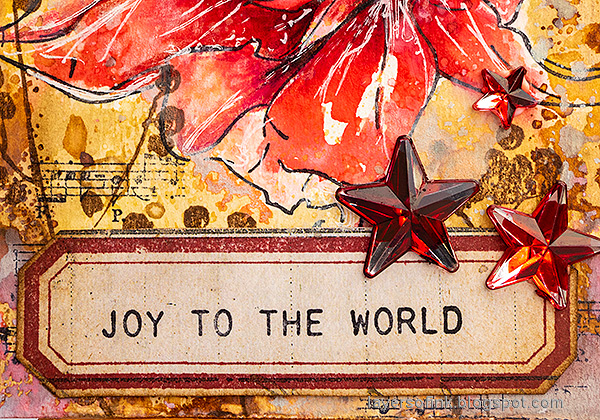
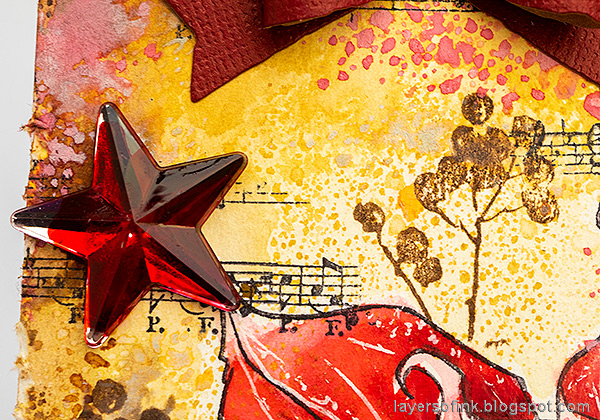
I decided to do a tag celebrating the joy of Christmas, being very much in a Christmas mood after having helped to organise four big, traditional Christmas markets. On our table, we have two poinsettias, which is why that image fitted well and I really like poinsettias. I used Tim Holtz The Poinsettia stamp set.
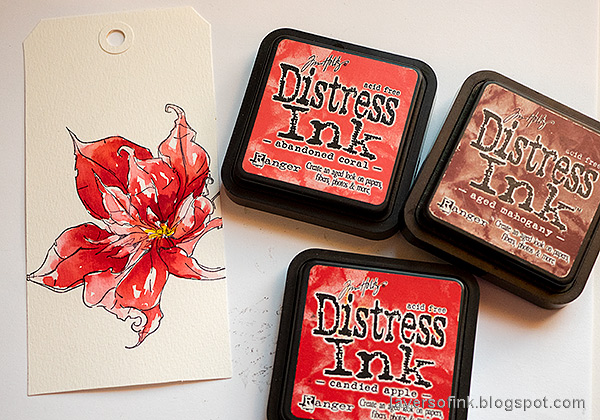
Smear Distress Inks on a craft sheet, mist with water and lightly press the tag into the ink, using the darker inks only around the edges. Let dry in between layers.
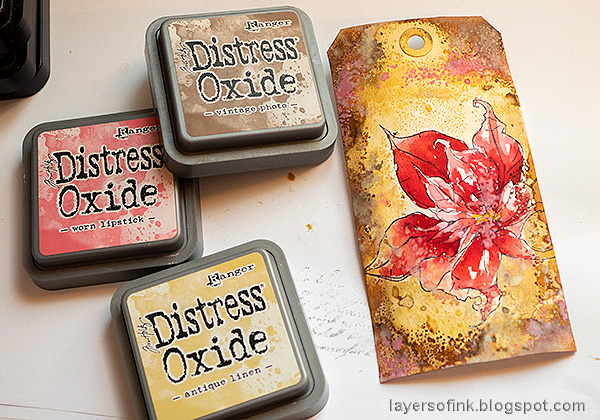
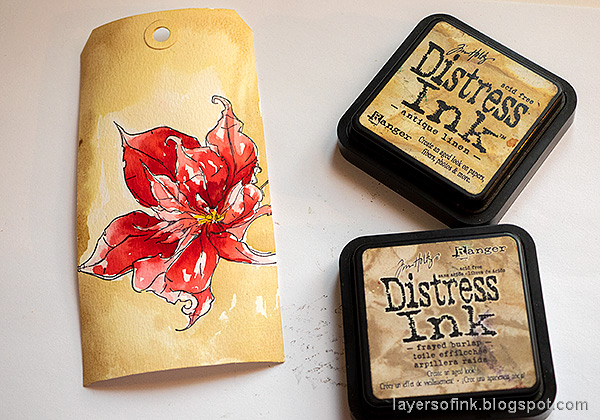
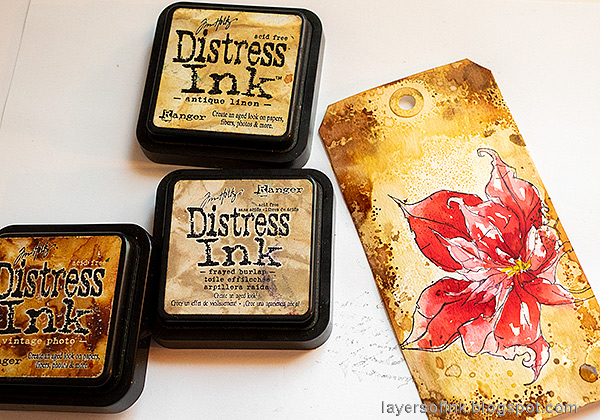
Continue, but this time with Distress Oxide inks.
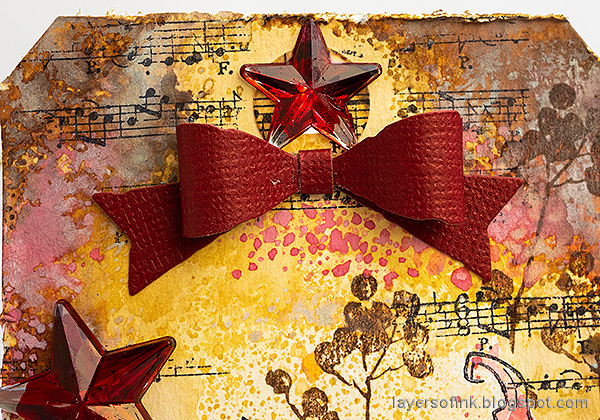
I die cut a rosette with Tim's Christmas 2021 Vault Series die set. The background was also stamped with my favorite stamp from his Winter Watercolors 2 set and with the music background from The Poinsettia.
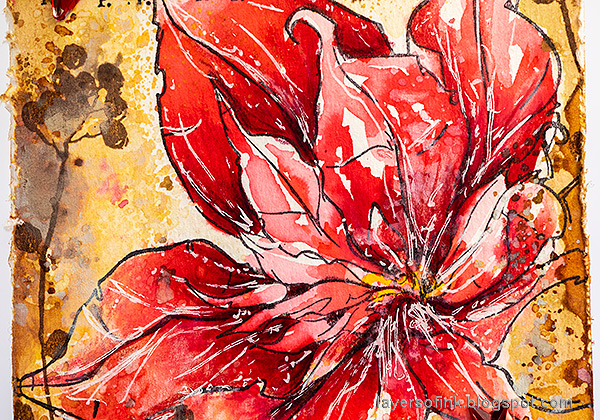
I added shading with colored pencils and highlights with a white gel pen, aiming for a lose look.


Thank you so much for visiting my blog today!
* Please note: the links are affiliate links, for which I receive a small percentage of sales generated by the link, at no extra cost to you.
So gorgeous - that poinsettia is beautifully painted.
ReplyDeleteAlison x
That tag is beautiful! Your craftiness is always so inspiring. Love it.
ReplyDeleteGorgeous tag Anna-Karin :-) the poinsettia is so pretty and I love the background, beautifully done ❤️
ReplyDeleteWishing you a very Merry Christmas and Best Wishes for a Happy New Year :-)
Luv
Lols x x x
Anna-Karin, I was wondering how you colored your beautiful tag so I came to your blog to read about it. It is so lovely, the white gel pen really adds a unique look. I need a gel pen now! To my surprise I saw my name for the guest spot, thank you for sharing! All the best, Happy New Year!
ReplyDelete