
Hello friends! Today I have a tag to share using Tim Holtz new Salvaged Patina distress color. It has been out for a while, but I only got my parcel with it fairly recently.
Please note: this post has affiliate links, for which I receive a small percentage of sales generated by the link, at no extra cost to you.


Start by inking a tag with Salvaged Patina, Pumice Stone and Peacock Feathers Distress Ink.

Place the Simon Says Stamp Mix and Match Circles stencil on the tag and mist with Salvaged Patina Distress Oxide Spray. I pressed the stencil on a piece of watercolor paper to use up the ink and create a background for a future project.

When dry, stamp the background with Hickory Smoke Archival Ink and the Simon Says Stamp Old Letter Background stamp.

Mist mummy cloth or cheese cloth with Salvaged Patina Distress Spray Stain.

Die cut one of the toadstools from Funky Toadstools from heavystock paper. Ink the larger pieces with Peacock Feathers and the smaller with Salvaged Patina. Ink the stem with Pumice Stone.

Glue the pieces together. I adhered the two larger pieces with foam tape. I also doodled a shadow along one side of the toadstool.

Stamp sentiments from Tim's Tiny Text with Salvaged Patina on a Journal Card. Cut into strips.

The tag needed a little more contrast and I stamped the Simon Says Stamp Halftone Background here and there with black ink.

Sand the edges of a Theories Quote Chip and ink with Salvaged Patina. The second sentiment comes from Tim's Odds & Ends set.

Arrange the cheese cloth so that it forms a base for the toadstool, like funky grass.

I can't wait to create with the newest distress color, Prize Ribbon, which was just released. If you want to see my other tags using the new colors, you can find them here: Speckled Egg Tag, Crackling Campfire Tag, and Rustic Wilderness Tag.
My parcel with Kitsch Flamingo appears to be travelling around and will hopefully make it here soon.

Thank you so much for taking the time to stop by here today!
Happy crafting!
Anna-Karin
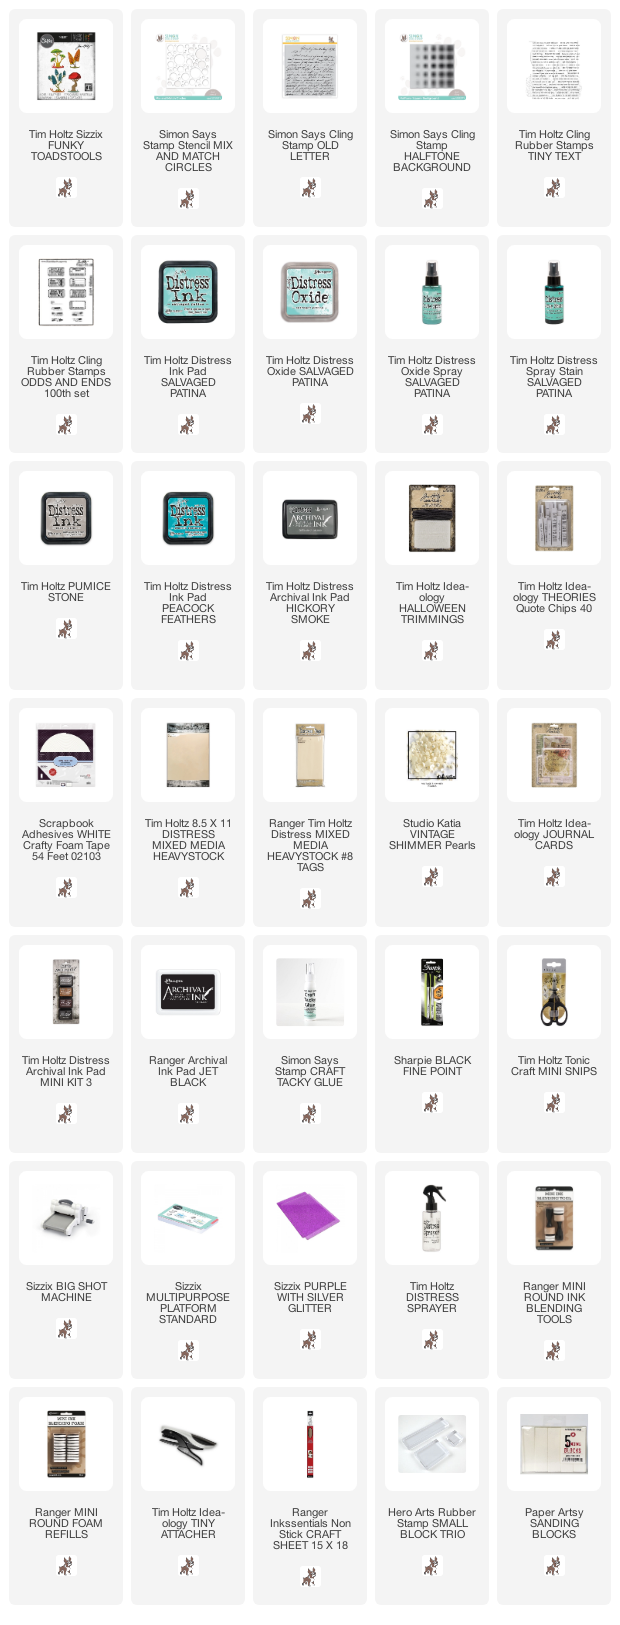
Supplies:
* Please note: the links are affiliate links, for which I receive a small percentage of sales generated by the link, at no extra cost to you.
* Please note: the links are affiliate links, for which I receive a small percentage of sales generated by the link, at no extra cost to you.
Fabulous tag, Anna-Karin! hugs, de
ReplyDelete