
Hello friends! I have a tutorial using a fun mix of surfaces today: design tape, Distress crayons, patterned paper and inky paper.
Please note: this post has affiliate links, for which I receive a small percentage of sales generated by the link, at no extra cost to you.

We have a Wild With Washi theme this week at the Simon Says Stamp Monday Challenge Blog. I hope you will play along with us, and don't miss the project by our July guest designer Megumi aka Ink-Lady Blue.

The background of my tag is completely covered with Tim Holtz Design Tape. The design tape rolls have such interesting designs and they look great together. I also cut the sentiments from design tape and built a fun little scene with dies.

Start by applying matte medium on a tag, to make sure that the tape is stuck down well. Then cover the tag with design tape. Fold the edges around the back for a finished look.

Add some color with Distress Crayons. Smear them out with your finger.

Die cut the tall house from Tim's Paper Village set, using heavystock paper. Later, I die cut the roof from black kraft stock paper instead.

Ink with Candied Apple. No need to ink the back since that won't be visible.

Stamp the house with the Simon Says Stamp Wood Planks background stamp and Schoolhouse Red ink.

Color a piece of acetate with Latte and a tiny bit of Gold Mixative alcohol ink.


Die cut one of the trees from Tim Holtz Funky Trees from Backdrop papers and the trunk from brown kraft stock paper.

Ink the edges and assemble. I used foam tape for the front pieces. Cut words from the Chatter Design Tape.

The design tape creates an interesting background and the Distress Crayons bring it all together.


I hope you will join us this week in our Wild With Washi challenge. You have a chance to win a $25 gift voucher to do some fun shopping at Simon Says Stamp. You have until Monday 8am Ohio time. 1pm UK time, 2 pm CET to join in.

Do you use Instagram? If so please add #sssmchallenge so we can see your entries there too.


Thank you so much for taking the time to stop by here today!
Happy crafting!
Anna-Karin
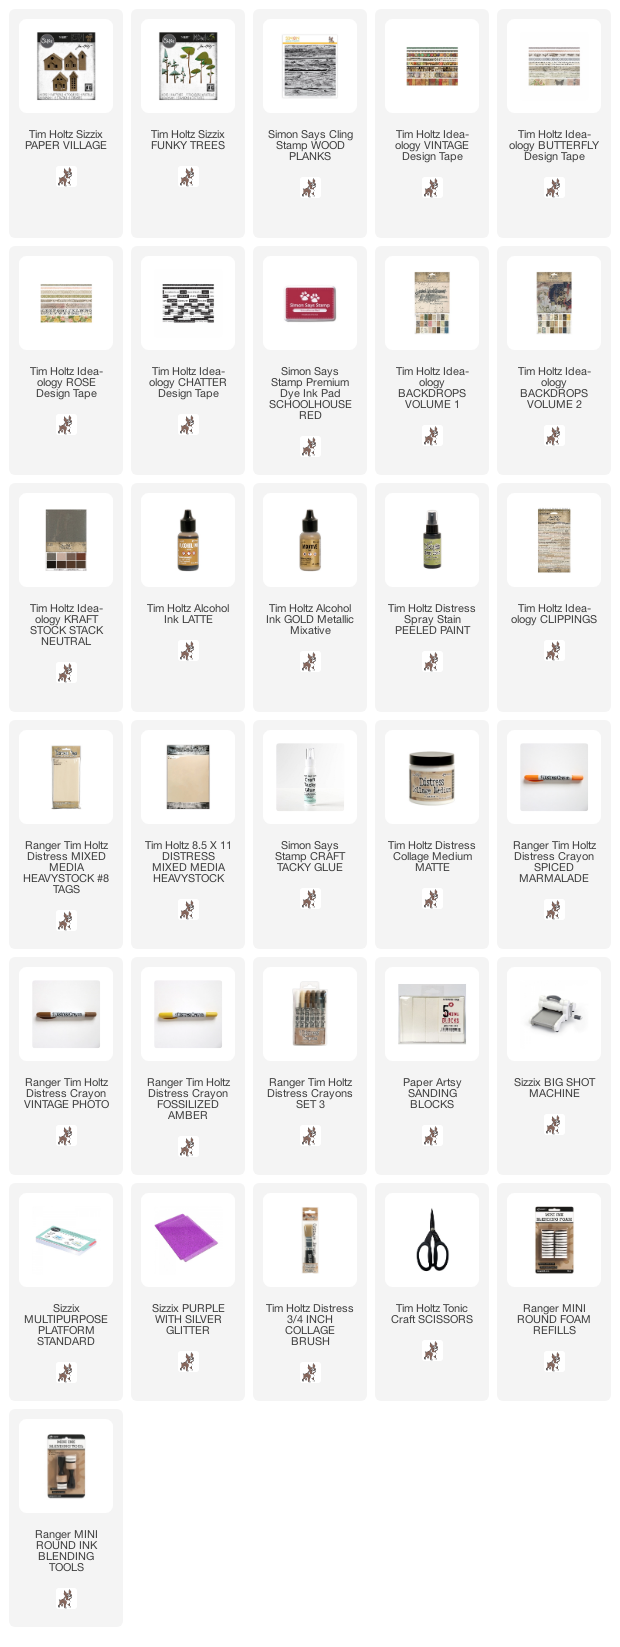
Supplies:
* Please note: the links are affiliate links, for which I receive a small percentage of sales generated by the link, at no extra cost to you.
* Please note: the links are affiliate links, for which I receive a small percentage of sales generated by the link, at no extra cost to you.
No comments:
Post a Comment
Thank you so much for leaving a comment! Happy Crafting!