
Hello crafters! Today I have a tutorial using one detailed 3-D embossing folder to make three cards. It is a quick and simple debossing technique with instant inking.
Please note: this post has affiliate links, for which I receive a small percentage of sales generated by the link, at no extra cost to you.

I love embossing folders and all the different techniques you can do with them. The Simon Says Stamp 3-D embossing folders have so much details and the 3-D effect is really cool. For these cards, I decided to use the debossed side of the pattern, instead of the embossed, which is what I normally use. For the soft, shabby chic coloring, Distress Oxide Ink was used. The cards were embellished with word dies, stamped sentiments and other bits and pieces.

I used the Simon Says Stamp Vine Canopy 3-D embossing folder for all the cards. Ink the folder directly with the ink pad. Don't worry if it isn't perfect. Mist the back of the watercolor paper with a little water and emboss. I experimented with different Distress Oxide Inks, but liked the lighter shades the best.

I distressed the edges of all the panels and inked them with brown Distress Ink. They were stitched to a mat and a cardbase. For this card, I used Antique Linen Distress Oxide ink for the background.

The debossed and inked design looks very interesting and the details in this embossing folder are amazing. The inking won't be perfect, but that just adds to the look.

For this card, I die cut the Simon Says Stamp You Matter die from white paper and inked it with Distress Ink. The matte was die cut from kraft paper and I applied a layer of Glossy Accents on top of the sentiment. The stamped sentiment comes from the All Seasons Tree and the butterfly is from Tim Holtz Field Notes Ephemera.

This is the Cracked Pistachio card. Here I didn't ink the edges and stitched the panel directly onto a folded kraft card.

The Beautiful title was die cut from kraft and Simon Says Stamp Mint cardstock. I also used a bunch of Field Notes Snippets ephemera and stamped 'day' on one of them.


Celebrate was die cut from both kraft and holographic paper. The sentiment stamp comes from Anna's Flowers.

The hearts come from the Clipping Heart die.

You can quickly make a whole bunch of these. Since the background is so intricate and textured, it doesn't need many embellishments.

Thank you so much for taking the time to stop by here today!
Happy crafting!
Anna-Karin
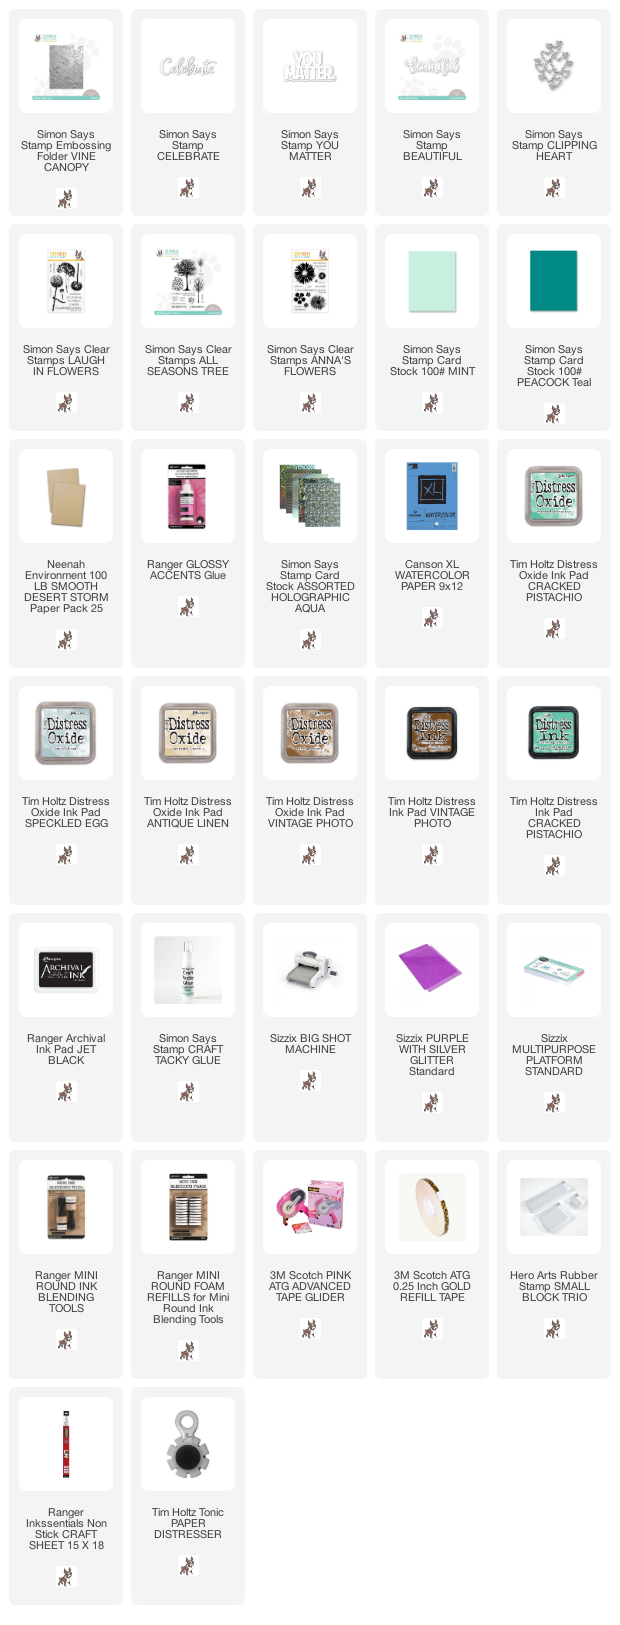
Supplies:
* Please note: the links are affiliate links, for which I receive a small percentage of sales generated by the link, at no extra cost to you.
* Please note: the links are affiliate links, for which I receive a small percentage of sales generated by the link, at no extra cost to you.
Love these cards!
ReplyDelete