
Hello crafters! We have a very special birthday at the Simon Says Stamp Monday Challenge Blog this week. We are turning 10 years old! It is amazing to think of all the creativity and wonderful projects that have been created for the challenge during these 10 years. I am very happy that so many people join us in the challenge and share their projects.

We have a special Happy Birthday theme this week, to celebrate our birthday. Since it is also the first Monday of a new month, the team is showcasing products by a specific company/designer. This week it is Stamper's Anonymous, who creates fantastic rubber stamps, stencils and other products. You can see their range of products here. You don't have to use their products to join in the challenge, but it is always fun if you do.
We also have a new guest designer. During August the wonderful Anne Redfern is our guest. She creates so many different creative projects and don't miss her blog Redanne.

Don't miss our month long Kids Summer Vacation Challenge over on the Wednesday Challenge Blog. The theme is Anything Goes With Sparkle And/Or Shine. Please CLICK HERE for more details.

I made a birthday card using the Tiny Text stamp set by Stamper's Anonymous, designed by Tim Holtz. I also used Stamper's Anonymous fantastic Clearly For Art Modeling Film by Wendy Vecchi. It's been one of my favorite surfaces for a long time and you can do many different techniques with it.

When I looked at the Tiny Text stamp, planning to remove some of the sentiments and stamp them, I thought it would be fun to use the entire set as a big stamp first. I stamped a couple of sheets of papers like this, so that I can use them in the future. White emboss the Tiny Text on Heavystock paper, positioning it so that you get complete sentiments at the left-hand edge of the paper.

I inked the paper with Mustard Seed, Ripe Persimmon and Abandoned Coral. Isn't it a gorgeous color combo? The white embossing will resist the ink.

Clearly For Art Modeling Film is a thick plastic film, which can be die cut, stamped on, cut out, and colored in various ways. Heat it to soften and then shape the designs. The film keeps it shape perfectly. If you aren't happy with it, just reheat and reshape. Be careful not to burn yourself. I die cut some of Tim's Small Tattered Florals. You might need to take the die back and forth a couple of times in your Big Shot or Vagabond

I also die cut the Simon Says Stamp Etched Flower Buds.

Carefully heat with a heat tool and then shape the buds.

Color the stems with Snow Cap Alcohol Ink Mixative and apply a thin layer of Moon Dust Stickles to the back of the buds. The Stickles takes a while to dry on the plastic, but gives a great glittery look.

Color the Tattered Florals with Snow Cape, Valencia and Butterscotch alcohol ink, using a felt applicator.

When dry, shape them in the same way as the Etched Buds.

I love the Tiny Text stamp set. The sentiments are wonderful and I also really like small-sized sentiments.

Pierce a hole through the plastic flowers and layer them together with a brad or staples.

The glitter buds were a little hard to photograph, but they look really nice with the glitter. The new Stickles jars also contains some larger pieces of glitter, which you can see here.

Modeling Film is great for dimensional embellishments like these, but also perfect for entire backgrounds, clear cards, or for shaker cards. Here are some more examples: Recycled Tag, Wildflower Mason Jar, Embossed Acetate Autumn Tag, Apothecary Wall-Hanger, Sherlock Holmes Tags, and Halloween Window.

Happy Birthday was stamped with the SSS Thoughtful Flowers set.


Do you use Instagram? If so please add #sssmchallenge so we can see your entries there too.


Thank you so much for taking the time to visit my blog today!
Happy crafting!
Anna-Karin
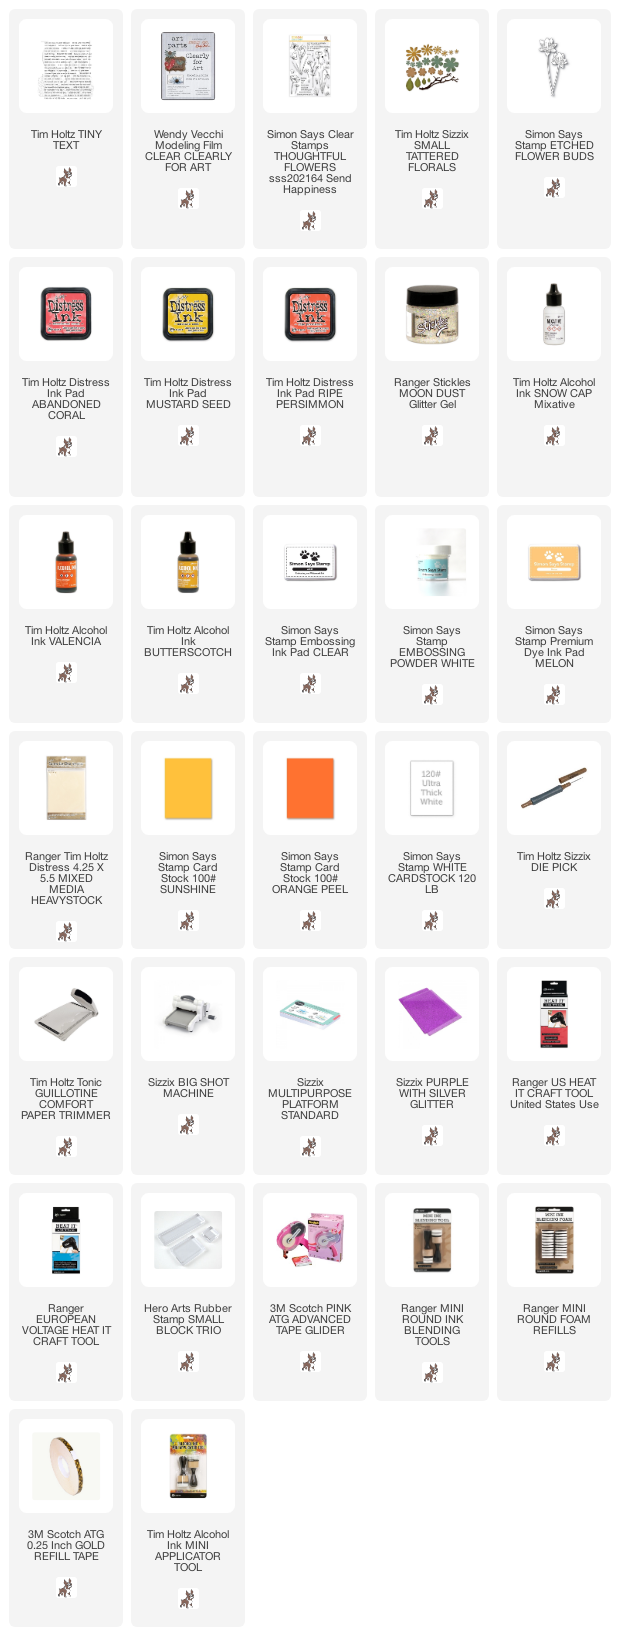
Supplies:
* Please note: the links are affiliate links, for which I receive a small percentage of sales generated by the link, at no extra cost to you.
* Please note: the links are affiliate links, for which I receive a small percentage of sales generated by the link, at no extra cost to you.
beautiful card Anna-Karin! I love the bright blend of colors you use over the Tiny Text stamp!!
ReplyDeleteSuch a gorgeous card Anna-Karin, I love the cheery and happy colours. The flowers are beautiful too (I keep forgetting about Clearly for Art) and really do add some wonderful dimension. A very clever way to use the stamp set! Anne xx
ReplyDelete