
Hello crafters! It is time for more Christmas crafting! During November, the Eileen Hull Inspiration Team is sharing Holiday projects. Don't miss all the inspiration throughout the month.

I made a sweet little winter wonderland shadow box, with lots of glittery snow. The Trinket Box & Frame, Book & Pages makes a cute shadow box, which is very easy to assemble. As the name of the die suggests, you can also use this die for a range of other projects: books, cardmaking, an oval frame, a covered box and more. I am planning to add a hook to the back and hang this shadow box on the wall. If you want it to stand flat, it is better to cut off the half-oval part at the bottom, to make it flat. As you can see on the photo, I used a small stone to stabilize it for the photo.
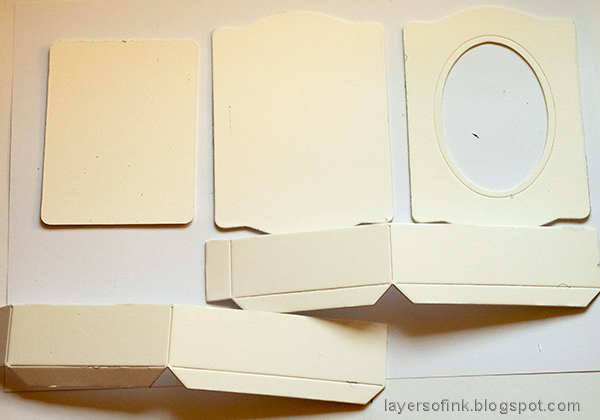
Start by die cutting the pieces seen above, from mat board. You need the Extended Cutting Pads since this is an XL die, but it fits perfectly into an ordinary Big Shot or Vagabond. Place the oval inside the window for the piece to the right, and remove it to get a solid background.

Die cut a second rectangle from one of Tim Holtz's Christmas Worn Wallpapers. Glue the latter to the mat board.
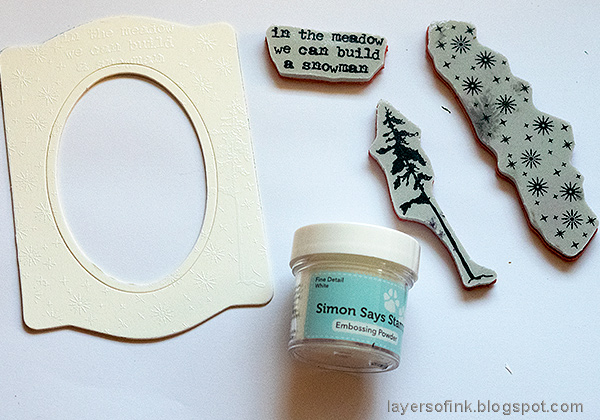
White emboss a sentiment above the oval and a tree and snowflakes all around. Repeat on both sides of the side pieces.

I was in the mood for warm, neutral colors and inked the mat board with Antique Linen, Vintage photo and Ground Espresso. Mat board takes ink beautifully.

Ink the other pieces too, and the side pieces on both sides.

Smear white Texture Paste in the front and cover with Rock Candy Distress Glitter.

Paint a Tim Holtz Salvaged Snowman with Distress Paints. Water down some brown paint and color the Woodland Tree.
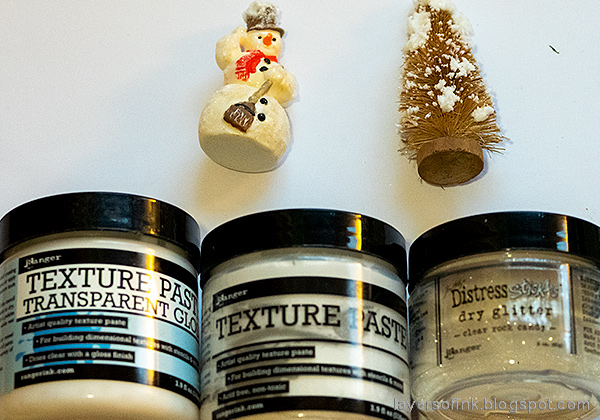
Smear Texture Paste on the tree and cover with Rock Candy. Also add some texture paste to the snowman's hat and again cover with glitter. For his body, which is already meant to be snow, I used Transparent Gloss Paste instead, in a very thin layer and not everywhere. Cover with glitter.

Assemble the box as shown, placing the rectangle inside the two side pieces.

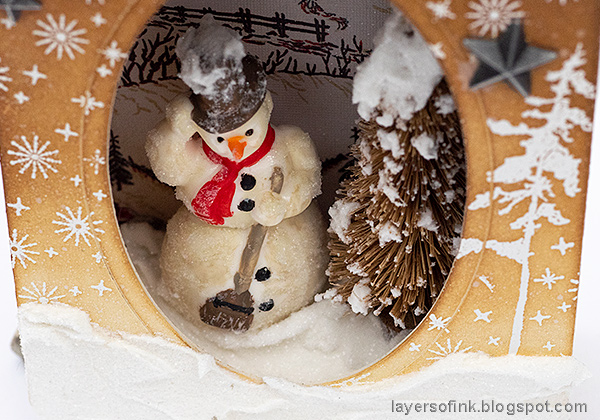
I wanted the tree and the snowman to be raised a little and added a piece of cork under each one. Add a thick layer of texture paste into the box. Press the snowman and tree into the paste and add some more at the front, so that it looks like they are standing in the snow. Again, cover everything with glitter.
Glue the front piece to the shadow box and you are done. Here you can see what the snow looks like from above.

Don't worry about stray embossing powder, since it just adds to the snowy winter look. I left all the stray powder on purpose.
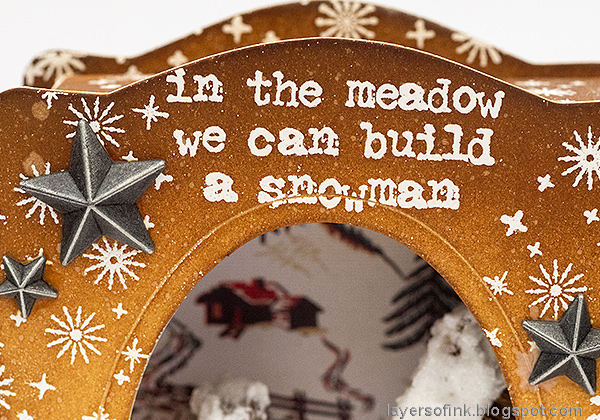
Glue some metallic stars to the front.

The snowman almost has a porcelain look, and all the glitter adds to the frosty feeling. Do you spot the difference between the white paste on his hat, and the transparent paste on his body? The latter lets the paint and texture show through, while the former would have covered it up.

Here's a closer look at the paste and glitter. I love this effect of Rock Candy glitter.
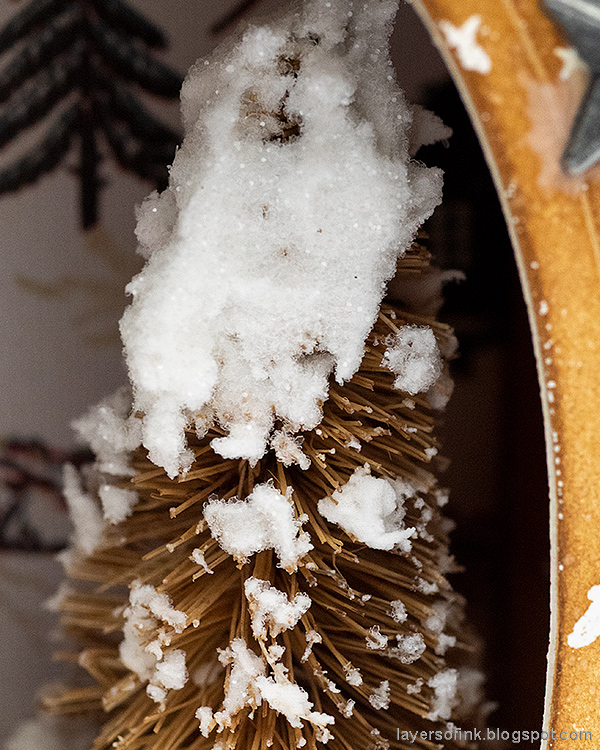
And the tree looks pretty frosty too. If I had used mist to color the tree, the paste would have picked up the color of the mist and would have become brown, with paint you don't have that problem.
Thank you so much for visiting here today! I hope you will have a lovely day!
Happy crafting!
Anna-Karin
Supplies:
* Please note: the links are affiliate links, for which I receive a small percentage of sales generated by the link, at no extra cost to you.
* Please note: the links are affiliate links, for which I receive a small percentage of sales generated by the link, at no extra cost to you.
So adorable...love snowmen!!!
ReplyDeleteThis is absolutely charming Anna-Karin! I want to make one- great tutorial as always <3
ReplyDeleteOh, this is a super cute project!!! :D
ReplyDeleteWould love having this scoreboard die for my little group of young students to make with them a fun and lovely Christmas project like this :)
Hugs and happy (crafty) continuation until Christmas, dear Ana-Karin!
Wowzer!! I'm just speechless!!! I haven't words to say how wonderful is this 3D project! :)LOVE!!! Thanks so much for sharing all the step by step process! That snow seems really true... and the Trinket Box & Frame, Book & Pages die is already in my wish list for Santa! Hope he will be generous with me this year LOL :D
ReplyDeleteI pinned this cutie...love it! LOVE the snow!
ReplyDeleteOh,I just love this! What a sweet vignette! I 5hink this is my favorite of yours,although they're all wonderful! :)
ReplyDelete