I had really fun making this week's project and I wish you could reach out and a touch it through you screen, because it has wonderful textures. This background is really easy to create and I got the idea when looking at the wonderful
28 Lilac Lane Embellishment bottles, wanting to use a whole lot of buttons on one project. The two pumpkins were quilled and I'll show you how below. Let's start.
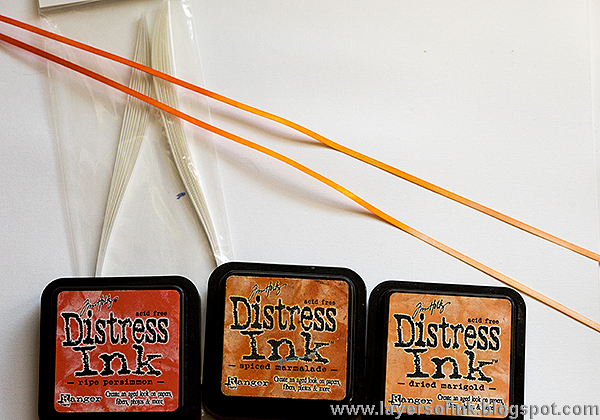
You can easily colour white quilling strips into any colour that you need, and for my project, I wanted a graduated look. Start with the lighter ink and gradually add darker ink, but don't cover all the lighter ink completely. I realized that the
quilling paper available at SSS is wider than the one I used. It is the same brand and the bags look so similar, that I missed seeing the width. You can still do the techniques, but your designs will be a little higher than mine. I used 1/8 in or 3 mm paper.
To roll my quilled pieces, I prefer to use a
Needle Tool. I normally start the shape on the tool and then roll the rest by hand. You can also roll the entire shape by hand. The needle tool gives a neater look to the center of the coils, as you can see in the example to the left. The coil to the right was rolled with a Slotted Quilling tool, which is a little easier to use.
I also needed some green papers, and inked them with Twisted Citron and Mowed Lawn.
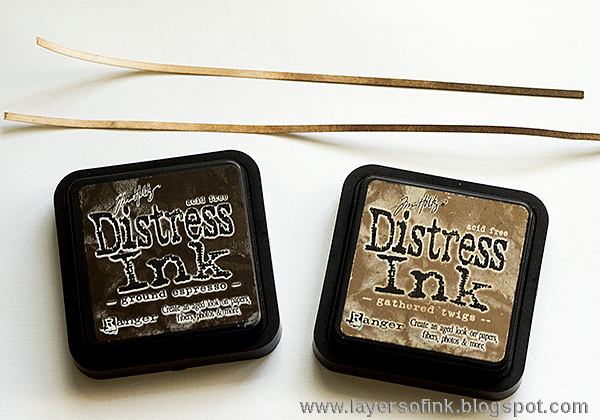
And some brown papers.
Roll five closed circles, of slightly varying size, and make sure that the center is lighter than the outside. The length of paper you'll need depends on how large you want your pumpkin to be. Pinch four of them into half-moon shapes and the fifth one into an eye shape.
Make a brown circle and shape it into a stem shape. Make it lighter in the center.
The green papers were folded and then I rolled one open coil on each side. As you can see, the one side is darker than the other, because of the graduated papers that I inked.
Glue the shapes together, using a clear drying white glue. I apply the glue with a tooth pick, but you can also use a
little glue applicator bottle.
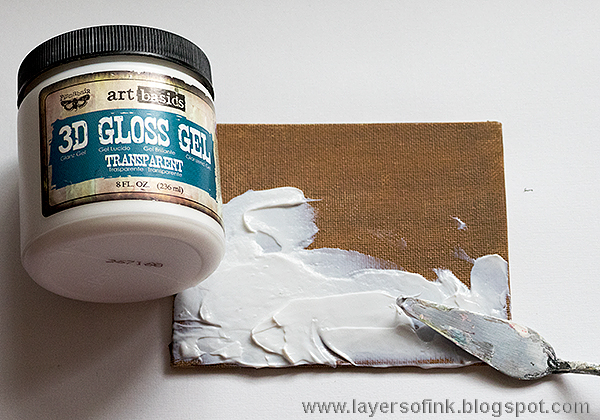
A canvas board was painted brown.
Working one section at a time, I applied a thick layer of
Prima's 3D Gloss Gel.
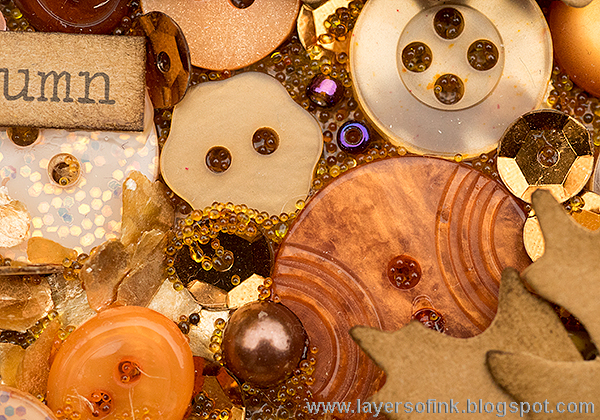
I placed buttons, beads and sequins from 28 Lilac Lane
Pumpkin Spice and
Toasted Graham bottles, varying the size of the buttons. Then I sprinkled some
Prima mica flakes on top (I love mica), and finally added Micro Beads, to fill in all the small spaces.
The quilled pumpkins disappeared on the background, so I made a base for them by die cutting
leaves from burlap and brown
Paper Leather. The edges were inked with Ground Espresso.
Glue the smaller pumpkin partly on top of the larger one, for dimension. For more quilling inspiration, check out my
Friendly Ghost card.
Die cut a
title from two shades of brown and layer on top of each other. The second word is a Chit Chat sticker.
I really like this button, pearl, sequin, mica and micro bead background. The 3D gel keeps everything firmly in place.
Because of all the beads and pearls, the board has a nice heavy feel to it.
When I took photos of the project, I couldn't help myself but to place it in a pile of leaves too, right where it belonged.
I hope you will join us in our Autumn challenge. As every week, you have a chance to win a $50 gift voucher from Simon Says Stamp. You have until Monday 8am Ohio time. 1pm UK time, 2 pm CET to join in.
Do you use Instagram ? If so please add #sssmchallenge so we can see your entries there too.


Thank you so much for visiting my blog today!
Happy crafting!
Anna-Karin
Supplies:


Brilliant!!! The best!!!
ReplyDeleteOh wow! this is absolutely fabulous! I love the buttons and the quilling, absolutely brilliant! ❤️
ReplyDeleteluv
Lols x x x
So pretty! Thank you for the tutorial.
ReplyDeleteWOw!! What a fantastic mix of buttons on this - makes such a wonderful texture! Love, love the quilling and how you colored it yourself to make these beautiful embellishments, Anna-Karin! Those little pumpkins are super!! hugs, Maura
ReplyDeleteYour button background is amazing, Anna-Karin, and those twilled pumpkins are fabulous! Love it!
ReplyDeleteCathie ♥
Wow! I can imagine how much time it took to place all the buttons and rest of details. Great job! Love the natural colors of autumn! Hugs, Marzena
ReplyDeleteLOVE the quilling on top of the buttons!! Just gorgeous!
ReplyDelete*mwah*
Steph
Simon Says Stamp!
This is a lovely October-Autumn project, Anna-Karin. Thanks for the great tutorial and all the photos.
ReplyDeleteSuch a great idea to mix buttons and quilling. Fabulous Autumn feel!
ReplyDeleteWow! This project is gorgeous! And what fun!
ReplyDeletefabulous button mica background perfect for your amazing pumpkins...hugs kath xxx
ReplyDeleteThis is such a totally fresh and modern interpretation of Autumn! I love how you incorporated so many atypical elements like the buttons in the background. And I adore seeing expertly-done quilling! Beautiful work!
ReplyDeleteAmazing creation Anna-Karin! love the warm shades you've used and now I have another thing to add to my wish-list: Lilac Lane buttons! BArbara
ReplyDeleteI love how you've used the buttons to create such a wonderful background which makes you want to reach in through the screen to just feel and touch ~ gorgeous work as always, Anna-Karin! :)
ReplyDeleteWow... this is such a stunning creation, Anna-Karin. Love the awesome background with the buttons. The quilled pumpkins are fabulous. :)
ReplyDelete