Monday, April 18, 2022

Rainy Forest Days

Hi friends! We finally have warmer weather, but today's project is about also enjoying the rainy days. 

Please note: this post has affiliate links, for which I receive a small percentage of sales generated by the link, at no extra cost to you.



We have a Whatever the Weather theme at the Simon Says Stamp Monday Challenge Blog this week. I hope you will join us and don't miss the project by our April guest designer April guest designer Cassie Lynch aka mk_knits

Layers of ink - Rainy Spring Forest Tutorial by Anna-Karin Evaldsson.

I walk in almost any weather and this art journal page is about rainy spring days in the forest. Recently, I discovered an area in a forest where thousands of blue anemone flowers grow. The blue anemone is endangered here and growing up, I only saw them once or twice, which is why they have a magical quality for me. Imagine stumbling upon thousands of them, wherever I looked. I also encounter lots of deer in the forest, so there is one on this page too.

Layers of ink - Rainy Spring Forest Tutorial by Anna-Karin Evaldsson. Ink the clouds.

I used the Simon Says Stamp Clouds for Days stencil for the clouds. It has four sides, making it easy to create a varied look. Start at the top and with the lightest shade of ink (Speckled Egg) and then add darker shades. 


Layers of ink - Rainy Spring Forest Tutorial by Anna-Karin Evaldsson.

On the lower cloud banks, I skipped the Faded Jeans. Tear printer paper to create a mask for the hill in the foreground.

Layers of ink - Rainy Spring Forest Tutorial by Anna-Karin Evaldsson. Stamp with Simon Says Stamp Forest Scenery set.

Stamp trees from Simon Says Stamp Forest Scenery with Soft Navy ink. The two bare trees were stamped with black ink. The come from the All Seasons Tree set.

Layers of ink - Rainy Spring Forest Tutorial by Anna-Karin Evaldsson.

Splatter water and add droplets to the background to create the look of misty rain. Stamp some darker spots too. The splatter stamp comes from Tim's Haunted House set. Stamp sentiments when the background is dry.

Layers of ink - Rainy Spring Forest Tutorial by Anna-Karin Evaldsson. Stamp with Simon Says Stamp Document It.

Stamp more sentiments on the background with black ink. This one comes from Simon Says Stamp Mixed Labels.

Layers of ink - Rainy Spring Forest Tutorial by Anna-Karin Evaldsson. Stamp with Simon Says Stamp Document It.

The main sentiment comes from Simon Says Stamp Document It.

Layers of ink - Rainy Spring Forest Tutorial by Anna-Karin Evaldsson.

The foreground was stamped with the Simon Says Stamp Crackle Background, for texture. I also added some grass and shadows with a black pen. I used Tim Holtz Funky Floral 2 for the flowers.

Layers of ink - Rainy Spring Forest Tutorial by Anna-Karin Evaldsson.

The blue flowers aren't quite the right shape or color for blue anemones, but they will still remind me of finding all those flowers.

I hope you will join us this week in our Whatever the Weather challenge theme. You have a chance to win a $25 gift voucher to do some fun shopping at Simon Says Stamp. You have until Monday 8am Ohio time. 1pm UK time, 2 pm CET to join in.


Do you use Instagram? If so please add #sssmchallenge so we can see your entries there too.


Thank you so much for visiting my blog today! 

Happy crafting!

Anna-Karin

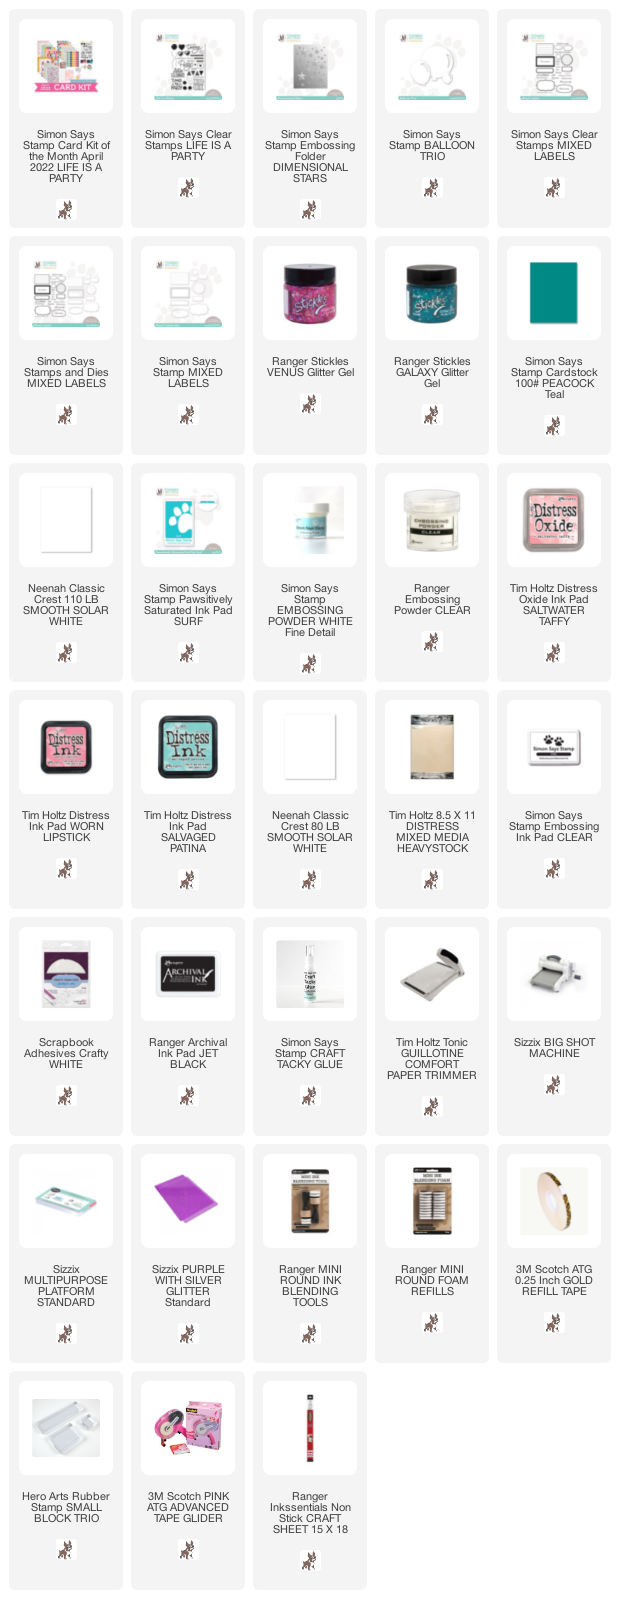
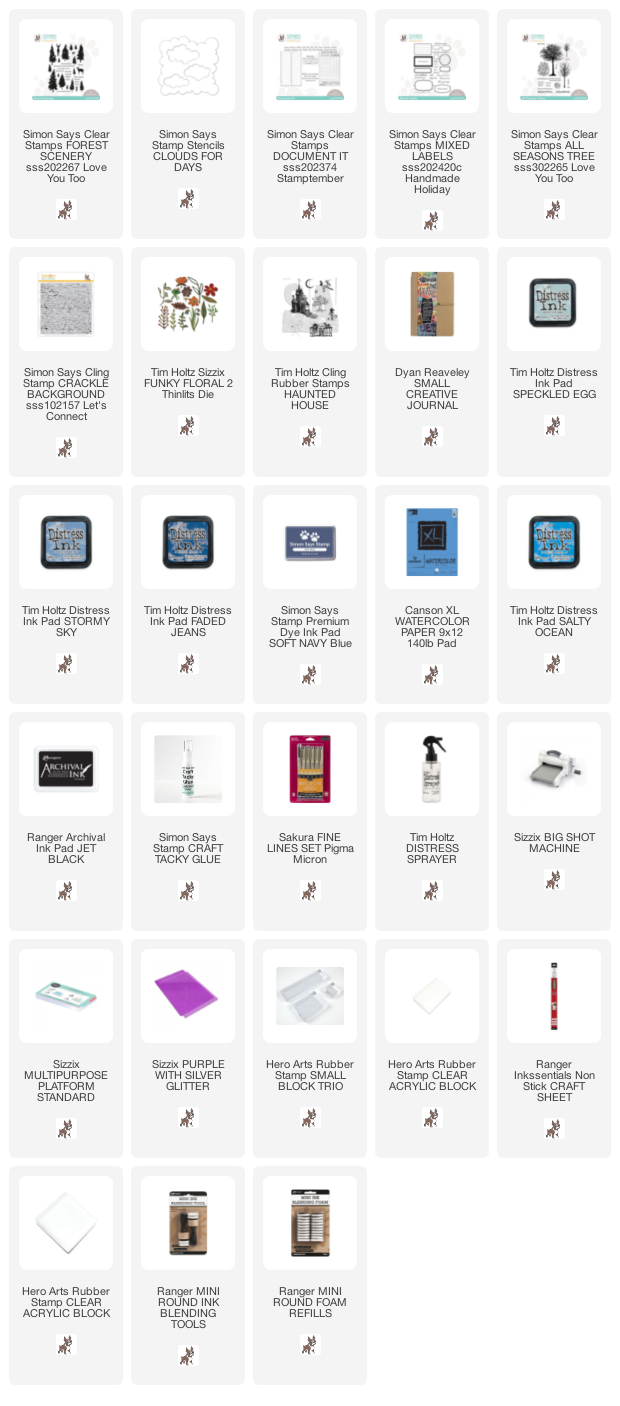
Supplies:

* Please note: the links are affiliate links, for which I receive a small percentage of sales generated by the link, at no extra cost to you.

Wednesday, April 13, 2022

Sparkly Balloon Card Tutorial

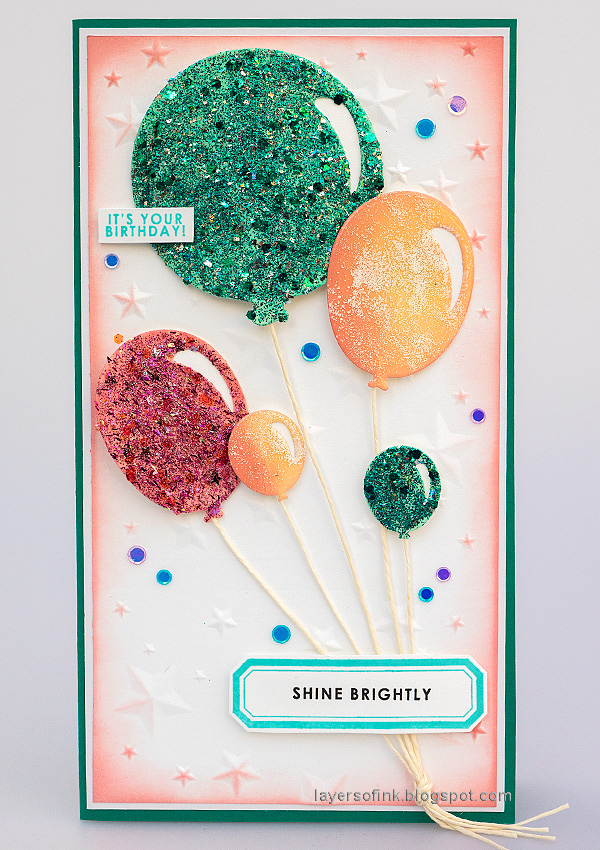
Hi friends! I have a fun birthday card to share today. Who doesn't love balloons, especially sparkly ones?

Please note: this post has affiliate links, for which I receive a small percentage of sales generated by the link, at no extra cost to you.

Layers of ink - Sparkly Balloon Card Tutorial by Anna-Karin Evaldsson.

The card was made with the Simon Says Stamp Life Is a Party Card Kit. You can also get the products separately. This is a tall card 4.5 x 8.5 in. I wanted lots of space for the balloons and their cords so that it would look like they are flying high.

Layers of ink - Sparkly Balloon Card Tutorial by Anna-Karin Evaldsson.

Die cut the Simon Says Stamp Balloon Trio from heavystock paper. 

Layers of ink - Sparkly Balloon Card Tutorial by Anna-Karin Evaldsson.

Ink three of them with Distress Inks.

Layers of ink - Sparkly Balloon Card Tutorial by Anna-Karin Evaldsson. Add Ranger's Stickles.

Cover those three completely with Venus and Galaxy Stickles glitter gel.

Layers of ink - Sparkly Balloon Card Tutorial by Anna-Karin Evaldsson. Ink with Distress Oxide ink and emboss.

Ink the last two balloons with Distress Oxide Saltwater Taffy. Emboss with several layers of clear powder. Always be very careful when using a heat tool and never touch the melted powder until it has cooled down completely. Sprinkle a little bit of white powder into the last layer.

Layers of ink - Sparkly Balloon Card Tutorial by Anna-Karin Evaldsson. Dry emboss and ink the background.

Emboss Neenah Solar white cardstock in the Simon Says Stamp Dimensional Stars folder. Turn it around to do the bottom area. I like that you can't really see a line with this embossing folder. Softly ink the edges.

Layers of ink - Sparkly Balloon Card Tutorial by Anna-Karin Evaldsson.

Glue a piece of white cardstock behind the highlight areas of the balloons. Shape the balloons slightly and mount with foam tape. I used two layers on the largest balloon. These Stickles jars have little interesting pieces inside.

Layers of ink - Sparkly Balloon Card Tutorial by Anna-Karin Evaldsson.

Add a few sequins for even more bling.

Layers of ink - Sparkly Balloon Card Tutorial by Anna-Karin Evaldsson.

I glued a string to each balloon and tied them together.

Layers of ink - Sparkly Balloon Card Tutorial by Anna-Karin Evaldsson.

The pink Venus glitter glue has stars and other interesting pieces.

Layers of ink - Sparkly Balloon Card Tutorial by Anna-Karin Evaldsson.

The embossed balloons are very shiny and interesting.

Layers of ink - Sparkly Balloon Card Tutorial by Anna-Karin Evaldsson.

The label was stamped with the Simon Says Stamp Mixed Labels set and Surf ink


Thank you so much for taking the time to stop by here today!

Happy crafting!

Anna-Karin

Supplies:

* Please note: the links are affiliate links, for which I receive a small percentage of sales generated by the link, at no extra cost to you.

Monday, April 11, 2022

Fancy Spring Cake Tutorial

Hello friends! Today I have a sweet and cheerful tutorial to share, with a fun background technique.

Please note: this post has affiliate links, for which I receive a small percentage of sales generated by the link, at no extra cost to you.


We have a Sweat Treats theme at the Simon Says Stamp Monday Challenge Blog this week. I hope you will join us! Don't miss the project by our April guest designer Cassie Lynch aka mk_knits

Layers of ink - Fancy Spring Cake Tutorial by Anna-Karin Evaldsson.

I saw an Easter cake in a magazine recently and it was the inspiration for this fancy pink cake decorated with flowers and leafy branches. The background was inspired by a checkered spring table cloth that I have and is done with a fun resist technique and multiple layers of embossing ink.

Layers of ink - Fancy Spring Cake Tutorial by Anna-Karin Evaldsson.

Start by die cutting the Simon Says Stamp Fancy Cake from Ranger white heavystock paper. I later die cut the base from glimmer cardstock instead.

Layers of ink - Fancy Spring Cake Tutorial by Anna-Karin Evaldsson.

Ink with Saltwater Taffy and Worn Lipstick.

Layers of ink - Fancy Spring Cake Tutorial by Anna-Karin Evaldsson.

Mist Tim Holtz Bouquet Findings with yellow Distress Stains.

Layers of ink - Fancy Spring Cake Tutorial by Anna-Karin Evaldsson.

Stamp the Simon Says Stamp Solid Grid background with Pearfection ink. Cover with clear embossing powder and emboss.

Layers of ink - Fancy Spring Cake Tutorial by Anna-Karin Evaldsson.

Ink with Worn Lipstick and a little Vintage Photo, coat with clear embossing powder. Always be very careful when using a heat tool and never touch the melted powder until it has cooled down completely. Add more layers until you are happy with the look. Sprinkle a little white powder into the final layer.

Layers of ink - Fancy Spring Cake Tutorial by Anna-Karin Evaldsson.

The embossing powder creates a thick glossy surface, which is cool to the touch. 

Layers of ink - Fancy Spring Cake Tutorial by Anna-Karin Evaldsson.

I die cut the Simon Says Stamp Fine Textured Leaf and inked with green shades of Distress Ink. 

Layers of ink - Fancy Spring Cake Tutorial by Anna-Karin Evaldsson.

Add a few sequins too, for some bling. The cake stand is die cut from glimmery paper and also shimmers.

Layers of ink - Fancy Spring Cake Tutorial by Anna-Karin Evaldsson.

The design of the Fancy Cake die is so clever since it creates instant dimension. For another example, check out my Birthday Cake Card Tutorial.

Layers of ink - Fancy Spring Cake Tutorial by Anna-Karin Evaldsson.

I used mummy cloth, a vintage piece of trim and a new piece of lace trim as a base/table cloth for the cake. You can stamp the background again, to cover everything, but I liked the darker border at the bottom, where the stamp didn't reach.

Layers of ink - Fancy Spring Cake Tutorial by Anna-Karin Evaldsson.

Here you can see the dimension of the flowers better.

I hope you will join us this week in our Sweet Treats challenge theme. You have a chance to win a $25 gift voucher to do some fun shopping at Simon Says Stamp. You have until Monday 8am Ohio time. 1pm UK time, 2 pm CET to join in.


Do you use Instagram? If so please add #sssmchallenge so we can see your entries there too.


Thank you so much for visiting my blog today! 

Happy crafting!

Anna-Karin

Supplies:

* Please note: the links are affiliate links, for which I receive a small percentage of sales generated by the link, at no extra cost to you.
Monday, April 4, 2022

Doodle Flowers Tag

Hello friends! I hope you had a good weekend. Today we have a new challenge for you at the Simon Says Stamp Monday Challenge blog and our theme is 'Spring/Easter'.

Please note: this post has affiliate links, for which I receive a small percentage of sales generated by the link, at no extra cost to you.


Since it is the first Monday of a new month, the team is showcasing products by a specific company/designer, and this week it is Paper Artsy. You can find their wonderful range or products here. You don't have to use their products to join, but it is always fun if you do.

We also have a new guest designer who will join us in April, namely Cassie Lynch aka mk_knits. I hope you will visit her blog to see what she has created.

Layers of ink - Doodle Flowers Tag Tutorial by Anna-Karin Evaldsson.

I made a spring-time tag, with fun inked and doodled flowers, made with Paper Arty's stunning Tracy Scott Large Stencil PS305. You can create so many different flowers with this versatile stencil.

Layers of ink - Doodle Flowers Tag Tutorial by Anna-Karin Evaldsson.

I started out with a sheet of watercolor paper and misted it with water. Sprinkle a tiny bit of Paper Artsy Infusions stain on the paper and mist with more water if needed. You can pick up some of the darker pigments with a paper towel. Leave to dry and you have a bunch of ready backgrounds.

Layers of ink - Doodle Flowers Tag Tutorial by Anna-Karin Evaldsson.

I forgot to take one of the step photos here. Die cut a tag from the background paper. Place the Paper Arty's stunning Tracy Scott Large Stencil PS305 stencil on top and ink flowers with a mix of Distress Ink and Distress Oxide ink. The larger flowers have flower centers made with Sizzix Luster Wax Silver. Doodle around the flowers with a black pen.

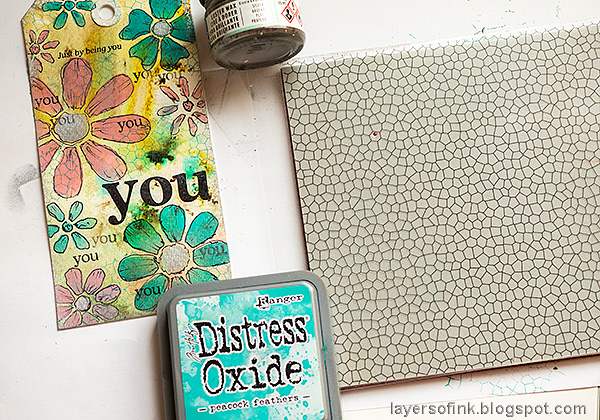
Layers of ink - Doodle Flowers Tag Tutorial by Anna-Karin Evaldsson. Stamp with Simon Says Stamp Stained Glass.

Stamp sentiments with black ink and the Simon Says Stamp Stained Glass background with Peacock Feathers Distress Oxide Ink here and there.

Layers of ink - Doodle Flowers Tag Tutorial by Anna-Karin Evaldsson.

I applied a little silver Luster Wax around the edges too and a few pieces of Design Tape.

Layers of ink - Doodle Flowers Tag Tutorial by Anna-Karin Evaldsson.

I like to stamp one or a few words repeatedly without reinking.

Layers of ink - Doodle Flowers Tag Tutorial by Anna-Karin Evaldsson.

Add a few sequins for some bling.

Layers of ink - Doodle Flowers Tag Tutorial by Anna-Karin Evaldsson.


Layers of ink - Doodle Flowers Tag Tutorial by Anna-Karin Evaldsson.


I hope you will join us this week in our Easter/Spring theme. You have a chance to win a $25 gift voucher to do some fun shopping at Simon Says Stamp. You have until Monday 8am Ohio time. 1pm UK time, 2 pm CET to join in.


Do you use Instagram? If so please add #sssmchallenge so we can see your entries there too.


Thank you so much for visiting my blog today! 

Happy crafting!

Anna-Karin

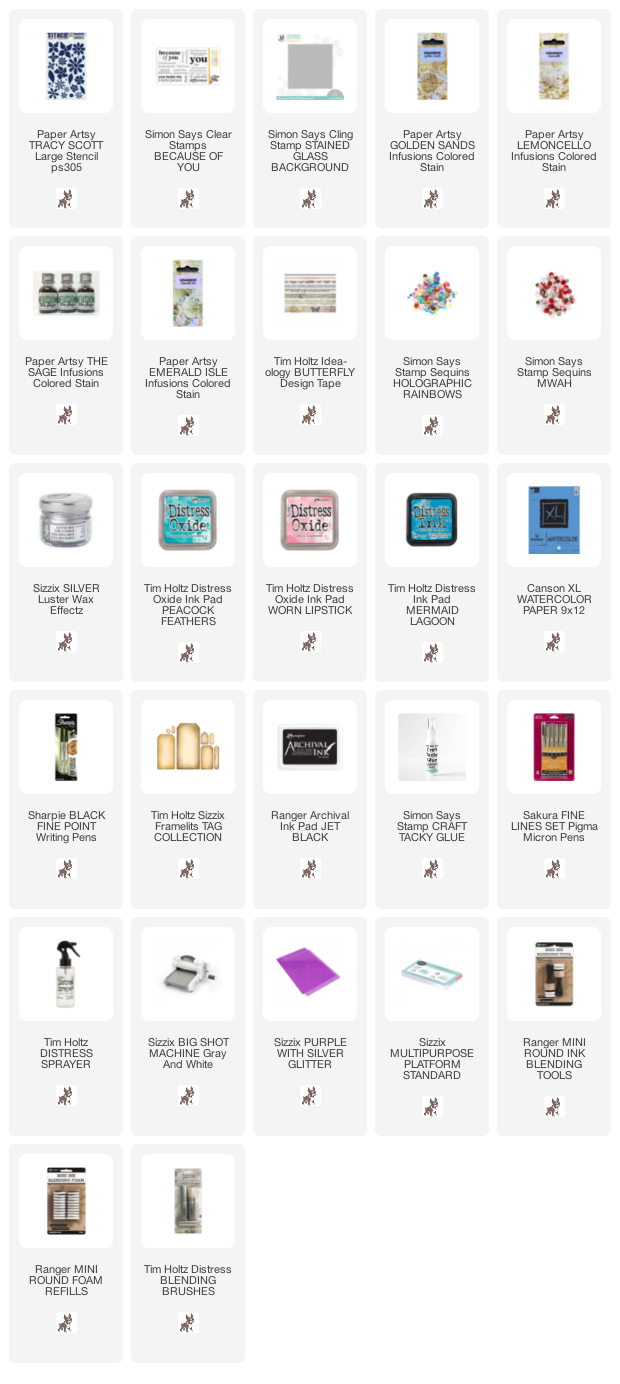
Supplies:

* Please note: the links are affiliate links, for which I receive a small percentage of sales generated by the link, at no extra cost to you.