Hi friends! I have a fun birthday card to share today. Who doesn't love balloons, especially sparkly ones?
Please note: this post has affiliate links, for which I receive a small percentage of sales generated by the link, at no extra cost to you.
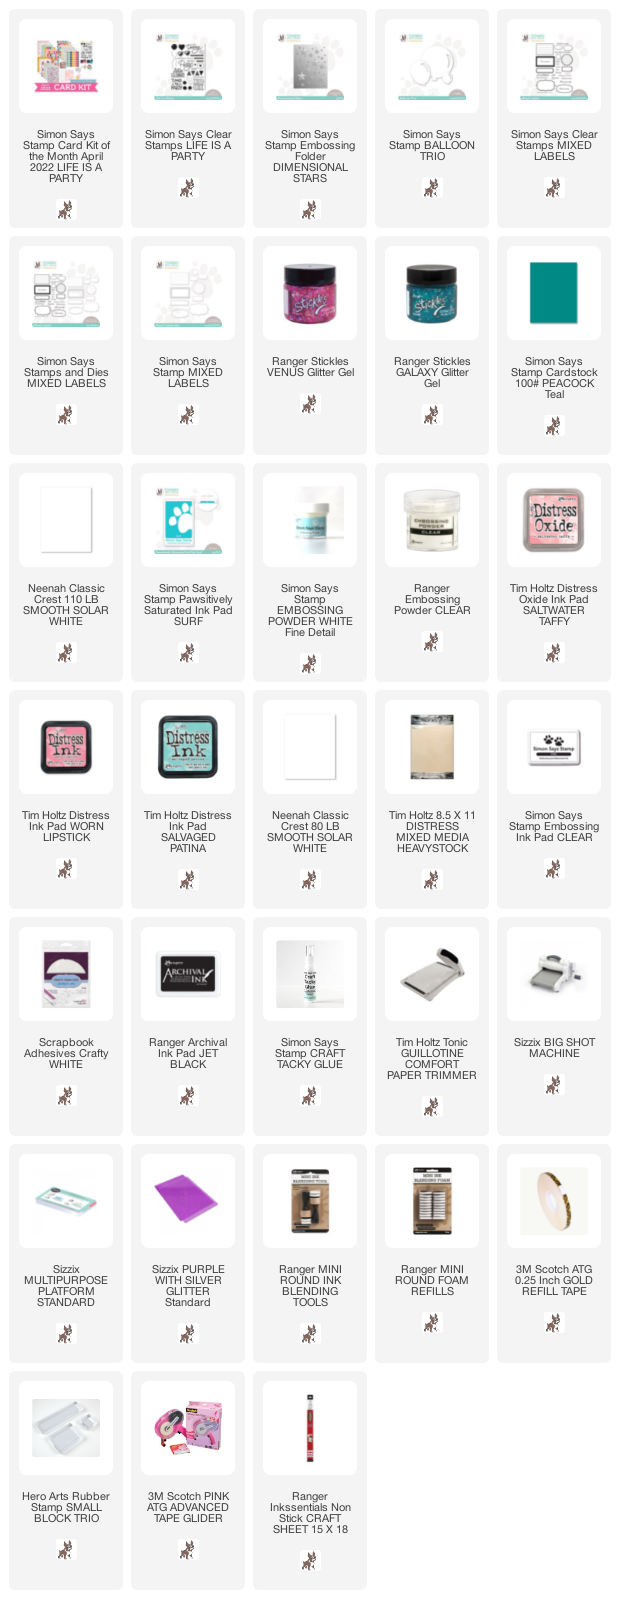
The card was made with the Simon Says Stamp Life Is a Party Card Kit. You can also get the products separately. This is a tall card 4.5 x 8.5 in. I wanted lots of space for the balloons and their cords so that it would look like they are flying high.
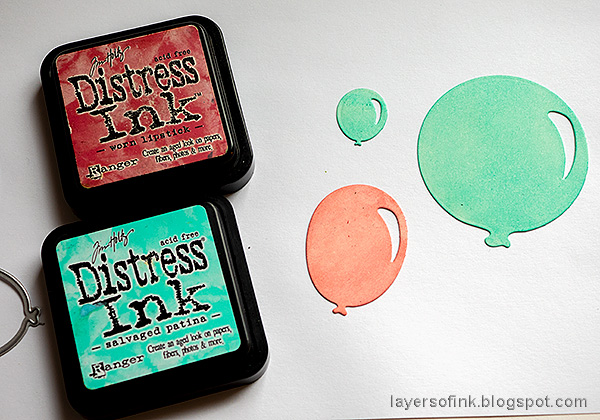
Ink the last two balloons with Distress Oxide Saltwater Taffy. Emboss with several layers of clear powder. Always be very careful when using a heat tool and never touch the melted powder until it has cooled down completely. Sprinkle a little bit of white powder into the last layer.
Emboss Neenah Solar white cardstock in the Simon Says Stamp Dimensional Stars folder. Turn it around to do the bottom area. I like that you can't really see a line with this embossing folder. Softly ink the edges.
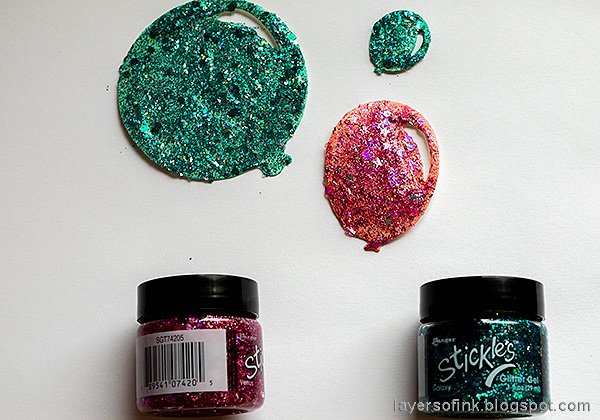
Glue a piece of white cardstock behind the highlight areas of the balloons. Shape the balloons slightly and mount with foam tape. I used two layers on the largest balloon. These Stickles jars have little interesting pieces inside.
Add a few sequins for even more bling.
I glued a string to each balloon and tied them together.
The pink Venus glitter glue has stars and other interesting pieces.
The embossed balloons are very shiny and interesting.
The label was stamped with the Simon Says Stamp Mixed Labels set and Surf ink.
* Please note: the links are affiliate links, for which I receive a small percentage of sales generated by the link, at no extra cost to you.


No comments:
Post a Comment
Thank you so much for leaving a comment! Happy Crafting!