
Hi stampers! Today I have a tutorial to share for an underwater scene, using dye ink on glossy cardstock.
Please note: this post has affiliate links, for which I receive a small percentage of sales generated by the link, at no extra cost to you.

My youngest wants to be a researcher studying water creatures, in particular the spectacular orca, which is his favorite animal. I made this scenic stamping piece for him. You can also easily turn it into a card instead.
This scene was done on Simon Says Stamp white glossy paper, which works great together with dye inks, but is hard to photograph because of reflections.

I used Hero Arts Layering Orca set and stamped the first impression with Watering Can ink. In real life, this should be black, but what couldn't work with the layering and shading effect. I considered blue, but picked dark grey instead, since I knew my son would not think a blue orca was correct.

Stamp the next layer with black ink. It might help to use a stamp position tool when stamping layered stamps, but don't worry if your layers do not align perfectly. I also always test stamp on scrap paper first.

Stamp the third layer with a light grey or light blue ink. I used Archival Ink Shadow Grey.

Stamp on Simon Says Stamp Masking Paper and cut out. My mask wasn't perfect, but I left it like that anyway.

I used a Speedball Brayer to apply the ink, starting with the lightest shade. Avoid lines by running the edges of the brayer on scrap paper first. Ranger also has brayers, which you can find here.

Continue with darker shades. Here I started making the deeper ocean gradually darker than the surface.

Next add layers of Blueprint Sketch and finally some Black Soot.


Instead I used a white gel pen. Remove the mask and let some of the rays go behind and some in front of the whale. Stamp small fish and a turtle. Add dots as highlights with the white gel pen.

The sentiment comes from Simon Says Stamp Forest Scenery.

The rays gives additional focus to the orca. As you can see here, the mask was too small at the bottom of the orca, but if anything, it helped her blend better into the background, since there isn't a lighter halo and since it didn't matter that some blue ended up on the light gray shadow area.

The rays don't need to be perfect, but I did use a ruler. The lighter areas in the background from the first layer with only water gave more depth to the rays. Sometimes the unexpected effects are the best.


Thank you so much for taking the time to stop by here today!
Happy crafting!
Anna-Karin
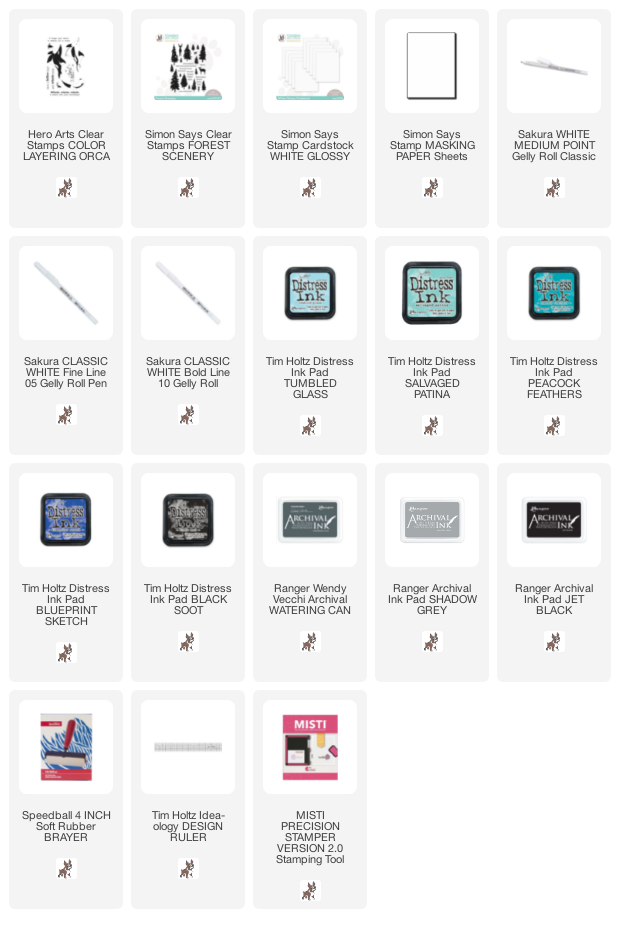
Supplies:
* Please note: the links are affiliate links, for which I receive a small percentage of sales generated by the link, at no extra cost to you.
* Please note: the links are affiliate links, for which I receive a small percentage of sales generated by the link, at no extra cost to you.
Awesome!! I love that you framed it because it is a really cute image.
ReplyDelete