Hello friends! Today I have a sweet and cheerful tutorial to share, with a fun background technique.
Please note: this post has affiliate links, for which I receive a small percentage of sales generated by the link, at no extra cost to you.
We have a Sweat Treats theme at the Simon Says Stamp Monday Challenge Blog this week. I hope you will join us! Don't miss the project by our April guest designer Cassie Lynch aka mk_knits.
Start by die cutting the Simon Says Stamp Fancy Cake from Ranger white heavystock paper. I later die cut the base from glimmer cardstock instead.
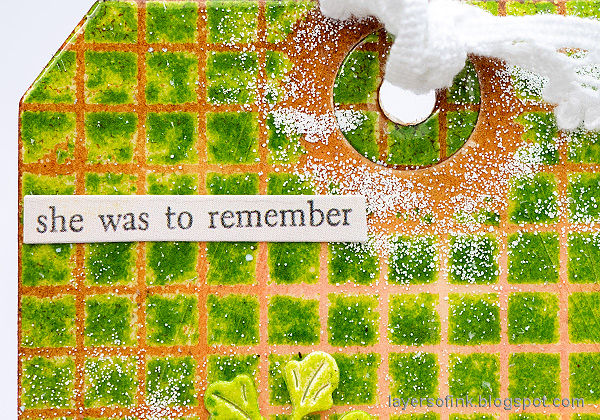
Stamp the Simon Says Stamp Solid Grid background with Pearfection ink. Cover with clear embossing powder and emboss.
Ink with Worn Lipstick and a little Vintage Photo, coat with clear embossing powder. Always be very careful when using a heat tool and never touch the melted powder until it has cooled down completely. Add more layers until you are happy with the look. Sprinkle a little white powder into the final layer.
The embossing powder creates a thick glossy surface, which is cool to the touch.
I die cut the Simon Says Stamp Fine Textured Leaf and inked with green shades of Distress Ink.
Add a few sequins too, for some bling. The cake stand is die cut from glimmery paper and also shimmers.
The design of the Fancy Cake die is so clever since it creates instant dimension. For another example, check out my Birthday Cake Card Tutorial.
I used mummy cloth, a vintage piece of trim and a new piece of lace trim as a base/table cloth for the cake. You can stamp the background again, to cover everything, but I liked the darker border at the bottom, where the stamp didn't reach.
I hope you will join us this week in our Sweet Treats challenge theme. You have a chance to win a $25 gift voucher to do some fun shopping at Simon Says Stamp. You have until Monday 8am Ohio time. 1pm UK time, 2 pm CET to join in.


No comments:
Post a Comment
Thank you so much for leaving a comment! Happy Crafting!