
Hi stampers! Happy Valentine's Day! We are back with a new Simon Says Stamp Monday Challenge.
Please note: this post has affiliate links, for which I receive a small percentage of sales generated by the link, at no extra cost to you.

This week we have a Food and/or Drink theme at the Simon Says Stamp Monday Challenge Blog. I hope you will join us! Don't miss the gorgeous project by our February guest designer Susan Babcock aka Susanbcards.

My youngest is soon turning 7 and I made a card for him with a yummy tiered birthday cake. He doesn't love whipped cream, so this cake has a nice thick frosting instead, with a sprinkle of glitter. The background is a quick and simple dry embossed background.

Ink the Blossom Field embossing folder with various Distress Inks. Mist the watercolor paper with water and then emboss. This gives constant coloring and dry embossing in one step.
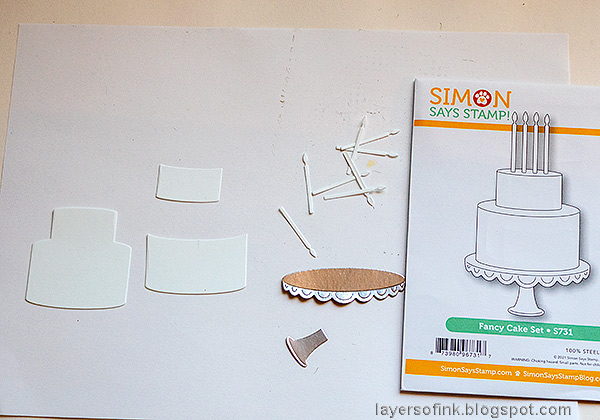
Start by die cutting the Simon Says Stamp Fancy Cake Set from Distress White Heavystock paper and silver kraft core paper.
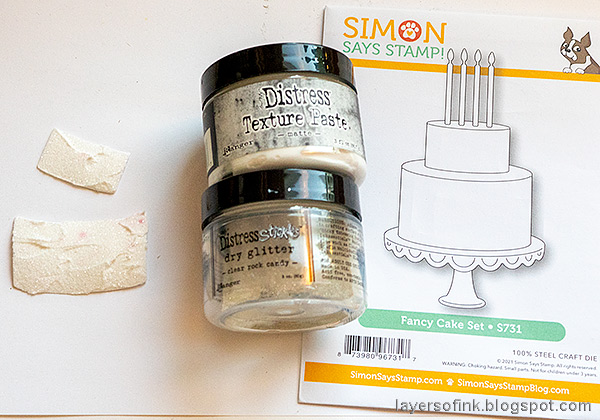
Apply a thick layer of Texture Paste on two of the cake pieces. Cover with Rock Candy Glitter. Let dry.

Ink the base of the cake with Distress Ink. Ink the candles yellow and add a wick with a black pen.
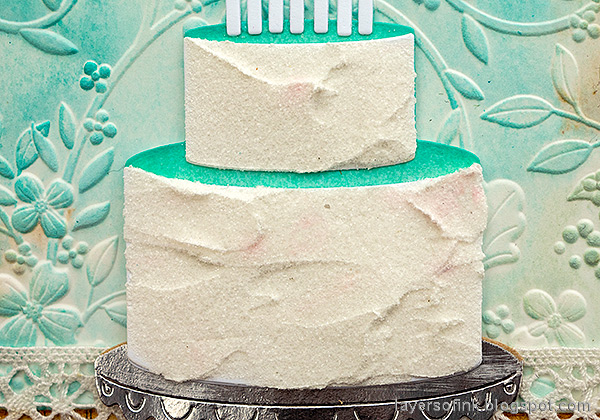
Layer the pieces of the cake together. This die set is so cleverly designed in the way that it creates a 3-D effect.

If you need more candles on the cake, you can layer them in two rows.
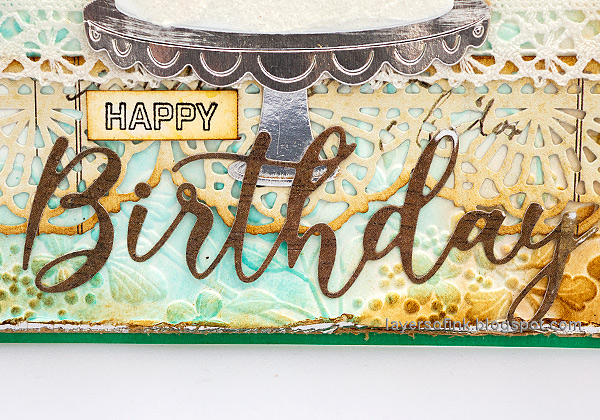
The lace was die cut with Tim Holtz Crochet set from his Backdrops paper. I die cut the Simon Says Stamp Birthday word from another piece of left-over Backdrops paper. Stamp 'happy' with Simon Says Stamp Mix and Match Squares and cut into a strip.
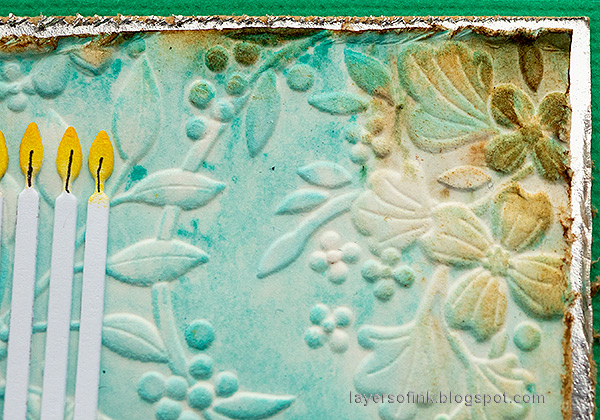
I inked the edges of the dry embossed paper slightly and matted it on silver kraft core paper, distressing the edges of both.
I hope you will join us this week in our Food and/or Drink challenge. You have a chance to win a $25 gift voucher to do some fun shopping at Simon Says Stamp. You have until Monday 8am Ohio time. 1pm UK time, 2 pm CET to join in.

Do you use Instagram? If so please add #sssmchallenge so we can see your entries there too.


Thank you so much for visiting my blog today!
Happy crafting!
Anna-Karin
Supplies:
* Please note: the links are affiliate links, for which I receive a small percentage of sales generated by the link, at no extra cost to you.
* Please note: the links are affiliate links, for which I receive a small percentage of sales generated by the link, at no extra cost to you.
Fabulous cake, Anna-Karin! Love the beautiful textures on the cake - looks like icing, and the background. Happy Valentine's Day to you and the boys! Maura
ReplyDelete