
Hello friends! Simon Says Stamp has a new release called Good Luck Charm, which is full of new stamps, dies, stencils, inks and other products perfect for spring-time projects.
Please note: this post has affiliate links, for which I receive a small percentage of sales generated by the link, at no extra cost to you.

I just love all the shades of green in this photo and I am really looking forward to spring.

One of the new products is Black Glossy Cardstock and since I really like gloss cardstock, I had to try it out. The background has a fun textured effect, using the Wavy Circles background stamp, Distress Oxide ink and clear embossing. The sentiment comes from the Spring Stems set.

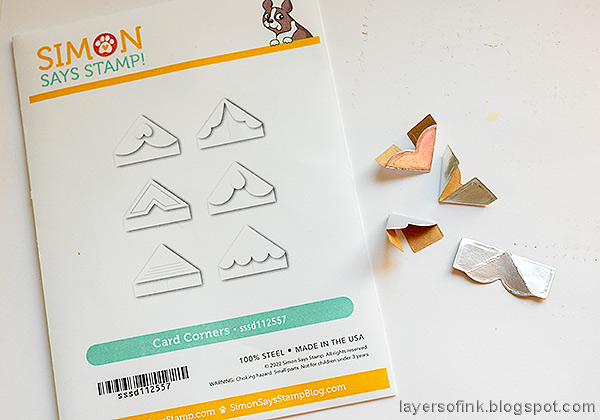
I used to like to add decorative corners to photos and cards in my early days of papercrafting and was happy to see this new Card Corners die set. You get six different corner designs. I used one of them together with silver kraft cardstock.

Ink with Distress Inks. Shape with Tim Holtz Shaping kit tool set.

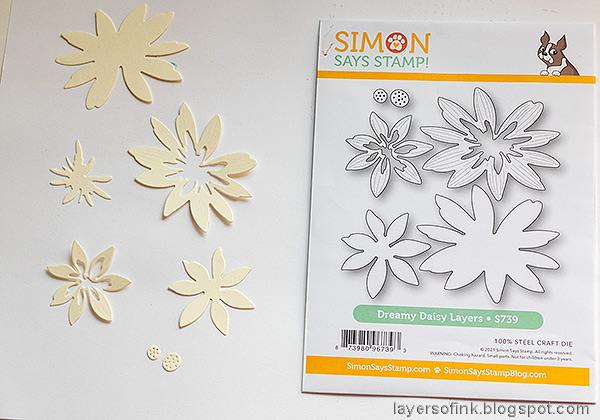
Sand the edges of the card corners and ink with brown ink. Mount the glossy layer on kraft and then on folded mint cardstock. Layer the flowers together.

I made one of the flowers larger than the other.

The two-toned effect with the clear embossing and all that texture looks nice on the black glossy background.

The flowers from Dreamy Daisy Layers can be layered and arranged in many different ways. I will enjoy using this set for dimensional flowers.

* Please note: the links are affiliate links, for which I receive a small percentage of sales generated by the link, at no extra cost to you.
No comments:
Post a Comment
Thank you so much for leaving a comment! Happy Crafting!