Thursday, March 11, 2021

Stenciled Circle Background

Hi friends! Today I have a stenciled circle background tutorial to share with you, which would work as a background for many different types of projects.

Layers of ink - Stenciled Circle Background Art Journal Tutorial by Anna-Karin Evaldsson.

I used products from Simon Says Stamp Hello Beautiful release, which arrived here two days ago. It is a gorgeous new release and I was so happy to use the first stencil that I designed, namely the Mix and Match Circles Stencil. There is also a Mix and Match Squares Stencil. I love the versatility of stencils and that they can be used for so many different techniques. I did an art journal page in my Dylusions Small Creative Flip Journal. I really like the size of this journal and that you can so easily work either horizontally or vertically.

Layers of ink - Stenciled Circle Background Art Journal Tutorial by Anna-Karin Evaldsson. Ink the background with Distress Ink.

Ink a page with Antique Linen and Pumice Stone. I placed my non-stick craft sheet under the page.

Layers of ink - Stenciled Circle Background Art Journal Tutorial by Anna-Karin Evaldsson. Ink through the Simon Says Stamp Mix and Match Circles Stencil.

Now for the fun part. Place the Mix and Match Circles Stencil on the background and start inking with Speckled Egg and Shaded Lilac. I was really happy to see the look of these two colors together. Move the stencil and continue with the rest of the page. It is easy to ink a large area with the stencil and if you turn it you will get even more variation.

Layers of ink - Stenciled Circle Background Art Journal Tutorial by Anna-Karin Evaldsson.

Ink here and there through the stencil with Speckled Egg Distress Oxide ink, using a blending brush.

Layers of ink - Stenciled Circle Background Art Journal Tutorial by Anna-Karin Evaldsson. Ink the through stencil with Distress Oxide ink.

Ink through the stencil again, with Wilted Violet, you only need a little.
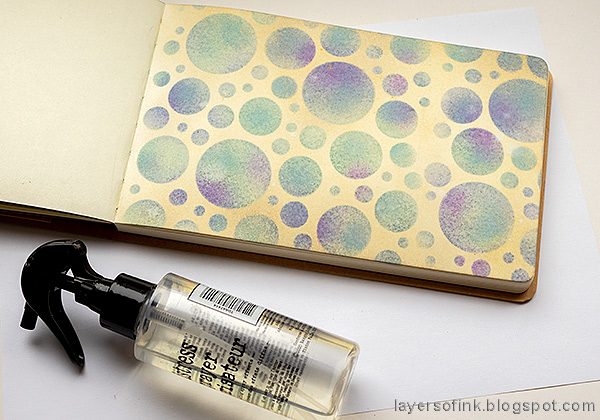
Layers of ink - Stenciled Circle Background Art Journal Tutorial by Anna-Karin Evaldsson.

Mist very lightly with water, to add just a little texture.

Layers of ink - Stenciled Circle Background Art Journal Tutorial by Anna-Karin Evaldsson. Ink and emboss with clear powder. Stamp with Simon Says Stamp Mix and Match Circles stamp set.

The stencil coordinates with some of the circles of the Mix and Match Circles Stamp set, and I stamped a few of them on the inky circles. 

Layers of ink - Stenciled Circle Background Art Journal Tutorial by Anna-Karin Evaldsson. Die cut the Simon Says Stamp Beautiful word.

Die cut the Simon Says Stamp Capital B Beautiful word. You can separate the word from the mat, but for now, I decided to keep it together so that I could do an inlay design.

Layers of ink - Stenciled Circle Background Art Journal Tutorial by Anna-Karin Evaldsson. Ink and emboss with clear powder.

Ink the word with Victorian Velvet Distress Ink and Worn Lipstick Oxide Ink. Ink with two layers of clear embossing ink. I added the first layer right onto the Distress Ink, but needed to add Clear Embossing ink before the second layer, to get an even result. Always be careful when using a heat tool and never touch the melted powder until it has cooled down completely.

Layers of ink - Stenciled Circle Background Art Journal Tutorial by Anna-Karin Evaldsson. Ink and emboss with clear powder.

Ink with Pumice Stone Distress Ink and mist lightly with water.

Layers of ink - Stenciled Circle Background Art Journal Tutorial by Anna-Karin Evaldsson. Die cut Tim Holtz Wildflowers Stems 3.


Layers of ink - Stenciled Circle Background Art Journal Tutorial by Anna-Karin Evaldsson. Ink and emboss with clear powder.

As with the word, ink with a mix of Distress Ink and Oxide ink and emboss with two layers of clear powder.

Layers of ink - Stenciled Circle Background Art Journal Tutorial by Anna-Karin Evaldsson. Ink and emboss with clear powder. Stamp with Simon Says Stamp Mix and Match Circles stamp set.

The flowers look so shiny and the dies are very intricate. 

Layers of ink - Stenciled Circle Background Art Journal Tutorial by Anna-Karin Evaldsson. Ink and emboss with clear powder. Stamp with Simon Says Stamp Mix and Match Circles stamp set.

The sentiment was stamped with Simon Says Stamp Beautiful Butterflies, using Slate ink.

Layers of ink - Stenciled Circle Background Art Journal Tutorial by Anna-Karin Evaldsson. Ink and emboss with clear powder. Stamp with Simon Says Stamp Mix and Match Circles stamp set.

If you look closely at the circles, you can see that there is a subtle texture and a variety of shades. The combination of Distress Ink with just a little Oxide ink also makes for an interesting look.

Layers of ink - Stenciled Circle Background Art Journal Tutorial by Anna-Karin Evaldsson. Ink and emboss with clear powder. Stamp with Simon Says Stamp Mix and Match Circles stamp set.

Here you can see the lovely shine from the embossing powder. The second sentiment comes from the Forest Scenery set. It was also stamped with Slate ink. I didn't use any black on this page.

Layers of ink - Stenciled Circle Background Art Journal Tutorial by Anna-Karin Evaldsson. Ink and emboss with clear powder. Stamp with Simon Says Stamp Mix and Match Circles stamp set.

The circle was stamped with Stormy Sky. I also inked around the entire page with Hickory Smoke. 

Layers of ink - Stenciled Circle Background Art Journal Tutorial by Anna-Karin Evaldsson. Ink and emboss with clear powder. Stamp with Simon Says Stamp Mix and Match Circles stamp set.

And a final look at the lovely shiny flowers.


Thank you so much for taking the time to stop by here today! 

Happy crafting!

Anna-Karin

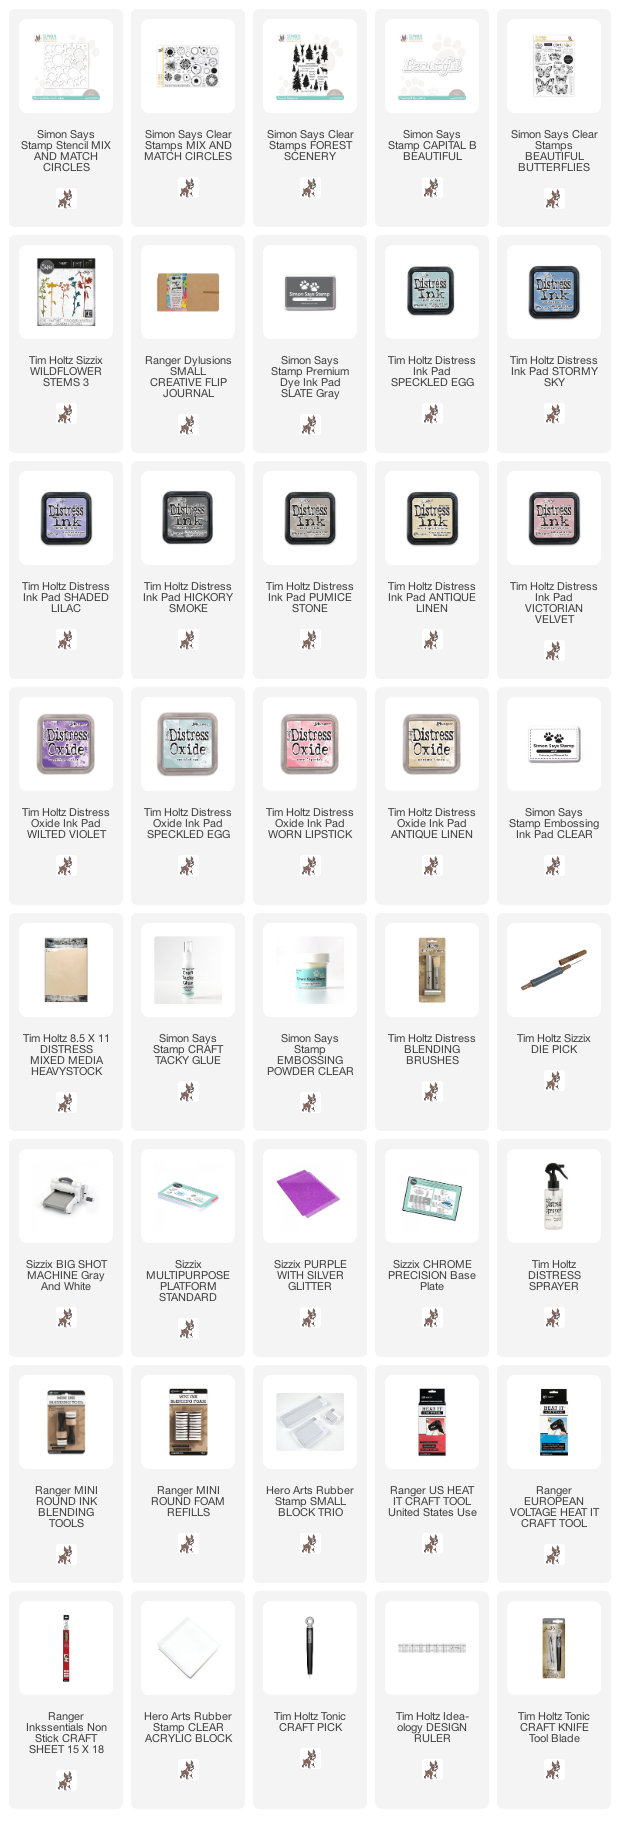
Supplies:

* Please note: the links are affiliate links, for which I receive a small percentage of sales generated by the link, at no extra cost to you.
Monday, March 8, 2021

Shades of green tag

Hello stampers! I hope you are well and had a good weekend. The boys and I did some fun crafting with clay and fibers yesterday and spent a lot of time outdoors. 


This week at the Simon Says Stamp Monday Challenge Blog we have an 'Use something green' theme. Green is one of my favorite colors and I love seeing how nature explodes in shades of green in spring. We aren't quite there yet, but it is starting. 

Don't miss the beautiful project by our March guest designer Sandra Rupp.

Layers of ink - Spring Forest Inky Tag Tutorial by Anna-Karin Evaldsson.

I made a scenic stamping tag this week, with an easy, but very effective inking technique. There is also heat embossing with both metallic and Distress Glaze powders. I was very happy to get the package with the stamp sets I designed from the Simon Says Stamp Love You, Too release, namely the Forest Scenery and the All Seasons Tree. I used the Forest Scenery here.

Layers of ink - Spring Forest Inky Tag Tutorial by Anna-Karin Evaldsson. Ink with Distress Ink.

Start by inking a tag with Distress Inks. I used green shades as well as a little Frayed Burlap.

Layers of ink - Spring Forest Inky Tag Tutorial by Anna-Karin Evaldsson.

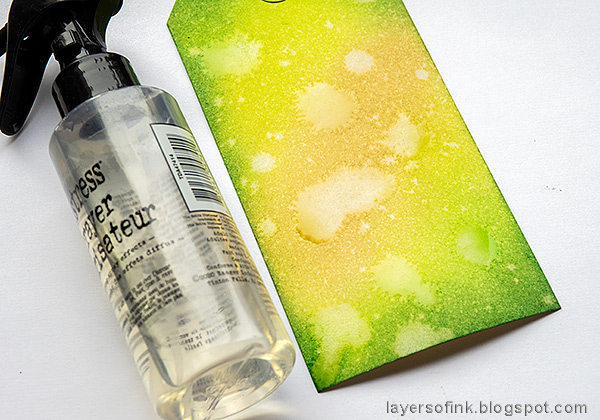
Mist with water and add some drops.

Layers of ink - Spring Forest Inky Tag Tutorial by Anna-Karin Evaldsson. Stamp trees from Simon Says Stamp Forest Scenery.

The Forest Scenery set has a variety of pine trees in different sizes, which makes it easy to create a scene and to get a sense of perspective. Stamp one of the larger trees with embossing ink and emboss with Rustic Wilderness Distress Glaze. After embossing the first time, I added another two layers of embossing glaze, not worrying about getting the powder everywhere. This gives shades of green, from just the one powder.

Layers of ink - Spring Forest Inky Tag Tutorial by Anna-Karin Evaldsson. Stamp deer from Simon Says Stamp Forest Scenery.

The larger deer were embossed with Copper powder, adding two layers. Always be very careful when using a heat tool and never touch the melted powder until it has cooled down completely.

Layers of ink - Spring Forest Inky Tag Tutorial by Anna-Karin Evaldsson.

Add a smaller tree and emboss it with Cracked Pistachio Distress Glaze. I also dropped in a little Rustic Wilderness. The group of three smaller trees were also embossed with Cracked Pistachio using three layers. At this stage, you might think that the scene looks a little weird, but just wait until the next step and magic will happen.

Layers of ink - Spring Forest Inky Tag Tutorial by Anna-Karin Evaldsson. Ink with more Distress Ink.

Tear a piece of printer paper into a rough hill and place on the tag as a mask. Ink with Mowed Lawn and Rustic Wilderness. This creates a hill and grounds the stamping to the background.

Layers of ink - Spring Forest Inky Tag Tutorial by Anna-Karin Evaldsson.

Tear another piece of paper and repeat at the group of three trees. See how they suddenly stand on a high hill instead of float in air as they did earlier. 

Layers of ink - Spring Forest Inky Tag Tutorial by Anna-Karin Evaldsson.

I added third hill, using less ink so that it looks fainter and thereby also further away.

Layers of ink - Spring Forest Inky Tag Tutorial by Anna-Karin Evaldsson.

I see deer often on my walks and outside the window and the deer on this stamp set were inspired by the deer who come and visit outside the window. The two layers of copper powder gives a slightly textured look. I rubbed Twisted Citron paint into the words on the Thought Token.

Layers of ink - Spring Forest Inky Tag Tutorial by Anna-Karin Evaldsson.

I don't know if you can see it here, but some of the lighter Cracked Pistachio powder also got stuck to the larger tree, adding another shade of green there.

Layers of ink - Spring Forest Inky Tag Tutorial by Anna-Karin Evaldsson.

The Distress Glaze is very shiny. I love the look.

Layers of ink - Spring Forest Inky Tag Tutorial by Anna-Karin Evaldsson.

I didn't worry about removing all stray powder, which led to one of my favorite parts of this tag. The texture of the strayed powder acting as a resist for the ink. If you look under the trees, you see it clearly there.

Layers of ink - Spring Forest Inky Tag Tutorial by Anna-Karin Evaldsson. Shades of green.

The mummy cloth was dyed with green Distress Inks so that it coordinates with the tag. 

If you want more inspiration using the Forest Scenery set, I had a tutorial on the Simon Says Stamp store blog yesterday, for a spring forest art journal spread.

I hope you will join us this week in our Use Something Green challenge. You have a chance to win a $25 gift voucher to do some fun shopping at Simon Says Stamp. You have until Monday 8am Ohio time. 1pm UK time, 2 pm CET to join in.


Do you use Instagram? If so please add #sssmchallenge so we can see your entries there too.


Thank you so much for taking the time to stop by here today! 

Happy crafting!

Anna-Karin

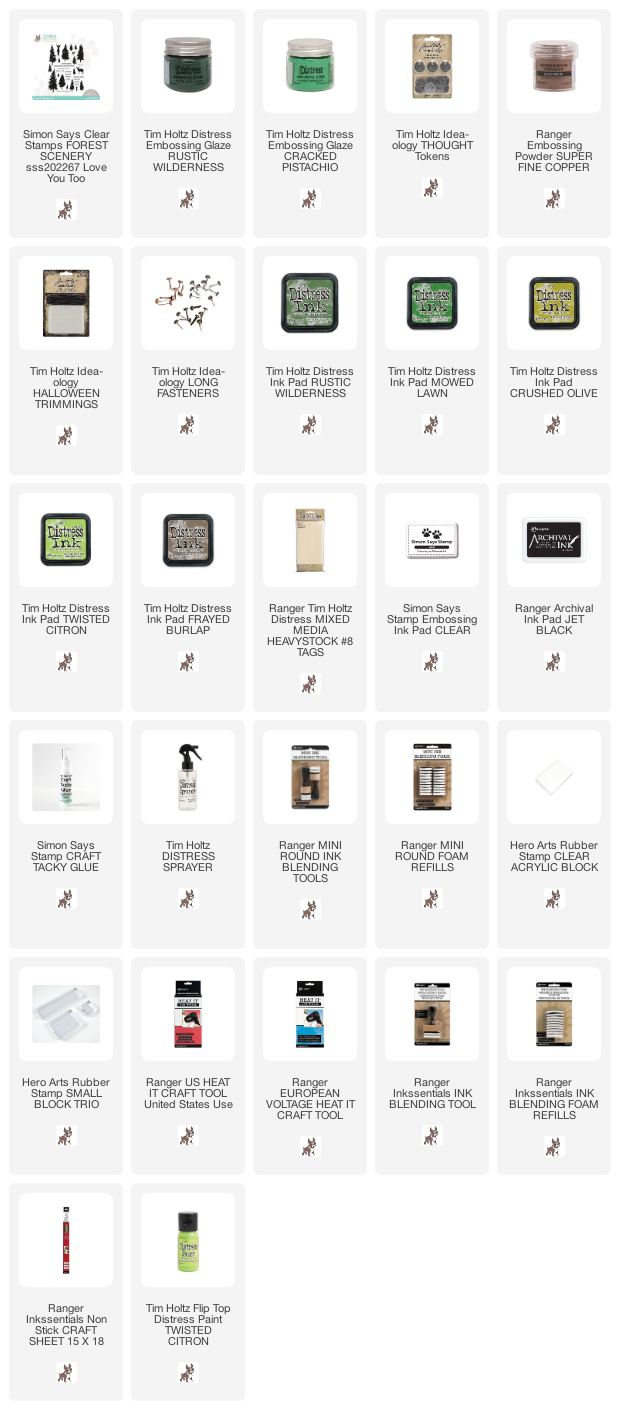
Supplies:

* Please note: the links are affiliate links, for which I receive a small percentage of sales generated by the link, at no extra cost to you.

Sunday, March 7, 2021

Spring Forest Tutorial

Hi friends!! I hope you are well and that you are having a good weekend. I am happy to have a tutorial on the Simon Says Stamp store blog today. I created a spring forest art journal thread, but the techniques work great for other projects too. Here's a sneak peek:

Layers of ink - Spring Forest Tutorial by Anna-Karin Evaldsson.

I was so happy to get the parcel with my two stamp sets from the Simon Says Stamp Love You, Too release, namely the Forest Scenery and All Seasons Tree sets and started stamping with them right away. We had an almost perfect transition from winter to spring here and I love starting to see signs of spring as I go on my walks. The forest is my favorite place any time of the year, but in spring time, it is extra amazing and I wanted to document all the shades of green that you can find in a spring forest. 

The project has a bunch of different techniques: Distress Ink watercolor background, watercolor stamping, adding leaves with embossing and splatters, and how to create a sense of perspective when building a scene with stamps. 

To see the full project and the tutorial, you'll have to head over to the Simon Says Stamp Store Blog.


Thank you so much for taking the time to stop by here today! 

Happy crafting!

Anna-Karin

Supplies:

* Please note: the links are affiliate links, for which I receive a small percentage of sales generated by the link, at no extra cost to you.

Monday, March 1, 2021

Silhouettes Art Journal Page

Hello crafters! It is a new month and spring is in the air. The weather changed completely in just a few days. Today I have a mixed media tutorial to share with you.


We have an Art Journal theme at the Simon Says Stamp Monday Challenge Blog this week. If you have never tried art journaling before, this would be a great time to do so. It is very freeing and fun. If you don't have an art journal, you can work on a sheet of paper. Since it is the first Monday of a new month, the team is showcasing products by a specific designer/company and this week it is Dyan Reaveley with her Dylusions range. You can see her fantastic products here. You don't have to use Dyan's products to join, but it is always fun if you do. 

We also have a new guest designer and during March, Sandra Rupp is joining us. Be sure to visit her beautiful blog SRpaperlove to see what she has created for you.

Layers of ink - Silhouette Art Journal Page Tutorial by Anna-Karin Evaldsson.
Both boys have their birthdays in the second half of February, so it is normally a time of celebration and parties. This year was a little different, but they were happy with their birthdays anyway. Last year, both of them had parties, and it was literary just days before everything changed because of Covid. Hopefully, by next year, they will have normal birthdays again. 

I made a double page art journal spread in my large Dylusions Journal to celebrate brotherhood. It's about 16.5 x 11.4 in. Sometimes it is fun to work large, but you can of course use the techniques for smaller sized projects too.

Layers of ink - Silhouette Art Journal Page Tutorial by Anna-Karin Evaldsson.

Coat the page with gesso and when dry, paint with watered-down Distress Paints. Mist with more water to help them blend.

Layers of ink - Silhouette Art Journal Page Tutorial by Anna-Karin Evaldsson. Paint silhouettes with Dylusions Otis stencil.

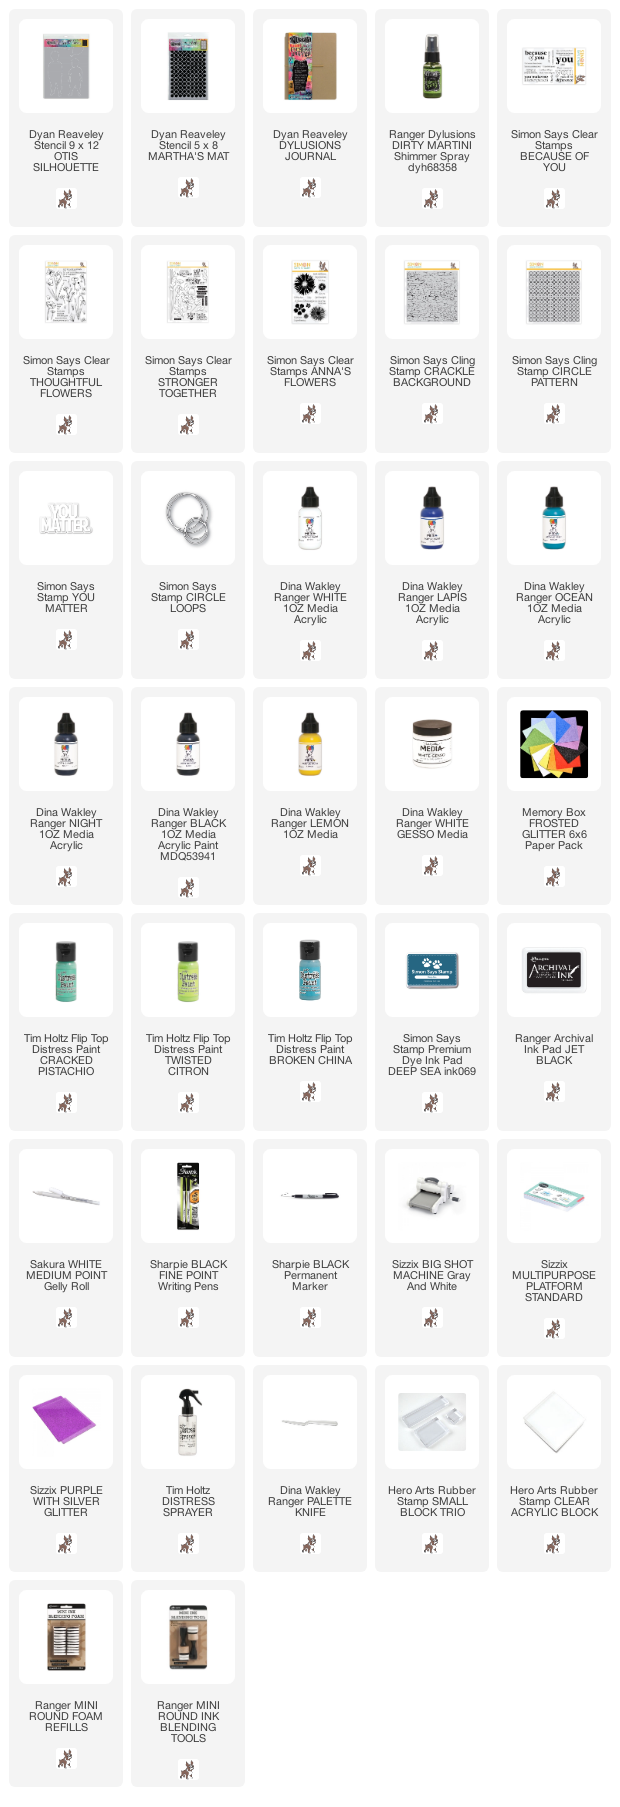
I used Dyan Reaveley's Otis Silhouette stencil, which was perfect for my theme since it has two boys of different size. Apply paint with a mini round ink blending tool, starting with the lighter shade of blue and gradually adding darker colors. I used Dina Wakley's Ocean, Lapis and Night paints, in that order. The balloon got two layers of yellow paint.

Layers of ink - Silhouette Art Journal Page Tutorial by Anna-Karin Evaldsson. Mist with glimmer mist.

The Otis Silhouette stencil also comes with masks, place them on top of the boys. Place Dyan's Martha's Mat at the bottom of the layer and mist with Dirty Martini Shimmer Spray.

Layers of ink - Silhouette Art Journal Page Tutorial by Anna-Karin Evaldsson. Stencil white dots.

Repeat on the blue areas of the background, but this time use white paint.

Layers of ink - Silhouette Art Journal Page Tutorial by Anna-Karin Evaldsson. Add shadows.

Place the masks over the designs and add a shadow, by dry brushing night and black paint.

Layers of ink - Silhouette Art Journal Page Tutorial by Anna-Karin Evaldsson. Add details with black and white pens.

Next, I added some pen work with a black pen and a white gel pen. 

Layers of ink - Silhouette Art Journal Page Tutorial by Anna-Karin Evaldsson. Stamp with Simon Says Stamp Crackle Background and Circle Pattern stamps.

Lots of sentiments were stamped on the background using Simon Says Stamp Because of You, Stronger Together, Anna's Flowers and Thoughtful Flowers sets. I also stamped the Circle Pattern with black ink and the Crackle Background with Deep Sea ink.

Layers of ink - Silhouette Art Journal Page Tutorial by Anna-Karin Evaldsson.


Layers of ink - Silhouette Art Journal Page Tutorial by Anna-Karin Evaldsson.

The Because of You set has really great sentiments.

Layers of ink - Silhouette Art Journal Page Tutorial by Anna-Karin Evaldsson.

The white gel pen highlights add a lot of life to the balloon. This sentiment comes from Anna's Flowers.

Layers of ink - Silhouette Art Journal Page Tutorial by Anna-Karin Evaldsson.

You was stamped repeatedly here and there, without reinking in between.

Layers of ink - Silhouette Art Journal Page Tutorial by Anna-Karin Evaldsson.

This 'you' was stamped with white paint. Remember to always clean your stamps immediately after using them with paint.

Layers of ink - Silhouette Art Journal Page Tutorial by Anna-Karin Evaldsson.

The simple white gel pen lines add movement to the silhouettes.

Layers of ink - Silhouette Art Journal Page Tutorial by Anna-Karin Evaldsson.

The shimmery spray is very shimmery, but it was hard to capture on a photo. This area, where the spray meets the turquoise paint is one of my favorite spots on the page.

Layers of ink - Silhouette Art Journal Page Tutorial by Anna-Karin Evaldsson.

When you stamp on a shimmery background, some of the shimmer will show through the stamping.

Layers of ink - Silhouette Art Journal Page Tutorial by Anna-Karin Evaldsson.

I really like the Simon Says Stamp You Matter die and die cut it from Frosted paper.

I hope you will join us this week in our Art Journal challenge. You have a chance to win a $25 gift voucher to do some fun shopping at Simon Says Stamp. You have until Monday 8am Ohio time. 1pm UK time, 2 pm CET to join in.


Do you use Instagram? If so please add #sssmchallenge so we can see your entries there too.


Thank you so much for taking the time to stop by here today! 

Happy crafting!

Anna-Karin

Supplies:

* Please note: the links are affiliate links, for which I receive a small percentage of sales generated by the link, at no extra cost to you.