Hi everyone and welcome to my blog! I am happy to take part in the blog hop to celebrate the release of the new Simon Says Stamp Mothers, Fathers and Florals line.

Mothers, Fathers and Florals has lovely background stamp, clear stamps, dies, sequins and inks. You can see the full release here. I hope you will join us on the hop and there are of course prizes to win along the way. If you follow along the hop, you came here from the wonderful Nichol Spohr, and I am sure she had a great post for you.
I made two projects, an art journal page and a card, but all the techniques in this tutorial can be used on any type of project.

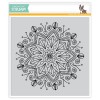
The background stamps from Mothers, Fathers and Florals are so pretty and can be used for a lot of projects. Here I used the Star Flower to create my background. The pretty flowers were done with the Forget Me Not set. I will show you how to make them dimensional too.
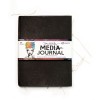
I absolutely love Dina Wakley's new Media Journal and this is the second page I made in it (you can find the first one, called Scribble Sticks Tree here). The journal has four types of surfaces: cotton rag watercolor paper, burlap, canvas and kraft. Here I worked on a watercolor page. The pages measures 7.25 x 10. I will also show you a bunch of ways in which you can use Dina's Scribble Sticks.

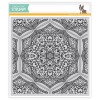
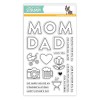
These are the Mothers, Fathers and Florals products that I used in my projects: Cora Background, Star Flower, Mom and Dad Icons, and Forget Me Not Flowers.
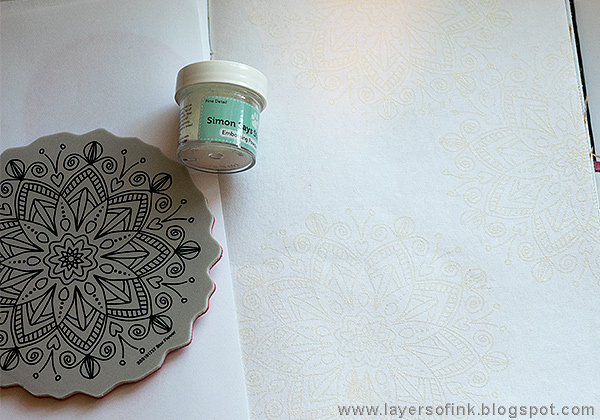
Start by white embossing the Star Flower three times on the background, two of them being partial impressions. Because the watercolor paper is cotton rag, it feels almost like fabric and the embossing sinks into it a little. This technique works just as well on ordinary watercolor paper, or on any paper that can handle a bit of water.
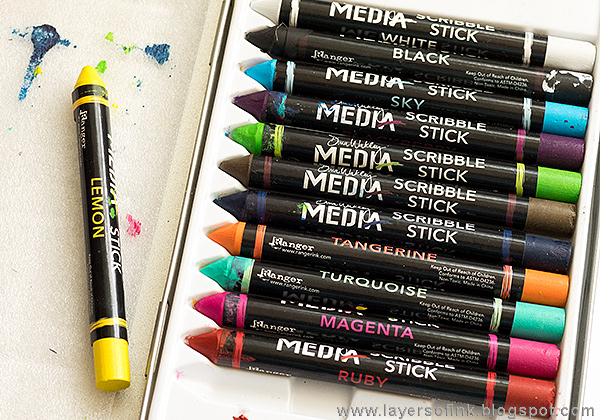
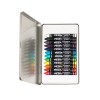
The Scribble Sticks are solid pigment sticks, like a coloured pencil, but as a solid crayon. Best of all, they are water-soluble like watercolour pencils. But they work great without water too, and are opaque then.

Scribble over the page with the Scribble Sticks. At this stage, the page doesn't look like much.

Use water and a paintbrush to turn the Sticks into watercolor, and to blend the colors.
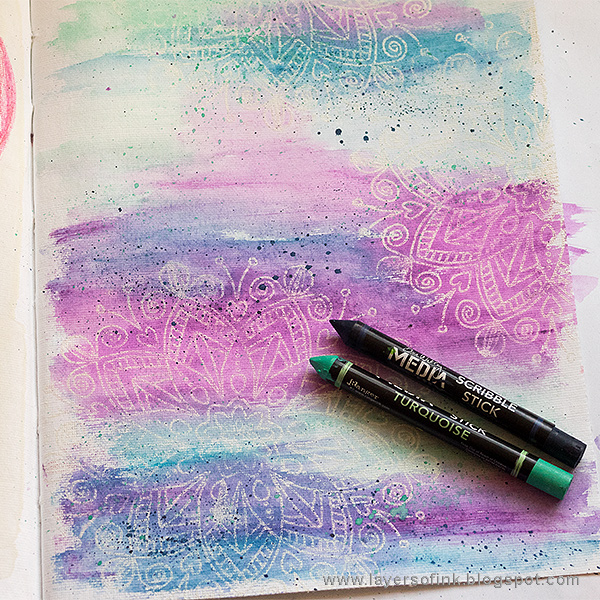
It is easy to splatter with the Sticks. Make sure there is water at the tip of the stick and flick a paint brush against it, aiming at the paper. You get a different effect depending on if the background is dry or wet, the the latter case the splatters will blend with the wet paint, in the former, they will stand out more.

Pick up paint with a paint brush right from the Sticks and paint some details o the Star Flower.

Die cut the Forget Me Not Flowers from watercolor paper.

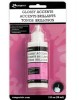
Apply a tiny amount of Distress Micro Glaze in the center and around the edges. This creates a resist effect.
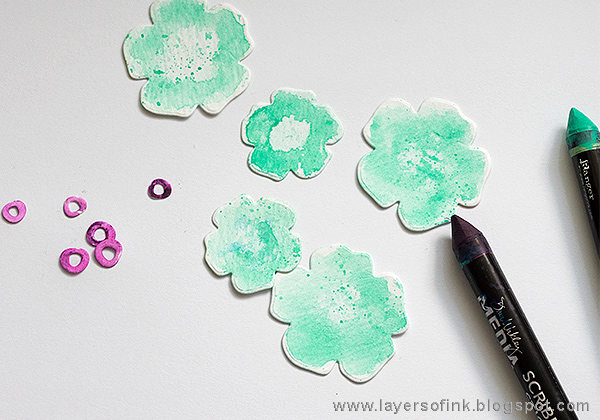
Scribble on the flowers and then add water. I also splattered a little using the same color.

Die cut the leaves for the Forget Me Not flowers and a word from white SSS Glimmery Cardstock. I really like the shine of the SSS Glimmery Cardstock.

I try to avoid too many dimensional embellishments in my art journals, since that makes them bulky and harder to work in. That's why I glued down the flowers flat, but I will show you later how you can make them dimensional instead.

The star flower is so pretty and looks great in white.

I also used just a word from Mom and Dad Icons here and there.

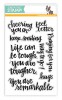
The sentiment from Handlettered Encouragement was stamped with Jet Black ink. Here you can see the texture of the paper.

Because the embossing sinks into the paper a little, you get a less perfect resist effect, which I really liked. If you work on a smoother paper, you'll get a more crisp look from the white embossing.

Glue the word to the page and stamp a sentiment from Uplifting Thoughts underneath it. I love this sentiment set and use it all the time.

Here you can see the pretty binding of the Media Journal, and the lovely mix of surfaces.

Next, I made a Mother's Day card for my Mom, using softer colors and a mix of vellum and watercolor paper. Here I made the Forget Me Not flower dimensional instead, giving them a different look, and I'll show you how easy it is to do that.
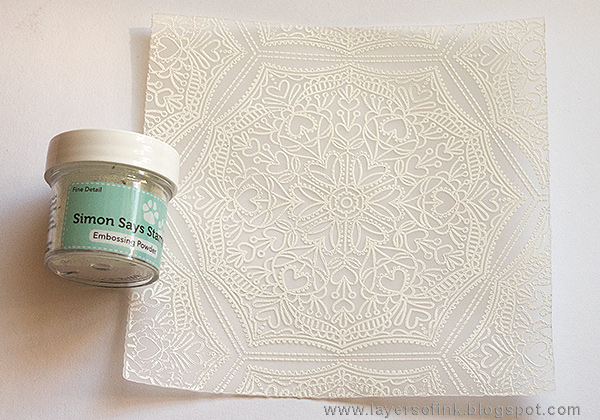
Start by white embossing the lovely Cora Background on SSS vellum. I placed a metallic ruler along the edges and carefully tore them.

You can color vellum in so many different ways, and here I used the Scribble Sticks, but without adding water. Then they work like colored pencils. Work on the back of the vellum and color some of the details. You don't need to worry about perfection, because mistakes won't really show on the front.

Turn it around to see the pretty soft coloring. You need to place the vellum on a light surface, unless you want a different look.
Repeat the step above, by die cutting the flowers from watercolor paper and applying a tiny bit of Distress Micro Glaze to the centers.

Color the small ones pink and the big ones red, adding a little bit of pink to the red ones too. When dry, splatter with the Ruby Scribble Stick.

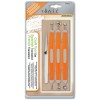
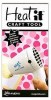
When the flowers were dry, I used the Tonic Craft Tool set, which I just got, to shape them. The set has three ball embossing tools, a pair of tweezers and an embossing mat. It works great. Move the ball tools around on the flowers on top of the embossing mat. You can press quite hard, depending on the strength of the paper. Watercolor paper can handle a lot. I used the tweezers to bend down the edges of the petals.

Layer the smaller flower inside the larger one and add a circle inside. I also added the tiny cut out dot since I thought it was a nice detail. The leaves were also die cut from watercolor paper and shaped with one of the ball tools. Adhere the flowers with foam dots for even more dimension.

Sentiments and hearts from the Mom and Dad Icons set were stamped with Melon.

I cut the inside of the 'o' out with a craft knife, but there are coordinating dies which will do the job for you. Adhere with foam dots, and glue a sentiment stamped on a banner on top.
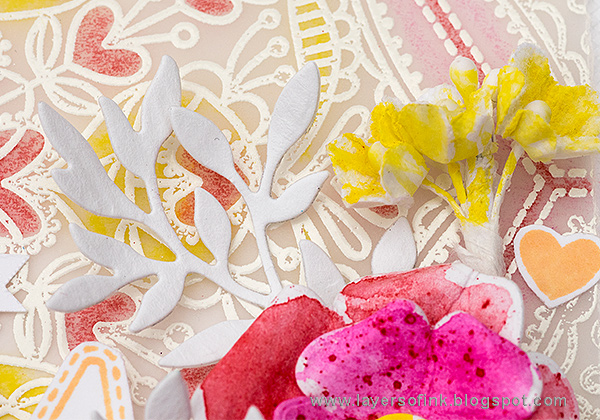
I also used some of Tim Holtz Bouquet flowers and colored them yellow with the Scribble Sticks, so that they coordinate perfectly with the yellow in the background.

I am happy with the look of my vellum background. It was really long since I did the technique of coloring vellum at the back with crayons and it is such a fun and easy technique.

The Forget Me Not flowers look wonderful and are very versatile. You can make them in any color, and even layer more than two together. I also really like the look of the leaves.
I hope you will join us in celebrating Mothers, Fathers and Florals and don't miss all the inspiration along the hop. At every stop you can win a prize package worth over $25, if you leave a comment. Winners will be posted on the SSS blog on Tuesday.
Next stop on the blog is the very creative Heather Hoffman. If you get lost somewhere along the way, you can always head back to the start at the Simon Says Stamp Blog.
Below are all the stops along the hop:
Anna-Karin Evaldsson (you are here)

Thank you so much for stopping by here!
Have fun and happy stamping!
Anna-Karin
Supplies: