Monday, April 15, 2024

Stripes and Dots Background

Hello crafters! I hope your weekend was good! Had both sun and rain and a fun visit with a new friend. 

Please note: this post has affiliate links, for which I receive a small percentage of sales generated by the link, at no extra cost to you.


This week we have a Make your own background theme at the Simon Says Stamp Monday Challenge Blog. Making my own backgrounds is one of my favorite things to do. Left-over backgrounds can also be used for many things, such as die cutting. 

Don't miss the beautiful project by our April guest Estelle Palumbo aka Atouscrap.

Layers of ink - Stripes and Dots Background Tutorial by Anna-Karin Evaldsson.

I made a background using a whole bunch of background papers that I made for another project, with Paper Artsys Infusions Colored Stains. The background was also stamped and stitched, to create a colorful and textured tag.

Layers of ink - Stripes and Dots Background Tutorial by Anna-Karin Evaldsson. Color paper with Infusions Colored Stains.

I started out with a lot of backgrounds which I made for another project. Sprinkle Paper Artsy Infusions Colored Stains on watercolor paper and mist with water to blend.

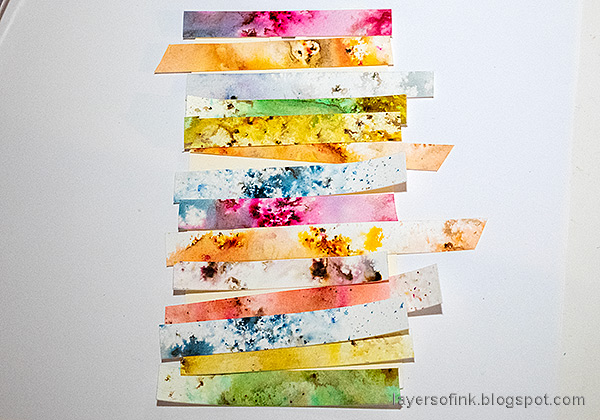
Layers of ink - Stripes and Dots Background Tutorial by Anna-Karin Evaldsson. Cut into strips.

I cut the papers into strips and arranged them on a tag.

Layers of ink - Stripes and Dots Background Tutorial by Anna-Karin Evaldsson. Adhere to tag.

Adhere with double-sided tape.

Layers of ink - Stripes and Dots Background Tutorial by Anna-Karin Evaldsson. Trim the edges.

Trim the edges of the tag.

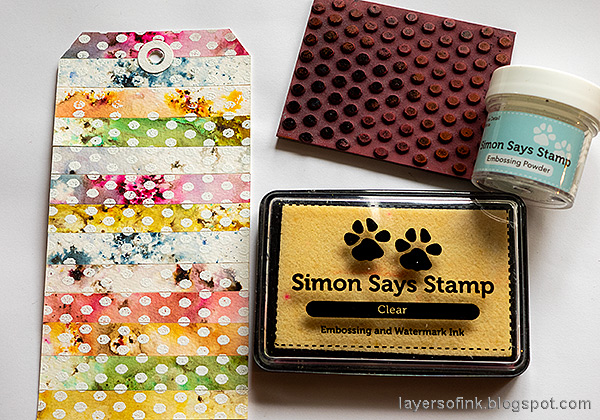
Layers of ink - Stripes and Dots Background Tutorial by Anna-Karin Evaldsson. Emboss Tim Holtz Tiny Textures.

White emboss the tag with one of the stamps from Tim Holtz Tiny Textures set. This set is an old favorite of mine. Always take care when heat embossing so that you don't burn yourself.

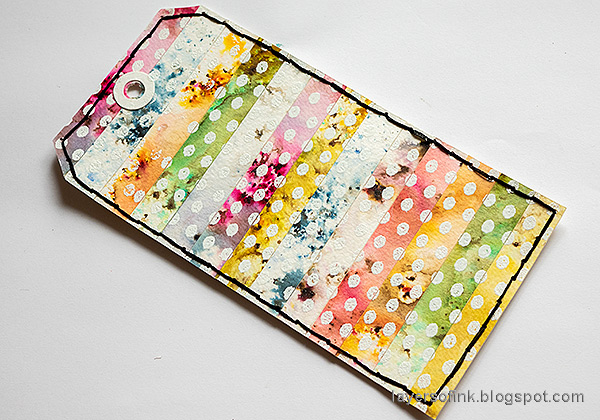
Layers of ink - Stripes and Dots Background Tutorial by Anna-Karin Evaldsson. Stitch with DMC floss.

Pierce holes around the edge and stitch with three strands of black DMC embroidery floss.

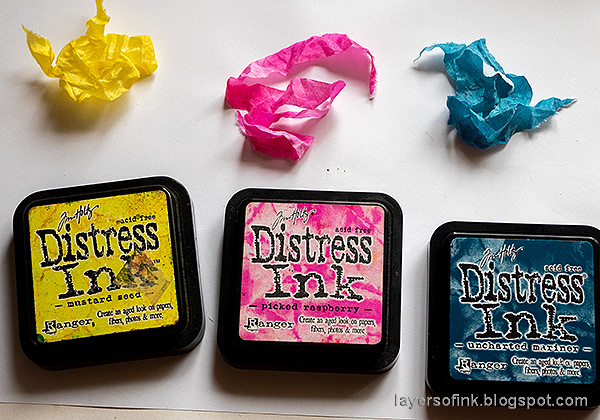
Layers of ink - Stripes and Dots Background Tutorial by Anna-Karin Evaldsson. Dye the ribbon.

I dyed the May Arts Faux Silk Ribbon with Distress Inks so that it would coordinate with the tag.

Layers of ink - Stripes and Dots Background Tutorial by Anna-Karin Evaldsson. Die cut Simon Says Stamp Etched Flower Buds.

Die cut Simon Says Stamp Etched Flower Buds from watercolor paper.

Layers of ink - Stripes and Dots Background Tutorial by Anna-Karin Evaldsson. Color with Distress Ink.

Apply Distress Ink to a non-stick craft sheet, mist the water and press the flowers into the ink. Let dry and repeat until you are happy with the look.

Layers of ink - Stripes and Dots Background Tutorial by Anna-Karin Evaldsson.

Die cut the sentiment from other pieces of Infusions paper. I used Simon Says Stamp Fancy Hello.

Layers of ink - Stripes and Dots Background Tutorial by Anna-Karin Evaldsson.

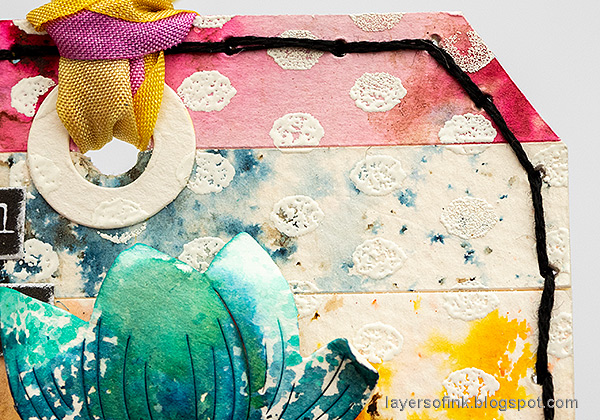
The dots unify the background in a nice way.

Layers of ink - Stripes and Dots Background Tutorial by Anna-Karin Evaldsson. Use Small Talk stickers.

Additional sentiments come from Tim Holtz Small Talk stickers and were first sanded around the edges.

Layers of ink - Stripes and Dots Background Tutorial by Anna-Karin Evaldsson. Adhere with Simon Says Stamp Foam Tape.

Let some of the green ink flow into the blue ink.

Layers of ink - Stripes and Dots Background Tutorial by Anna-Karin Evaldsson.


Layers of ink - Stripes and Dots Background Tutorial by Anna-Karin Evaldsson. Die cut Simon Says Stamp Fancy Hello.

Die cut the title from black cardstock and off-set slightly. Add a shadow with a black pen. I die cut swirls from Simon Says Stamp vellum using Tim Holtz Adorned.

Layers of ink - Stripes and Dots Background Tutorial by Anna-Karin Evaldsson.

Dying ribbon is always fun!

Layers of ink - Stripes and Dots Background Tutorial by Anna-Karin Evaldsson.

I hope you enjoyed this tutorial and that it inspired you to make your own backgrounds. The Infusions Colored Stain papers were originally made for this tutorial: Infusions Colorful Backgrounds. I also used them for the birds on this Grunge Mixed Media project.

Join us this week in our Make Your Own Background challenge! You have a chance to win a $25 gift voucher to do some fun shopping at Simon Says Stamp. You have until Monday 8am Ohio time. 1pm UK time, 2 pm CET to join in.


Do you use Instagram? If so please add #sssmchallenge so we can see your entries there too.


Thank you so much for stopping by here today! 

Happy crafting!

Anna-Karin

Supplies:

* Please note: the links are affiliate links, for which I receive a small percentage of sales generated by the link, at no extra cost to you.


No comments:

Post a Comment

Thank you so much for leaving a comment! Happy Crafting!