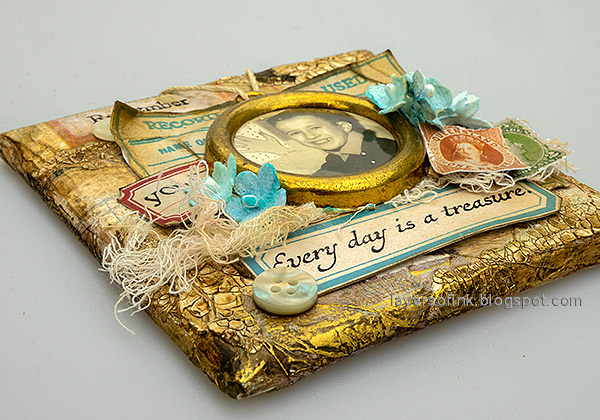
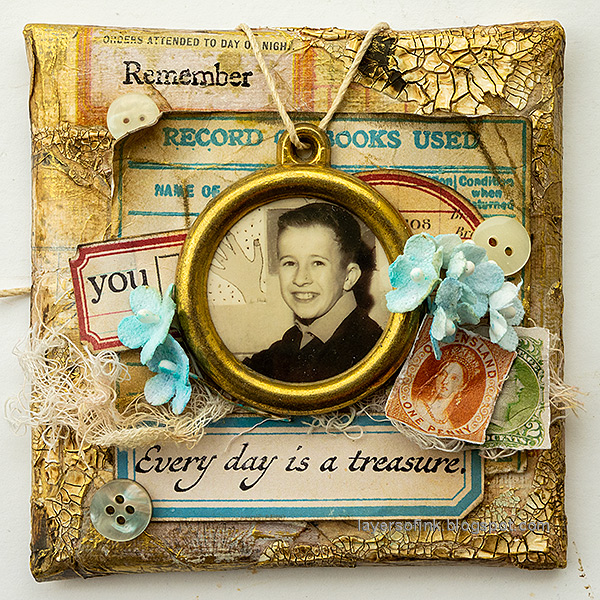
Hello crafters! Today I have a mixed media canvas to share, using a vintage frame, crackle paste and a bunch of ephemera. The techniques can be used on other surfaces too.
Please note: this post has affiliate links, for which I receive a small percentage of sales generated by the link, at no extra cost to you.
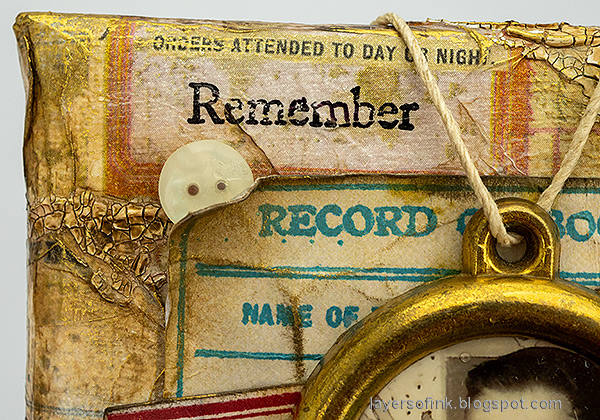
I found the vintage frame in a second hand store some time ago and used together with a childhood photo of my dad. The canvas is about 4x4 in. Stamped labels, idea-ology ephemera, tissue paper and crackle paste were used to build up the layers, together with some bits and pieces.
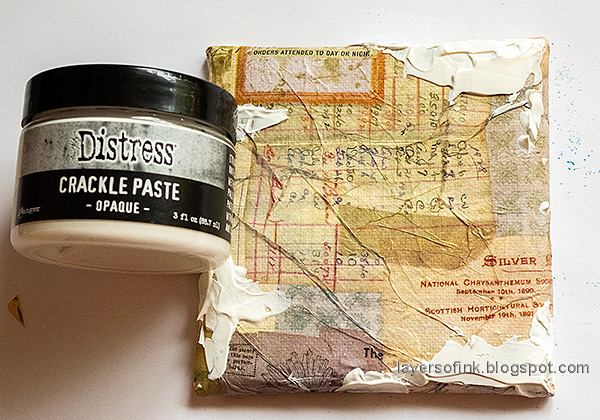
Start by applying matte medium to the canvas and place Tim Holtz Typography tissue paper into the medium. Add wrinkles and then add another layer of medium on top of the tissue paper.
Add a little crackle paste here and there with a palette knife.
When the paste is dry, crackles will appear. Paint with watered-down Ground Espresso distress paint.
Apply a tiny bit of Sizzix Gold Luster Wax to the project, with your finger.
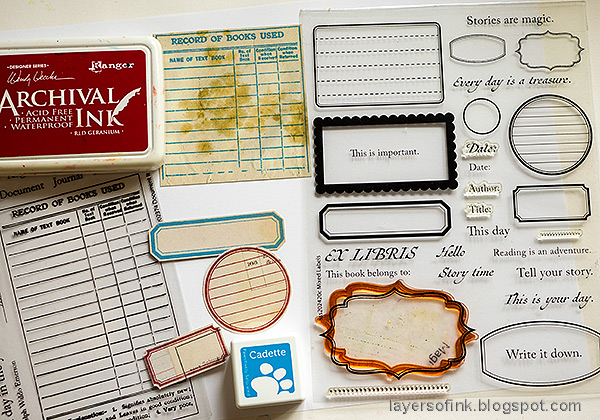
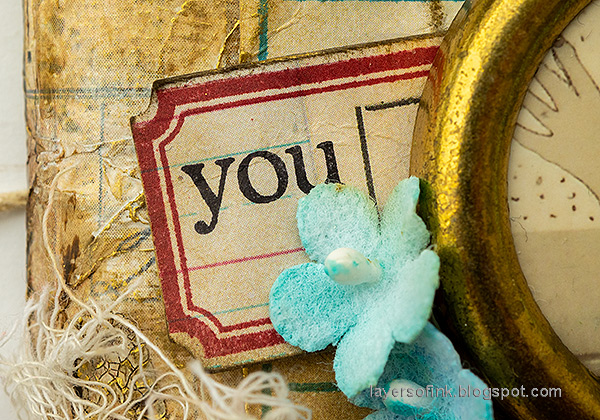
Stamp labels on Tim Holtz Backdrops papers using Simon Says Stamp Pawsitively Saturated Cadette ink and Red Geranium Archival Ink. Die cut with the Mixed Labels coordinating dies. The larger stamp comes from Simon Says Stamp Document It and the smaller labels from Mixed Labels.
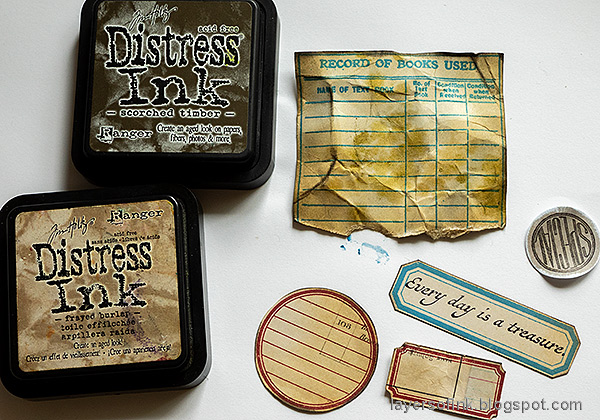
Ink and distress the labels.
Color Tim Holtz Bouquet Findings flowers with Distress Watercolor Pencils and mist with water to blend to colors.
Layer the labels under the frame and add a small piece of mummy cloth / cheese cloth. Fold up some of the edges.
You can also stamp sentiments directly on the background. Tie the frame with twine and glue to the canvas.
Stamp small sentiments on the areas of the labels and ticket which show.
I really like the effect of crackle paste and all that texture.
Labels are great 'homes' for sentiments and titles.
Behind my dad there are lots of drawings from his class mates.










No comments:
Post a Comment
Thank you so much for leaving a comment! Happy Crafting!