Saturday, April 20, 2024

Vellum and acetate embossed card

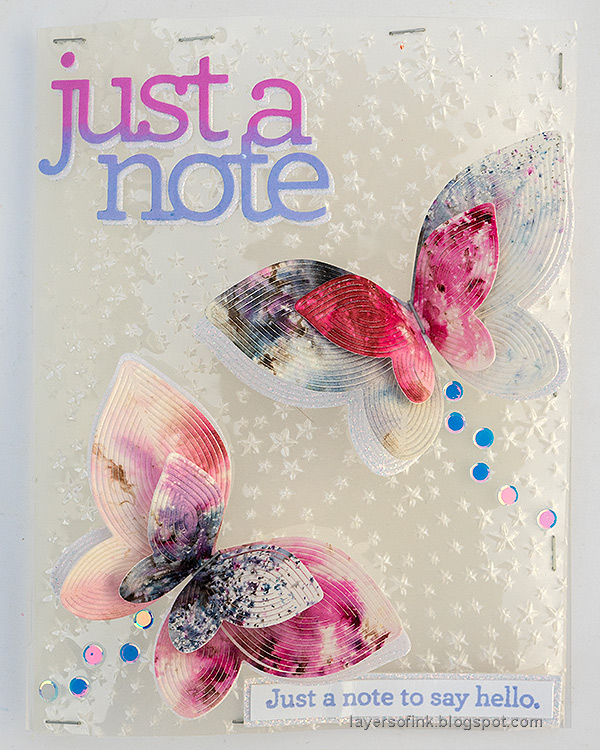
Hello crafters! Today I have a card to share made with the brand new Celebrate release by Simon Says Stamp. It's a quick and easy card with fun techniques.

 Please note: this post has affiliate links, for which I receive a small percentage of sales generated by the link, at no extra cost to you.

Layers of ink Vellum and acetate embossed card tutorial by Anna-Karin Evaldsson.

I couldn't decided wether I wanted an embossed clear card or an embossed vellum card and ended up combining the two for a fun, almost frosted effect, but also very shiny. It is translucent because of the vellum and shiny because of the acetate. The butterflies were die cut with the new Simon Says Stamp Whirl Butterflies die, which you might have seen me turn into flowers yesterday.

Layers of ink Vellum and acetate embossed card tutorial by Anna-Karin Evaldsson. Die cut Simon Says Stamp Whirl Butterflies.

I die cut the Whirl Butterflies from watercolor paper which had been colored with Paper Artsy Infusion Colored Stains. The papers were left-over from another project. Later, I also die cut the butterflies from Simon Says Stamp White Glitter paper.

Layers of ink Vellum and acetate embossed card tutorial by Anna-Karin Evaldsson. Emboss the acetate.

Fold a piece of Simon Says Stamp Acetate and emboss the front in the new Shimmering Starfall folder.

Layers of ink Vellum and acetate embossed card tutorial by Anna-Karin Evaldsson. Dry emboss the vellum.

Emboss a piece of vellum in the same folder.

Layers of ink Vellum and acetate embossed card tutorial by Anna-Karin Evaldsson.

Place the vellum behind the embossed acetate card front and line up the stars. Attach with mini staplers and trim the edges.

Layers of ink Vellum and acetate embossed card tutorial by Anna-Karin Evaldsson. Stamp Simon Says Stamp Just a Note

Stam the large sentiment from Simon Says Stamp Just a Note Notes with Sweets and Heather Pawsitively Saturated Inks.

Layers of ink Vellum and acetate embossed card tutorial by Anna-Karin Evaldsson. Die cut with the coordinating die.

I adhered the coordinating die with Simon Says Stamp Very Very Low Tack Tape, which is great for this purpose.

Layers of ink Vellum and acetate embossed card tutorial by Anna-Karin Evaldsson. Glue sentiment to the card.

Die cut the sentiment one more time from white glitter paper and offset slightly. Glue to the card with Simon glue.

Layers of ink Vellum and acetate embossed card tutorial by Anna-Karin Evaldsson.

Shape the wings of the butterflies and staple them to the card. Add sequins as a trail behind the butterflies.

Layers of ink Vellum and acetate embossed card tutorial by Anna-Karin Evaldsson.

The second butterfly. Yesterday, I posted a project using the Simon Says Stamp Whirl Butterflies die to make flowers. You can find the tutorial here.

Layers of ink Vellum and acetate embossed card tutorial by Anna-Karin Evaldsson.

The sentiment was stamped with the Heather ink and matted on white glitter paper. It looks a bit mangled, since it got a little damaged when I photographed the card.

Layers of ink Vellum and acetate embossed card tutorial by Anna-Karin Evaldsson.

Folded open, the card looks like this. I will later add a white panel to write the message on.

Layers of ink Vellum and acetate embossed card tutorial by Anna-Karin Evaldsson.

The butterflies are dimensional, but they can lay flat if you want to send the card through the mail.

Layers of ink Vellum and acetate embossed card tutorial by Anna-Karin Evaldsson.

This was a difficult card to photograph since it is very shiny, but the combination of the embossed acetate and the embossed vellum is pretty cool. Don't miss the two blog hops for the Celebrate release. The first one was yesterday and the second one is today

You can find my project for blog hop 1 here.
Simon Says Stamp Celebrate


Thank you so much for stopping by here today! 


Anna-Karin

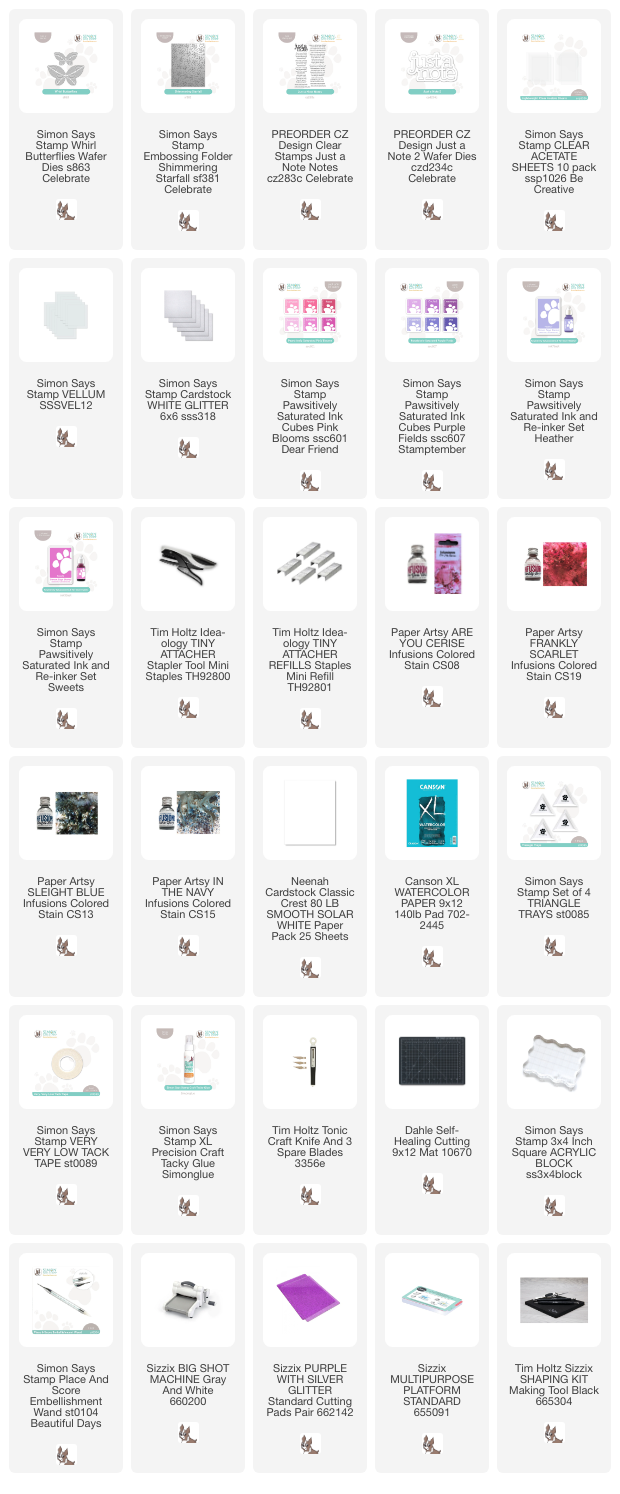
Supplies:

* Please note: the links are affiliate links, for which I receive a small percentage of sales generated by the link, at no extra cost to you.


No comments:

Post a Comment

Thank you so much for leaving a comment! Happy Crafting!