Please note: this post has affiliate links, for which I receive a small percentage of sales generated by the link, at no extra cost to you.
This week we have an Up In The Air theme at the Simon Says Stamp Monday Challenge Blog. I hope you will join us and don't forget to check out the project by our April guest designer Estelle Palumbo aka Atouscrap.
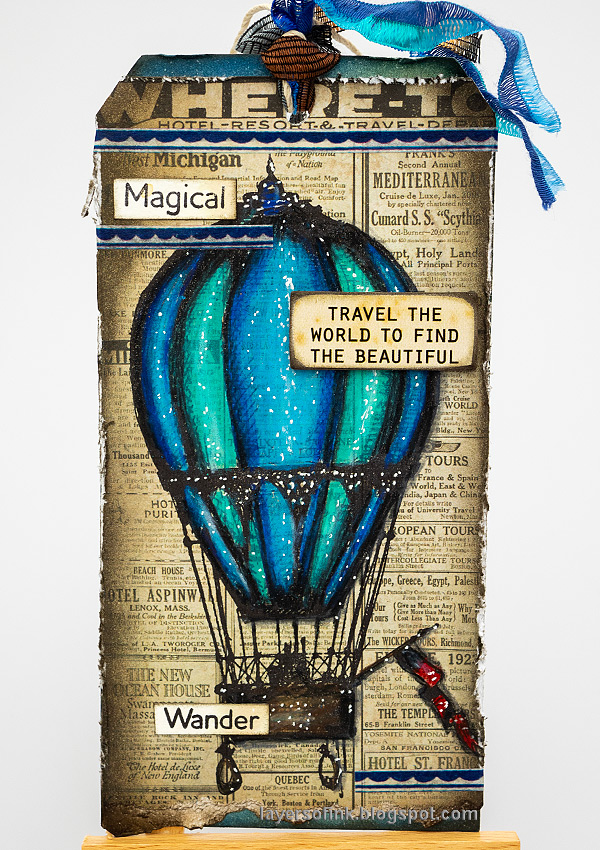
I made a hot air balloon tag, using one of my favorite older stamps by Tim Holtz. I just love seeing hot air balloons fly by. The balloon was colored with pencils this time, on a journal card. Coloring on a tinted and printed background is a really fun technique.
Start by stamping the balloon from Tim's Remnants set on one of his Journal Cards.
I colored the balloon with Prismacolor pencils and used a white pencil to slightly lighten the area in the center of the different 'parts' while also blending the colors. Add shading on one side of the balloon. You will cover up some of the stamping, but don't worry about that, the stamped cross-hatches will act as a natural shadow.
Add highlights with a white gel pen.
Ink with Distress Ink and tear the bottom edge.
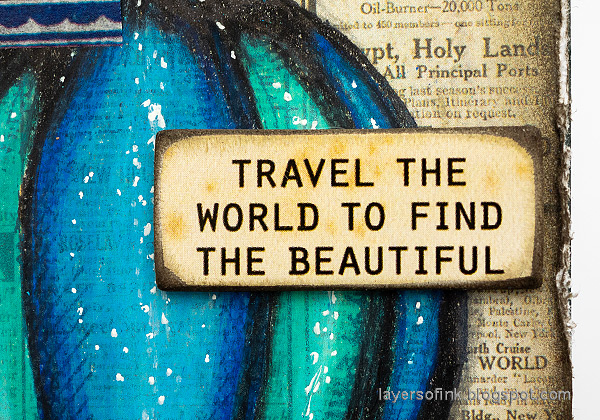
Sand the edges of a Tim Holtz Quote Chip Label and ink with Scorched Timber.
Distress the edges of the panel and ink a tag with blue and brown shades. Adhere the journal card to the tag. I also added three strips of Design Tape Trims. The smaller stamped sentiments come from Simon Says Stamp Forest Scenery.
As you can see, the text in the backgrounds add texture to the tag and the crosshatches from the stamped impression makes that part of the balloon look darker and adds dimension.
Let the tag peek out at the bottom.
Join us this week in our Up In The Air challenge! You have a chance to win a $25 gift voucher to do some fun shopping at Simon Says Stamp. You have until Monday 8am Ohio time. 1pm UK time, 2 pm CET to join in.


Wonderful design! I adore this balloon image and the fact that you used colored pencils to add the blues takes me back to my junior high school days when my mom would make copies of books and magazine articles at work (shhh! don't tell anyone) and I would busily color in the black and white images to bring them back to life! Now I truly am feeling inspired and will have to go back to my supplies and see what I have to add a pop of color to with some colored pencils! Thank you so much for sharing!
ReplyDeleteNice post.
ReplyDelete