
Hi crafters! Today I have a shiny and glimmery project to share with you, using some fun and easy techniques.
Please note: this post has affiliate links, for which I receive a small percentage of sales generated by the link, at no extra cost to you.

I made a tag and wanted to create a magical, fairy tale landscape featuring a mushroom forest and lots of shine. The mushroom trees were die cut with Tim Holtz Funky Toadstools. The background is embossed, inked and accented with wax.

Start by die cutting toadstools from watercolor paper, scraps of inky watercolor paper and Neutral Kraft Stock Stack paper. If you don't have inky scraps, you can just use the plain watercolor paper.

I painted the trees with Zig Kuretake Gansai Tambi Gem Colors and Pearl Colors. These are very shiny and glimmery.

Ink the Wood Planks Background with Distress Oxide Vintage Photo and Ground Espresso and stamp on a heavystock tag. Sprinkle with clear embossing powder. Work on one section at a time and cover with clear powder again immediately. Repeat about three times and add a tiny bit of Simon Says Stamp cream powder here and there. Don't flick off all the stray powder. Be very careful when melting embossing powder and never touch the powder until it has cooled down completely.

Ink with Distress Ink. The embossed areas will resist the ink.


Glue the mushroom pieces together and add a few sequins. The sentiment was stamped on a leftover piece of paper with a stamp from Simon Says Stamp Forest Scenery.

When the light hits them from the right angle, the mushrooms are shiny and pearlescent.

For more texture, don't paint the entire pieces, but leave some of the colored paper showing through, as you can see on the trunk here.

The background is one of those backgrounds that you want to reach out and touch, since it has so much texture.

The wax gives a really cool shine. Check out my Photo Slide Frames for another example. Don't cover all the embossing with the wax, since you want to keep that transparent effect of the clear powder too.

Here is an area where almost everything has been covered with embossing powder, letting the cream paper show through. The tiny cream dots were done with the cream embossing powder.


I hope you enjoyed this tutorial. For other examples using embossing powder, check out my Cherry Blossom Trees Tutorial and Wildflower Artist Trading Cards.

Thank you so much for taking the time to stop by here today! I will see you again tomorrow.
Happy crafting!
Anna-Karin
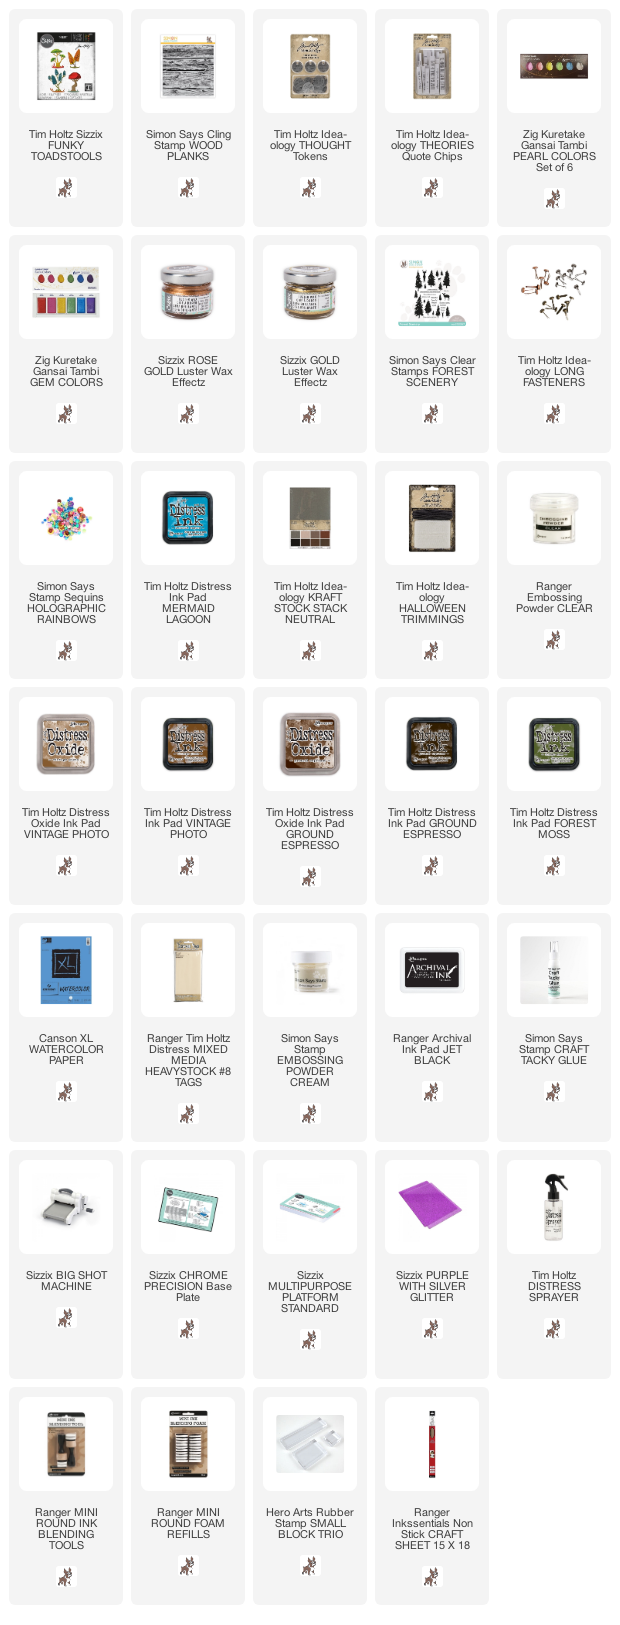
Supplies:
* Please note: the links are affiliate links, for which I receive a small percentage of sales generated by the link, at no extra cost to you.
* Please note: the links are affiliate links, for which I receive a small percentage of sales generated by the link, at no extra cost to you.
No comments:
Post a Comment
Thank you so much for leaving a comment! Happy Crafting!