Hi friends! Today I have a fun tutorial to share with you using stamps, Distress Oxide Ink, Distress Ink and embossing powders.
Please note: this post has affiliate links, for which I receive a small percentage of sales generated by the link, at no extra cost to you.
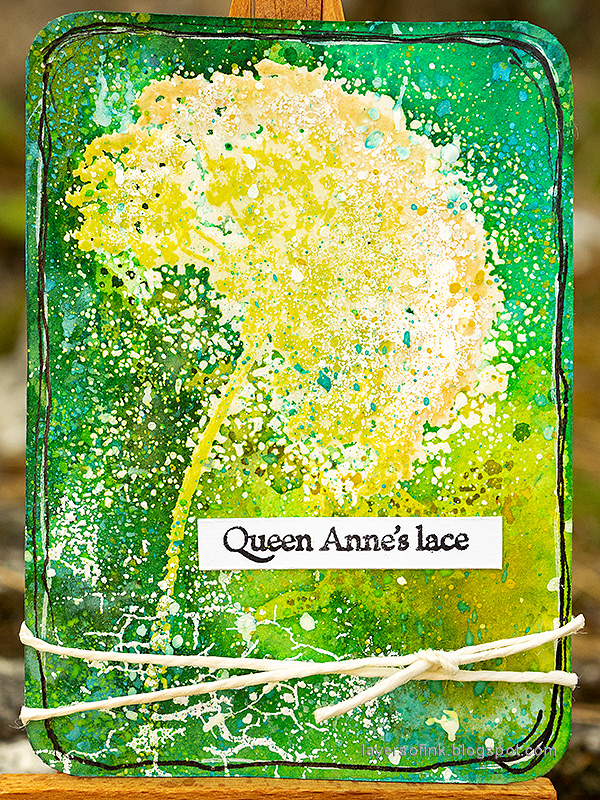
I made three Artist Trading Cards, but you can also turn these into ordinary cards or use the techniques in your art journal. For this project I wanted to do another version of the embossing technique that I used for my Cherry Blossom trees and I was looking for lots of texture and layers of color. I used the Simon Says Stamp Laugh In Flowers set (one of the sets that I designed). It was good to do some stamping, I have spent a lot of time at the hospital the past two weeks with my eldest.
I forgot to take a photo of the first step. Working on watercolor paper, I inked up the stamps with Distress Oxide Inks, using two or three shades for each flower. Cover with clear embossing powder.
Work on one flower at a time. Melt the first layer of powder and immediately add more. Don't worry about stray powder, it will add to the effect. Indeed, I added stray powder on purpose. Continue until you have added three or four layers. Be very careful when using a heat tool to melt embossing powder and never touch the melted powder until it has cooled down completely.
As a last step, I sprinkled a tiny bit of cream or white powder on the flowers.
Smear Distress Ink on a non-stick craft sheet, mist with water and press the paper into the ink.
Let dry and continue adding layers in the same way.
Try to keep some areas the lighter yellow.
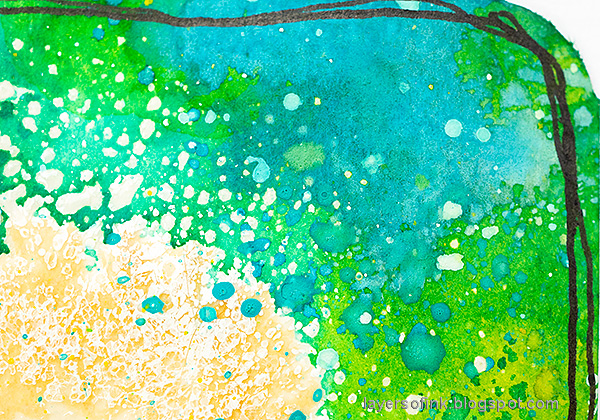
Let dry again, and then smear Distress Oxide Ink on a non-stick craft sheet. Mist with water. Touch the paper to the ink here and there. Don't press. This gives splotches of opaque oxide colors.
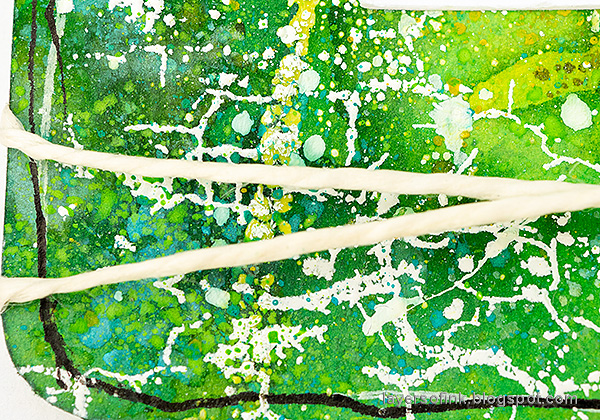
When dry, I added soil texture by white embossing the Crackle Background stamp.
Next, I splattered some Scribble Sticks on the cards. Dip the stick in water and flick a paint brush against it to create splatters.
Next, I added some white paint splatters. The white splatters will pick up some of the ink and it will look like you splattered many colors.
Since we didn't flick off stray powder, almost the entire flower area is embossed. Here you can see the Queen Anne's Lace strands baked into the powder.
I stamped the name of the flowers on white paper and cut them out.
The texture is a mix of stamping, ink, embossing powder and splatters. You can see the spots of white embossing powder here and how the white paint picked up some of the background color.
I tied the card with strings.
The globe-thistle is another favorite of mine and I liked the contrast of the purple and the green. You can also stamp it in blue. You could also stamp the flower with blue ink. I also really like all the yellow in the background on this card.
The splatters you see here are white embossing powder, scribble sticks, ink and paint.
This is one of my favorite ways of combining Distress Ink and Distress Oxide Ink. With layers of Distress Ink to start with and then a final layer of just dots of Oxide Ink.
My youngest is very curious about the names of plants and trees, which is one of the reasons for why I included stamps with the names in the Laugh In Flowers set.
The stray embossing powder gives a really cool look of texture around the flower.
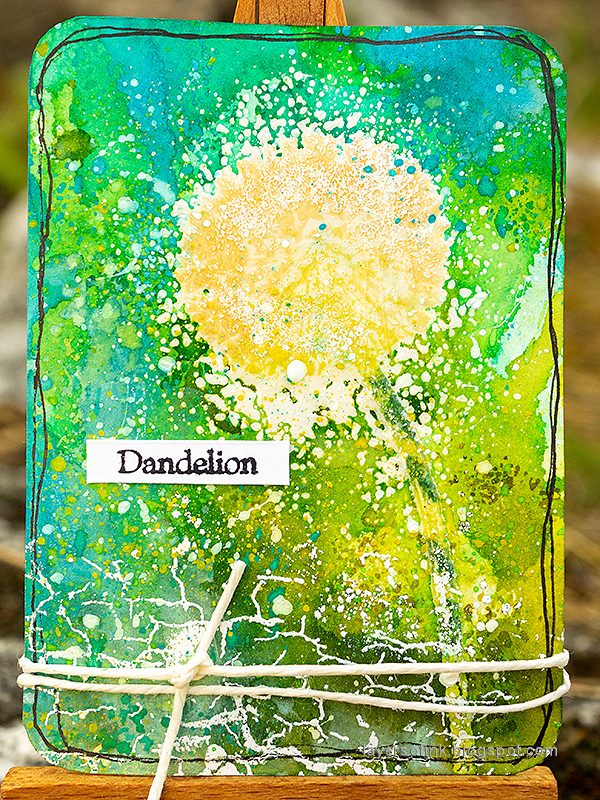
Finally, the dandelion with seeds flying in the wind. We actually blew seeds from dandelions for the first time of the season on the way back from school today.
The turqouise spots on the flower is white paint that has picked up color from ink.
The glorious texture.
Posing with the real thing.
The thistle got to pose with some lawn daisies.
Thank you so much for taking the time to stop by here today! I will see you again tomorrow.
Happy crafting!
Anna-Karin
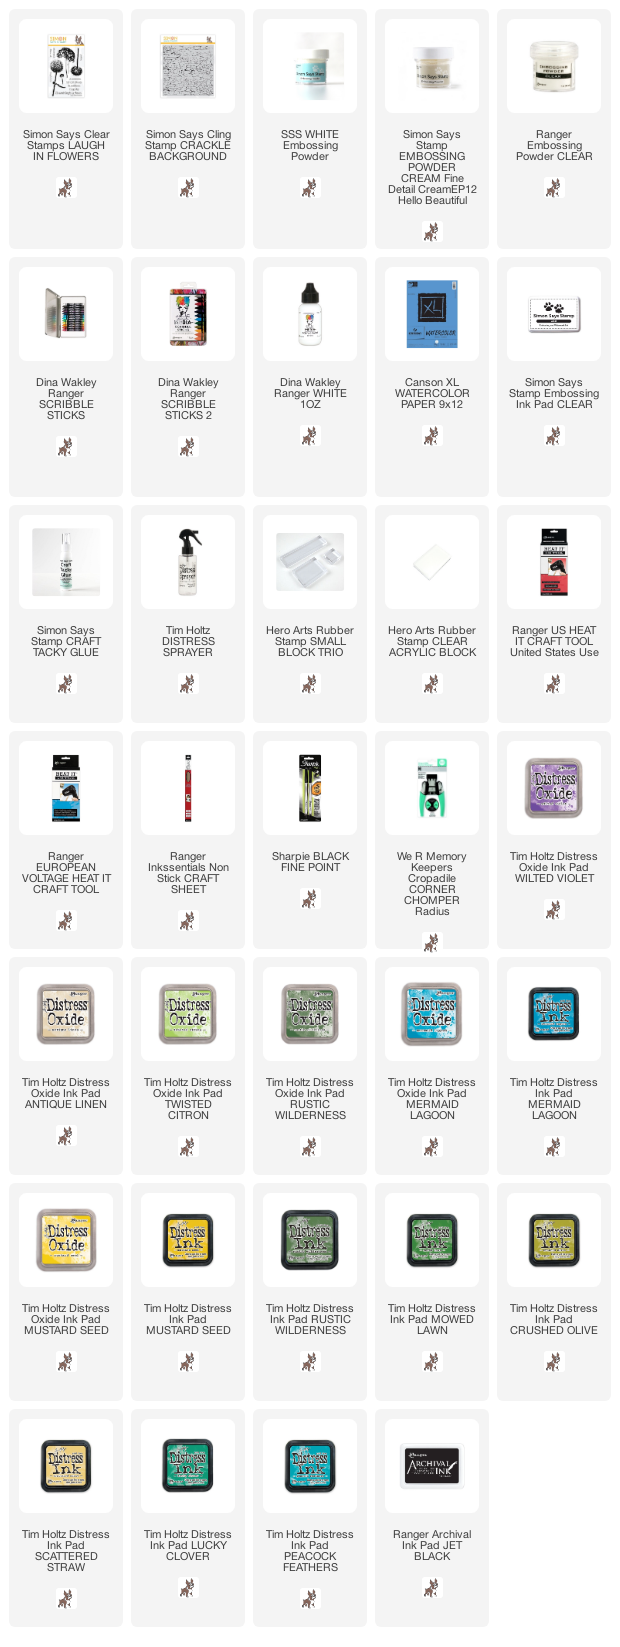
Supplies:
* Please note: the links are affiliate links, for which I receive a small percentage of sales generated by the link, at no extra cost to you.
* Please note: the links are affiliate links, for which I receive a small percentage of sales generated by the link, at no extra cost to you.








No comments:
Post a Comment
Thank you so much for leaving a comment! Happy Crafting!