
Hi crafters! The snow is falling outside my window and I was in the mood for a snowy winter scene. Creating snow with different techniques is one of my favorite things to do.

I made a little 4x6 in canvas board using various media: crackle paste, texture paste, Grit-Paste, glitter and Glossy Accents. The images comes from the Snowy Town stamp set by Hero Arts.


Apply Crackle Texture Paste to the sky area with a palette knife.

Stamp images from Snowy Town on tissue paper with Archival Ink. I always stamp a few extra.

Tear around the images. A torn image disappears much better on the background than a cut image. Place them out just to get an idea of where you want them to be.

Apply texture paste to the scene with a palette knife. I left out the area where I planned to place the icy pond.

When the paste is dry, work one image at a time, apply a layer of gloss medium and carefully place the tissue paper into the medium. Add a second layer of medium on top of the images. As you can see, the edge disappears.

Paint with watery Speckled Egg.

Add Faded Jeans, also mixed with some water.

Continue adding color to the scene until you are happy with the look.

Paint shadows and darken the edges with Black Soot.

Apply Opaque Grit-Paste to some areas. I made it thicker at the front and thinner or patchy towards the back of the scene.

Add a layer of Glossy Accents on the ice.

When the Grit-Paste is dry, dry-brush it with white paint.

Add a little Moon Dust Stickles here and there, if you want some sparkle.

Splatter the scene pretty heavily with white paint, to create the look of falling snow. I used a Splatter Brush. Remember to protect your work surface and clothing.

The crackle sky works really well with the snow theme and I love the texture it adds. The thicker the application of the paste, the larger the cracks and the other way around.

Here you can see how splotchy the Grit-Paste is in the background, just adding a little extra texture.

The shadows grounds the images to the background.

The perspective is not quite right with the pond being too large, but I wanted the Glossy Accents to shine, so I left it like that. You can make the pond narrower if you want to improve the perspective. The sentiment comes from the Simon Says Stamp Anna's Flowers set.

Thank you so much for taking the time to stop by here today!
Happy crafting!
Anna-Karin
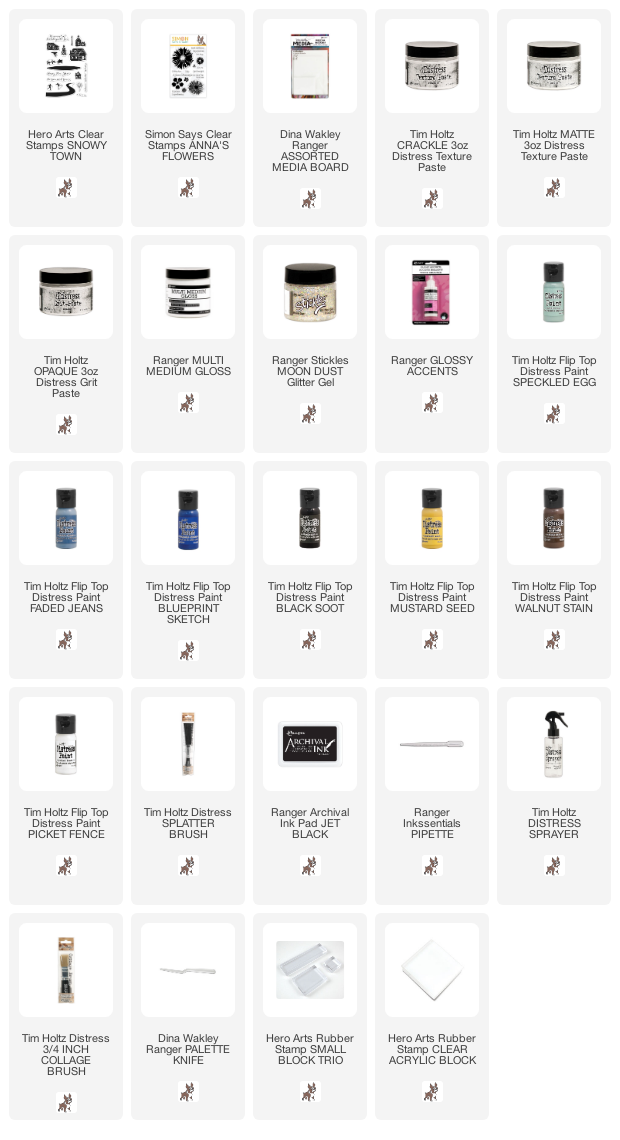
Supplies:
* Please note: the links are affiliate links, for which I receive a small percentage of sales generated by the link, at no extra cost to you.
* Please note: the links are affiliate links, for which I receive a small percentage of sales generated by the link, at no extra cost to you.
Love this! So much detail. It's just beautiful
ReplyDelete