
Hi friends! I hope you are well and that you had a good weekend. We got quite a bit of snow and the boys are happy. Today I have a shaker card to share with you.

We have a Shake It Up theme at the Simon Says Stamp Monday Challenge Blog this week. I am looking forward to seeing all the projects. Don't miss the fun shaker project by January guest designer Anita Rao.


Start by die cutting the Memory Box Small Pine Tree Collage from heavystock paper.

Ink the paper with Distress Inks using an ink-blending tool.

Die cut six pine trees with the Poppy Stamp Evergreen Trio set and ink with Rustic Wilderness and Pine Needles.

Stamp the background with the SSS Old Letter Background stamp and Green Leaf ink. This gives a nice texture to the background.

Create a shaker with two layers of Clearly For Art Modeling film and foam tape and fill it with sequins and some mica flakes.

The main sentiment is a Theories Quote Chip which was inked with Rustic Wilderness and coated with a layer of Glossy Accents.

The second sentiment was stamped with one of the stamps from Anna's Flowers and the Green Leaf ink.

I also used two butterflies from Tim Holtz Field Notes Snippets.

The shaker was backed with a paper from Tim's Field Notes Ephemera pack, which had wood themed illustrations.

I like the combination of Rustic Wilderness and Pine Tree Distress Ink. Mount two of the trees with foam tape.

Shaker cards are a little hard to photograph because of all the moving and shiny parts. There are a couple of snowflake sequins in the mix, but they might also be flowers.

I like adding mica flakes to shakers and since they are usually smaller than sequins, they mix well together.

I hope you will join us this week in our Shake It Up challenge. You have a chance to win a $25 gift voucher to do some fun shopping at Simon Says Stamp. You have until Monday 8am Ohio time. 1pm UK time, 2 pm CET to join in.

Do you use Instagram? If so please add #sssmchallenge so we can see your entries there too.


Thank you so much for taking the time to stop by here today!
Happy crafting!
Anna-Karin
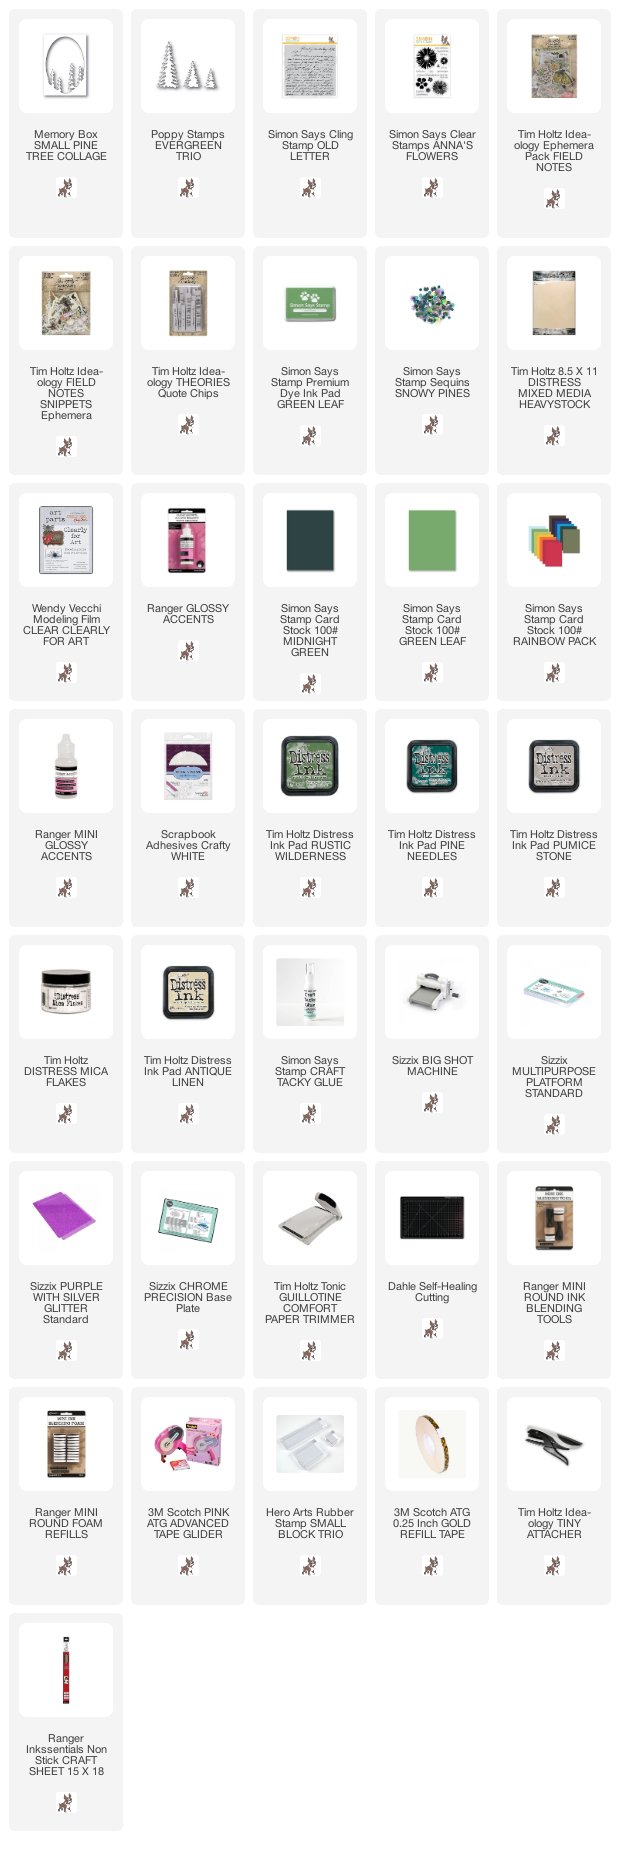
Supplies:
* Please note: the links are affiliate links, for which I receive a small percentage of sales generated by the link, at no extra cost to you.
* Please note: the links are affiliate links, for which I receive a small percentage of sales generated by the link, at no extra cost to you.
Wow, such a stunning design! The first of trees is gorgeous 😁. Happy Friday and weekend! Hugs, Jo x
ReplyDeleteFantastic card.
ReplyDelete