
Hi friends! I hope you are well. The snow is falling very heavily here and has been doing so since this morning. I have a scrapbooking page to share today, with stamped ink blocks. If you make the panels smaller, the design works great for cardmaking too. It is one of my favorite ways of using scraps.


I used the pretty Darkroom Door Christmas Bush set to stamp the flowers. Ink with Distress Oxide ink to get a tone-on-tone effect. Mist lightly with water. I planned how to place the squares before stamping.

Stamp the squares here and there with the Simon Says Stamp Old Letter Background and Crackle Background stamps, again using tone-on-tone colors.

Distress the edges and stitch the squares to the background with a sewing machine. I also stitched a frame around them.

After placing out the photo, I stamped a whole bunch of sentiments on the blocks. This one comes from Simon Says Stamp Laugh In Flowers.

The title was die cut with the Chunky Happy die, from other pieces of scrap paper. I used soft grey colored paper for the frame and an inky piece for the letters.

The second part of the title was die cut with the Simon Says Stamp Archie Jr Solid set, from light colored inky paper.


The flowers on the darker blocks are less visible, but add a nice subtle texture.

The sentiment comes from Simon Says Stamp Laugh in Flowers and the butterflies are from Thoughtful Flowers.

I like mixing darker and more textured blocks, with lighter blocks such as this one.

I was missing my parents and hoping that we'll be able to see them soon, when making this, so this sentiment from Stronger Together was perfect.

Thank you so much for taking the time to stop by here today!
Happy crafting!
Anna-Karin
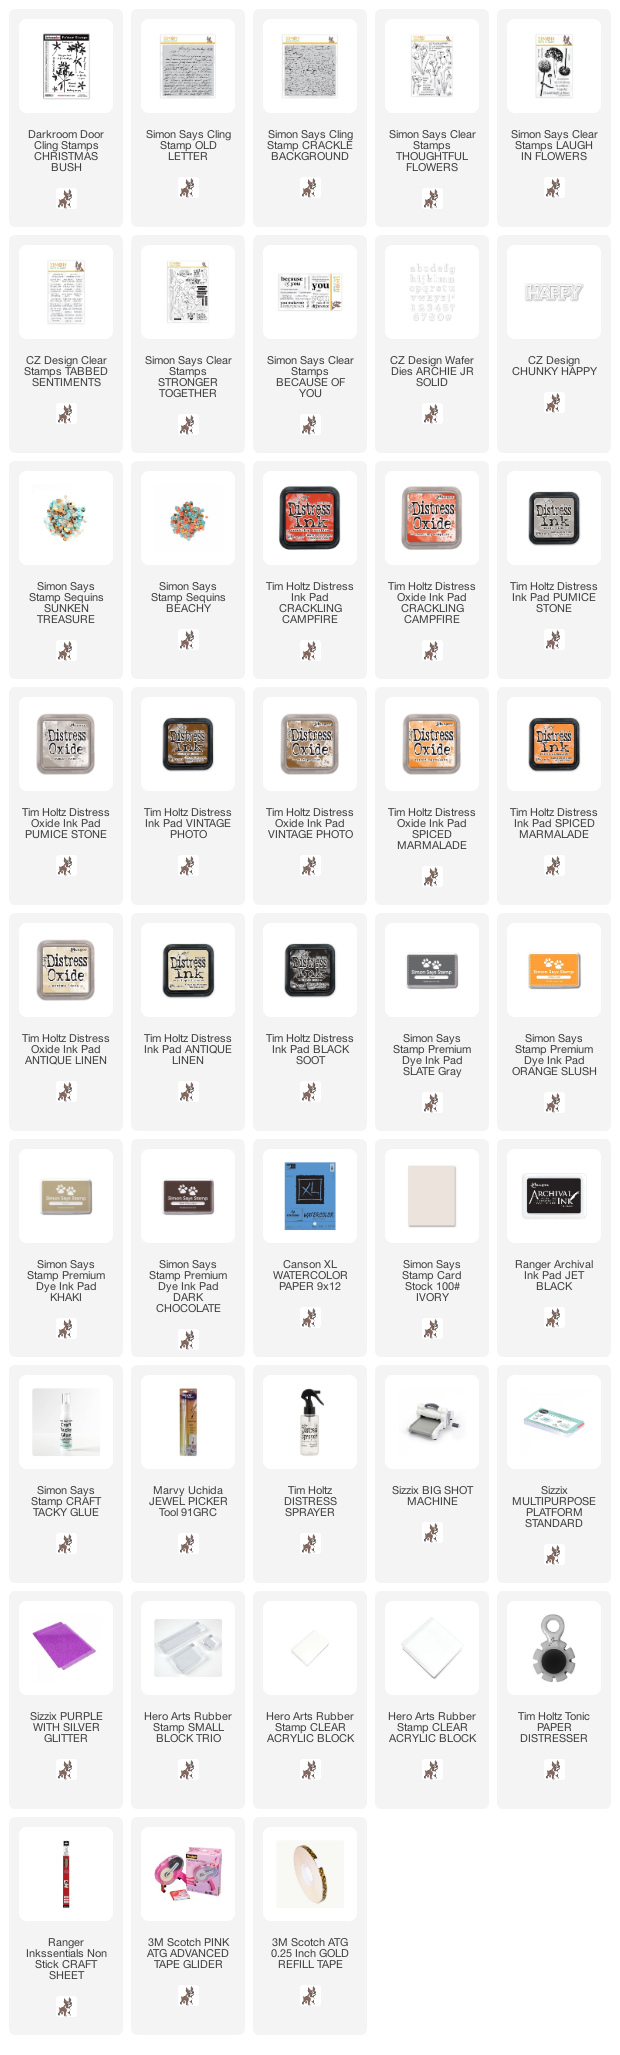
Supplies:
* Please note: the links are affiliate links, for which I receive a small percentage of sales generated by the link, at no extra cost to you.
* Please note: the links are affiliate links, for which I receive a small percentage of sales generated by the link, at no extra cost to you.
Those blocks are gorgeous!
ReplyDelete