Hello friends and Merry Christmas! I hope you have had a beautiful Christmas. Our Christmas lasts three days from Christmas Eve until Boxing Day. Santa comes to deliver gifts personally on Christmas Eve, but this year, he couldn't come into the house, but had to leave the gifts outside the door. The boys had a wonderful time, even though we missed being with family.
We got our first snow of the year on Christmas Day. Perfect timing!! It makes everything look so much brighter.
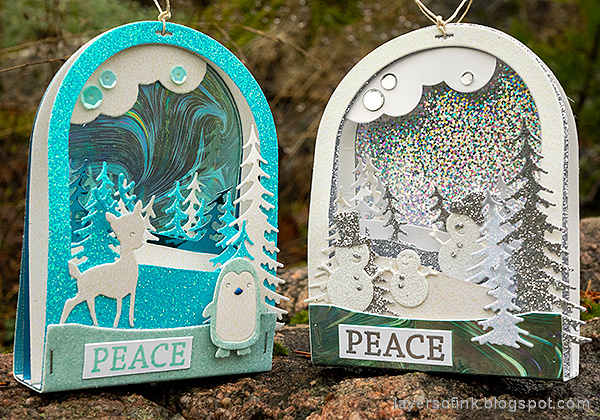
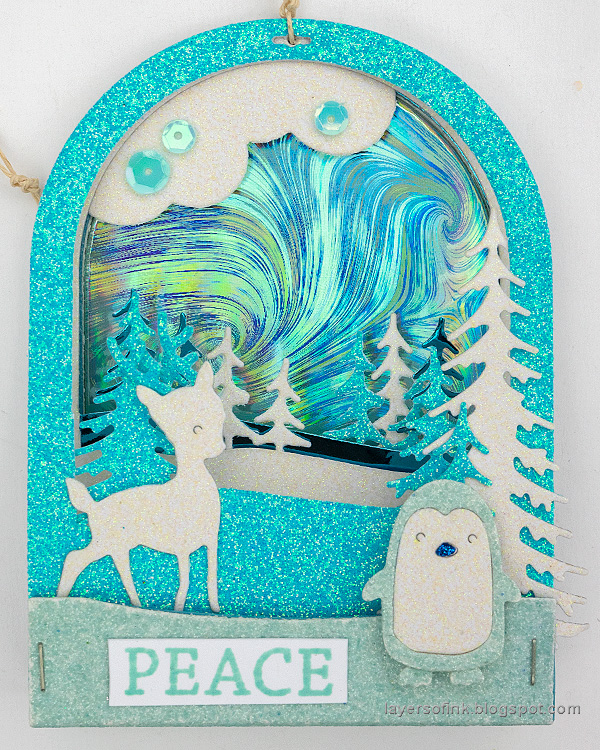
I have a winter tutorial for you, in the shape of dimensional shiny and glittery ornaments.
These ornaments can hang in a tree, in a window or on the wall. Since they are winter-themed, rather than Christmas-themed they can be given as gift or displayed the whole winter. I had such fun using metallic, glitter and holographic papers to make these. Mixing papers with different surfaces also adds interest. The ornaments were made with dies by Memory Box and you can also use the techniques to make flat cards.
The step photos are mainly for the aqua ornament to the left.
There are additional
Memory Box snowglobe dies that you can use to build up a scene, but since I only had these two, I decided to cut off a piece from the aqua and glitter paper, so that they would not all be the same.
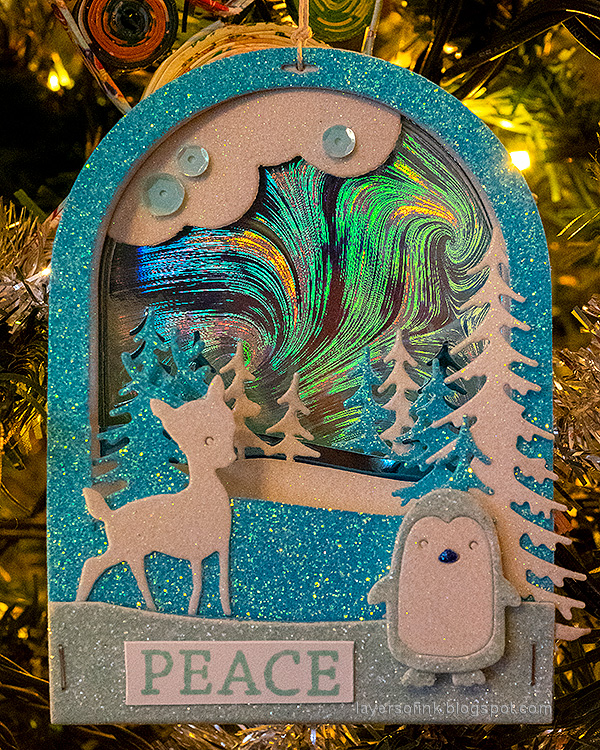
Die cut the deer and penguin from various glitter papers. I used glitter papers from both Memory Box and SSS.
I glued the shimmery frame to the inside of the glitter frame, to cover up the white paper.
Fold along the score lines on the die cuts and start with the foil background, as seen here.
Continue with the aqua and white landscape pieces. This will cover the floor of the Snowglobe Backer piece.
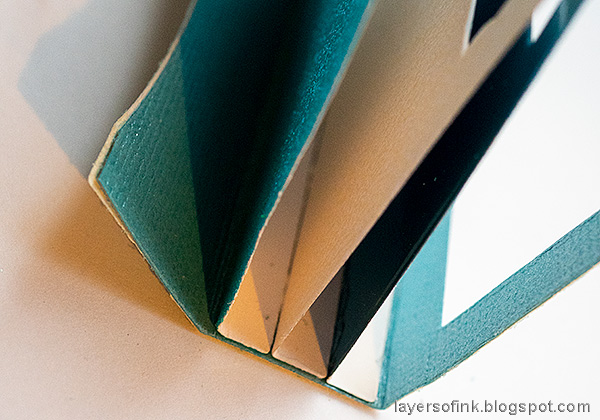
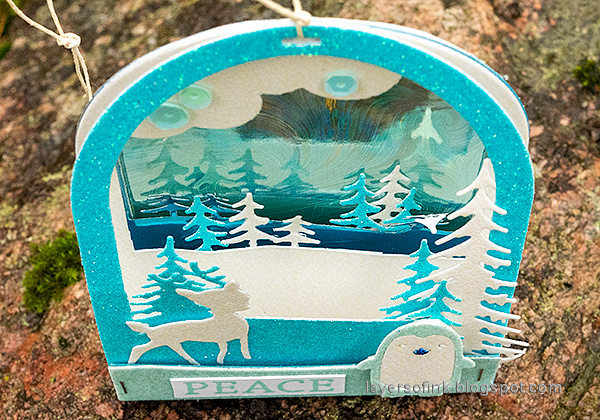
Here's a photo of what the ornament looks like from the side. It's a really simple way of creating dimension.
I added the cut-off trees here and there on the different frame pieces, since I wanted more trees.
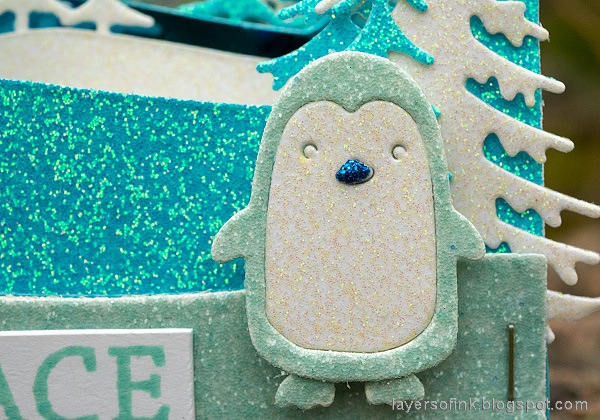
The penguin was adhered with foam dots. You can add a staple to the front fold-up to make sure it is stuck well.
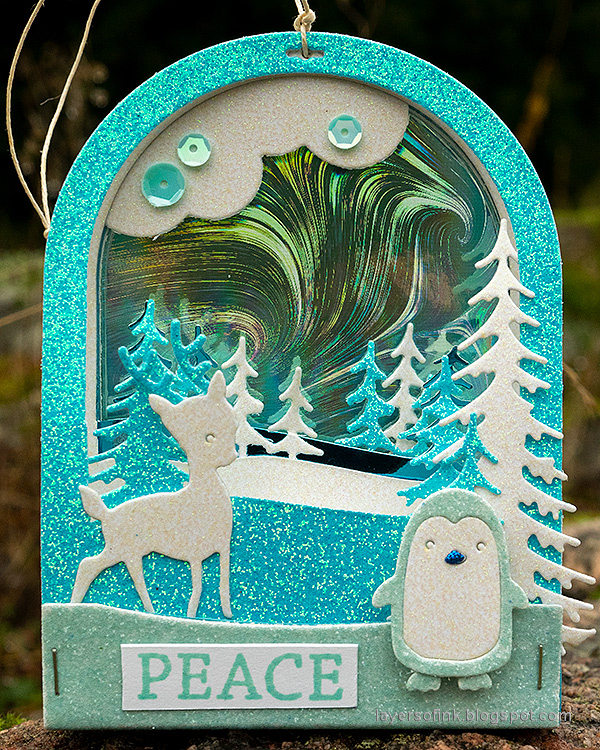
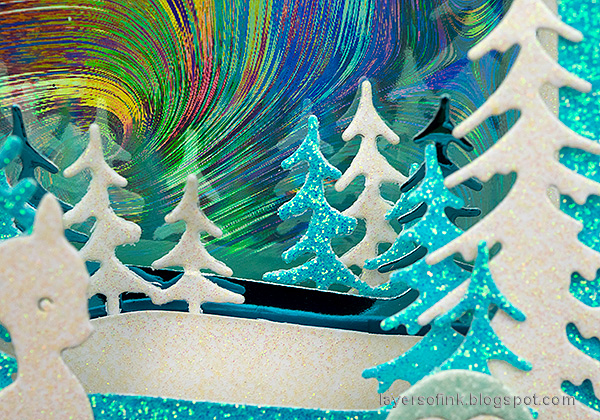
Here you can perhaps better see the dimension. The trees reflect nicely in the holographic paper.
The
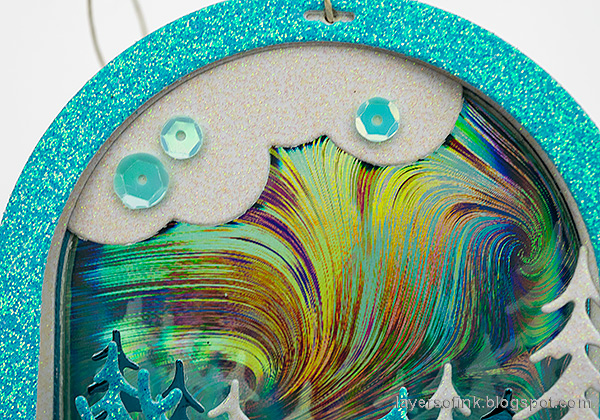
SSS holographic paper is so cool. I just love how this paper looks like a winter sky with a magical aurora borealis. The colors change as you change the angle of the light. There are also a
few sequins.
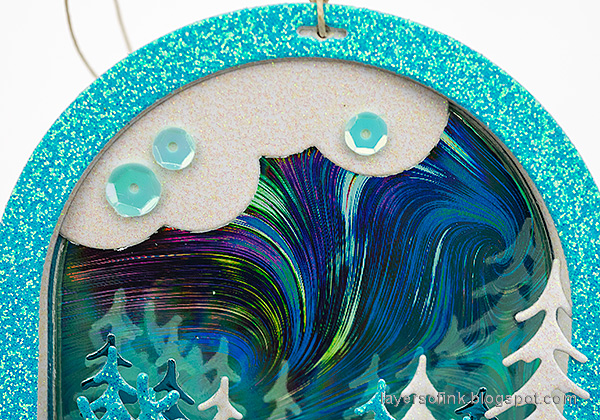
Angle the ornament differently and the same paper looks like this. Isn't it cool?
And from this angle, the sky has a third look, with more light aqua colors.
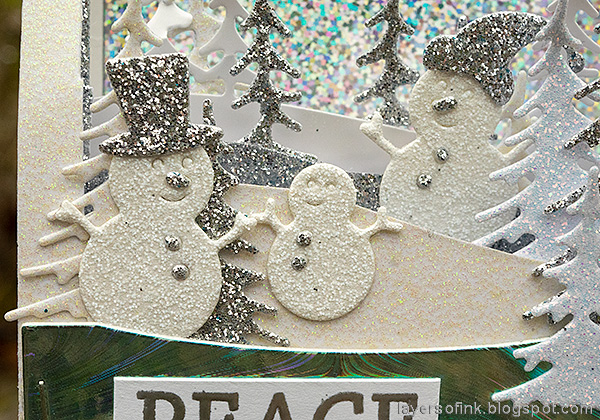
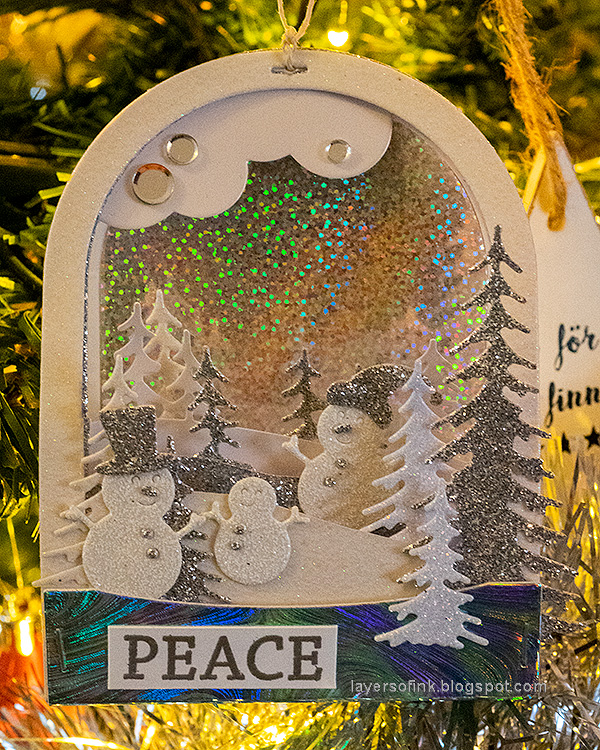
The trees look nice in the different glitter and foil papers.
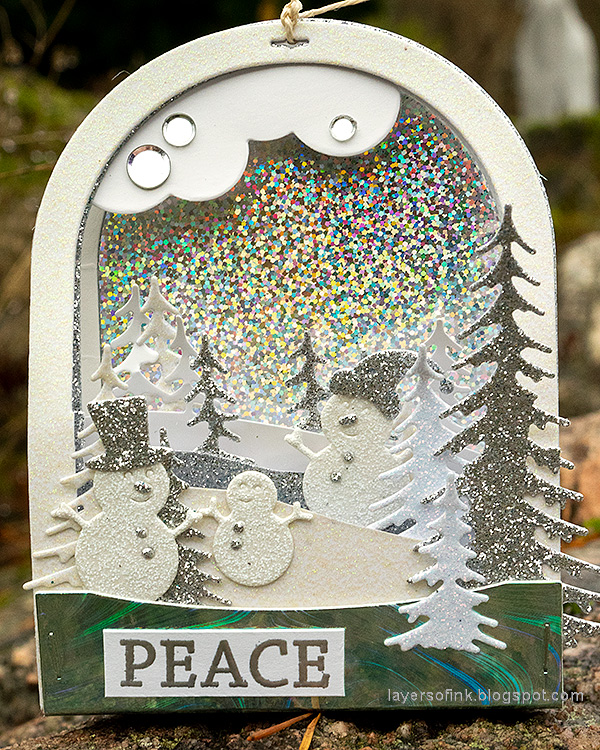
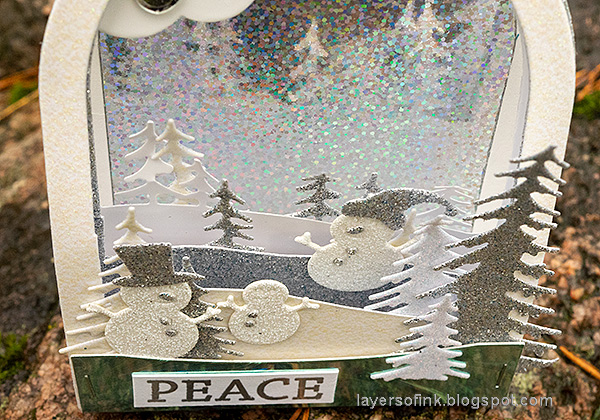
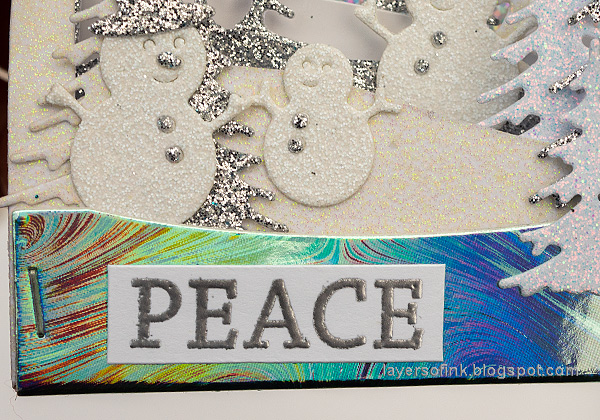
I am not sure which one is my favorite. I like the different shades of white and silver on this one. If you look closely, you'll see that the white glitter papers that I used aren't exactly the same, adding variation. I also used up small pieces of left-over glitter paper for the trees and snowmen.
From the side it looks like this. The white foil frame is closest to the back, then the silver glitter fram ant at the front, the white glitter frame.
Our trees actually have some of the glitter now, since the snow has arrived. Hopefully it will stay for a while.
I added extra trees here too. Just glue them to the back of the frames.
Our ornaments are hanging in the tree now, but when we remove the tree I will hang them in a window so that we can keep them out all winter.
The lights from the tree reflects nicely in all that glitter and shine.
I hope you enjoyed this tutorial and that it inspired you to do some winter crafting and to have fun mixing glitter, holographic and foil papers.
Thank you so much for stopping by here today!
Happy crafting!
Anna-Karin
Supplies:
* Please note: the links are affiliate links, for which I receive a small percentage of sales generated by the link, at no extra cost to you.













Yes, your snow was perfect timing...nothing like having a White Christmas...even more magical! Love the dome ornaments...they are so "cool"...LOL...Pun intended...LOL...
ReplyDelete