
Hello stampers! Today I have a spooky house tag to share with you, but with a few alterations the house would not be spooky at all, but could be turned into, for example, a cozy Christmas house.
We did a fun outing on Sunday to an art village, with a second hand shop, a glass blower and more. I love to visit markets, but they have all been cancelled since March and this outing was as close to a craft market as you can get at the moment.

We have a Spooky theme at the Simon Says Stamp Monday Challenge this week. Don't miss the spooky project by our October guest designer Alison Bomber and visit her blog Words and Pictures, which is full of inspiration.

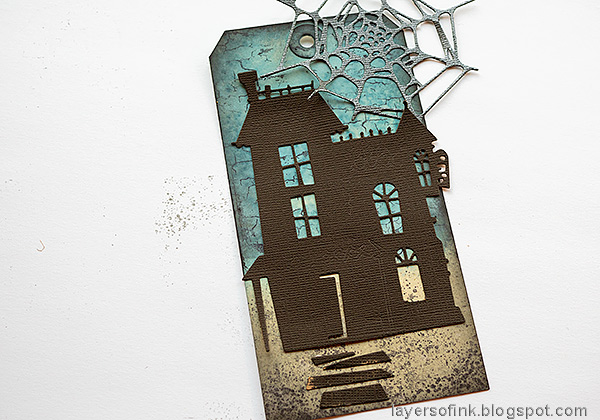
I created a tag with a scene focusing on the wooden house, into which a lost wanderer might disappear. The haunted house was really fun to create with the wooden planks, windows and all the details.

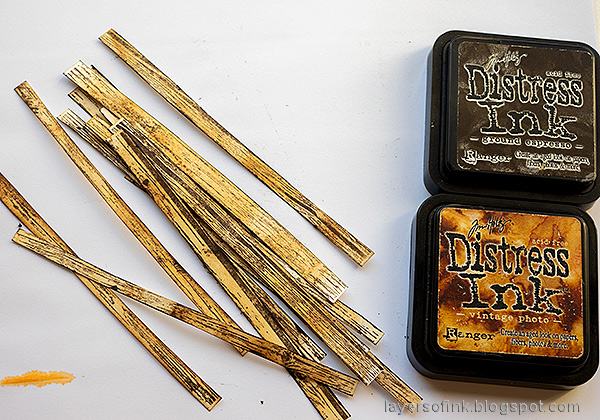
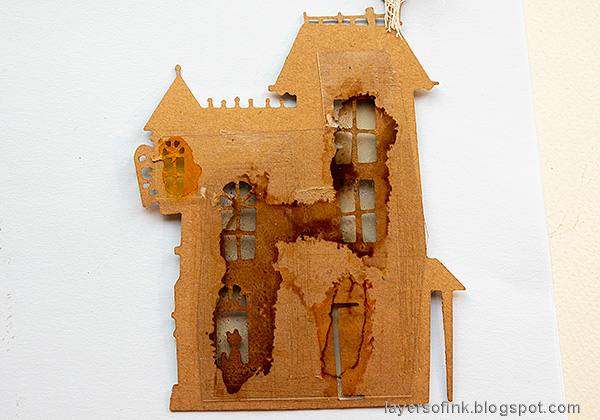
I started by stamping the Simon Says Stamp Wood Planks background stamp on cream paper with Ground Espresso Archival Ink.
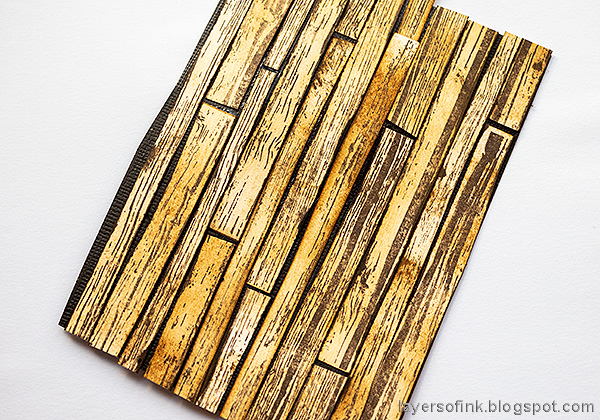
Glue them to a piece of Tim Holtz Blackout Kraft paper, cutting them here and there to make it look more like planks. Leave irregular spaces where the dark paper shows through. I glued them down with Matte Medium. Let dry.
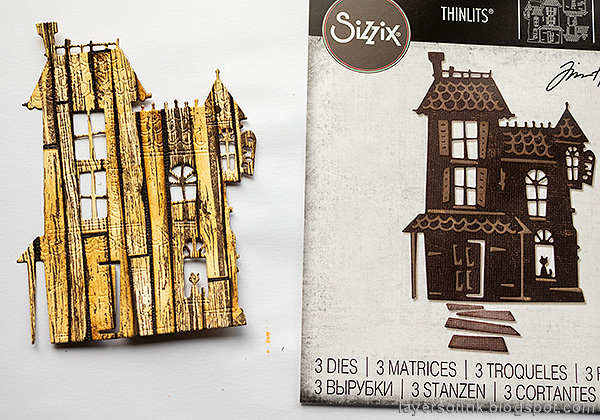
Die cut with Tim's Haunted die. I used the Precision Base Plate and you might need to let the sandwich go through your Big Shot twice, since the paper is pretty thick.
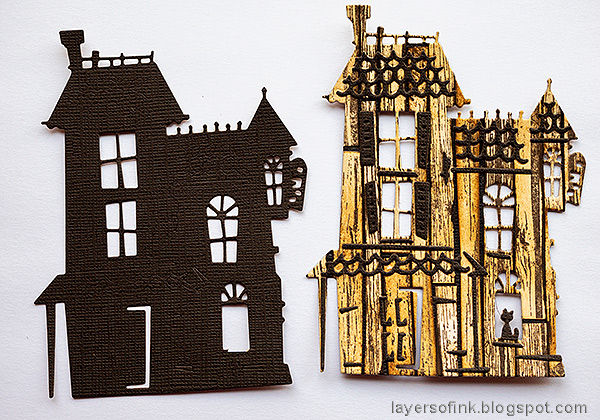
Die cut the house from Blackout paper too. Cut the cat from the black house and glue it on top of the cat in the wooden house. Use the second die in the Haunted set to die cut all the details from blackout cardstock and glue to the wooden house.

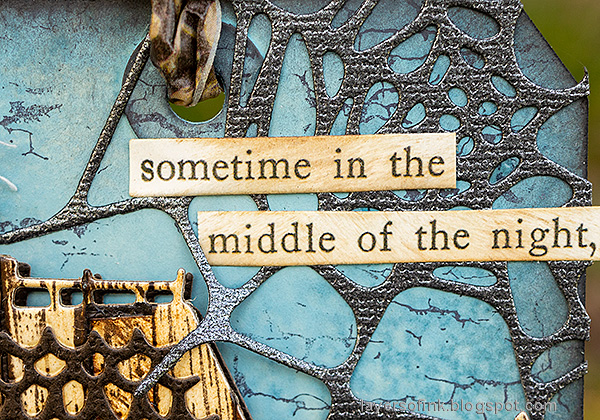
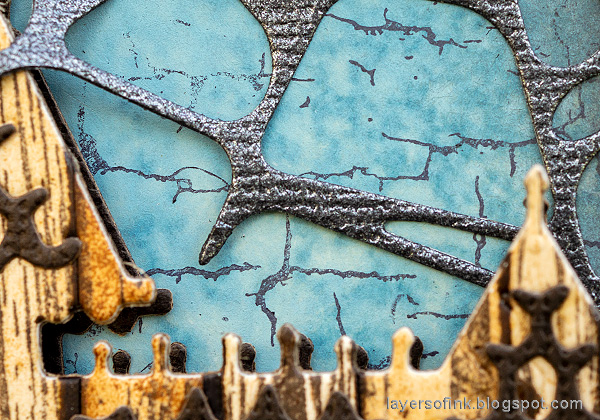
Ink a heavystock tag with Faded Jeans, Pumice Stone and Hickory Smoke. Mist the sky area with Speckled Egg Distress Oxide Spray. This gives a mottled and misty look to the sky.
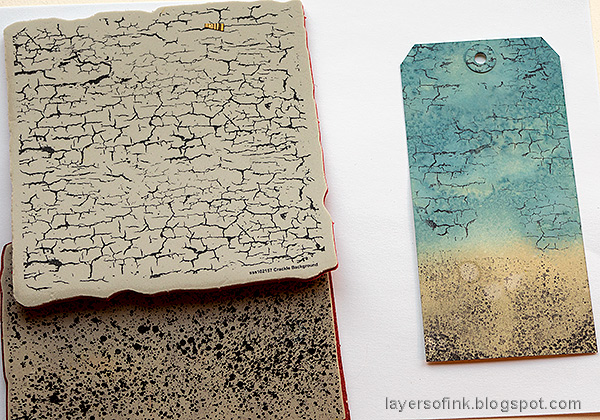
Stamp the sky with the SSS Crackle Background stamp and the ground with Tim's Specks stamp.

Cut a piece of acetate or Modeling Film for the back of the house. Color with alcohol ink. I only added color where the windows would be (place the die cut underneath as a guide).
Adhere to the back of the house with double-sided tape.

Glue small pieces of mummy cloth to the windows and as smoke at the chimney. Add foam dots.
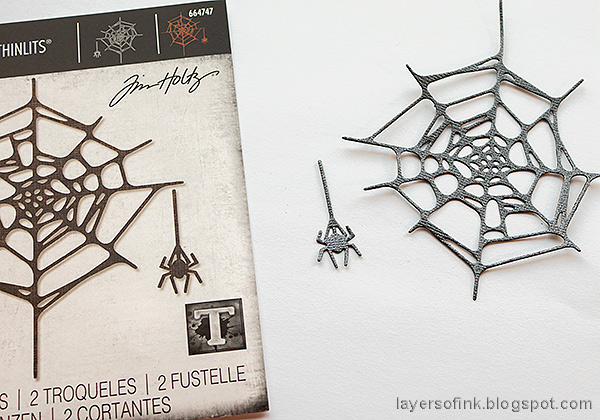
Die cut a spider web and two spiders from SSS Glimmery Coal cardstock.
The glimmery cardstock contrasts nicely with the matte oxide background.
Starting with Distress Ink and finishing with a lighter Distress Oxide Spray gives this cool mottled look, perfect for a misty nighttime sky.
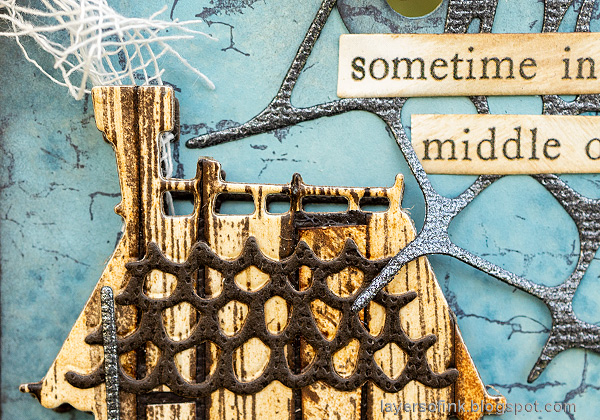

The tinted windows adds a nice touch to the house, such as here where the cat sits.

The light is shining in only one of the windows and of course it is the tower window. Who might be there? I added extra mummy cloth behind that window so that the yellow color would show better.
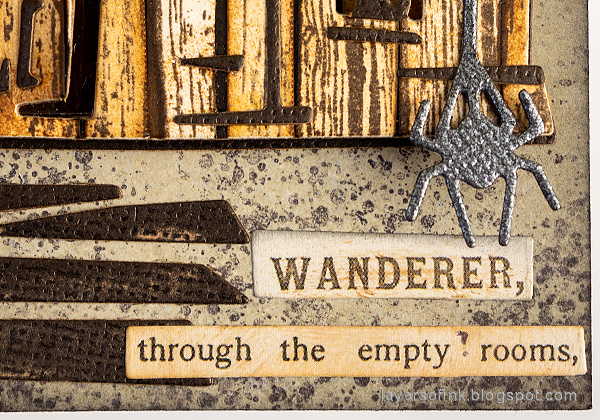
I used Clippings Stickers for my sentiments, adding a question mark with a pen.


I hope you will join us this week in our Spooky challenge. You have a chance to win a $25 gift voucher to do some fun shopping at Simon Says Stamp. You have until next Monday 8am Ohio time. 1pm UK time, 2 pm CET to join in.


Do you use Instagram? If so please add #sssmchallenge so we can see your entries there too.

Thank you so much for stopping by here today!
Happy crafting!
Anna-Karin
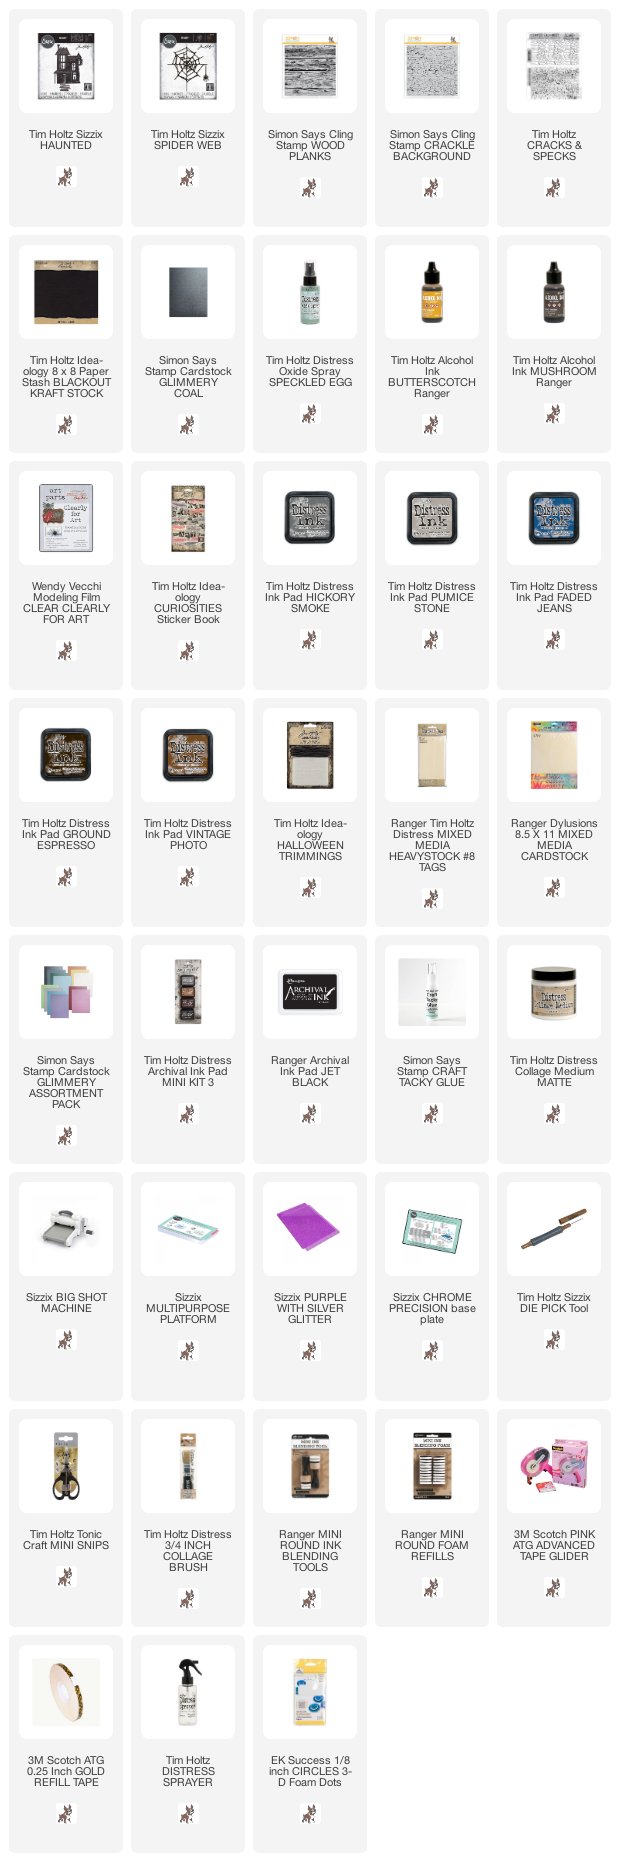
Supplies:
* Please note: the links are affiliate links, for which I receive a small percentage of sales generated by the link, at no extra cost to you.
* Please note: the links are affiliate links, for which I receive a small percentage of sales generated by the link, at no extra cost to you.
Awesome take on the haunted house!!
ReplyDeleteAll that wood grain is just fabulous to create a really characterful house - I can just imagine it in winter too.
ReplyDeleteAlison x
This tag is so cool!!! Love all the detail and colors. One of my favorite tags yet!!
ReplyDelete