Thursday, October 29, 2020

Halloween Shadow Box

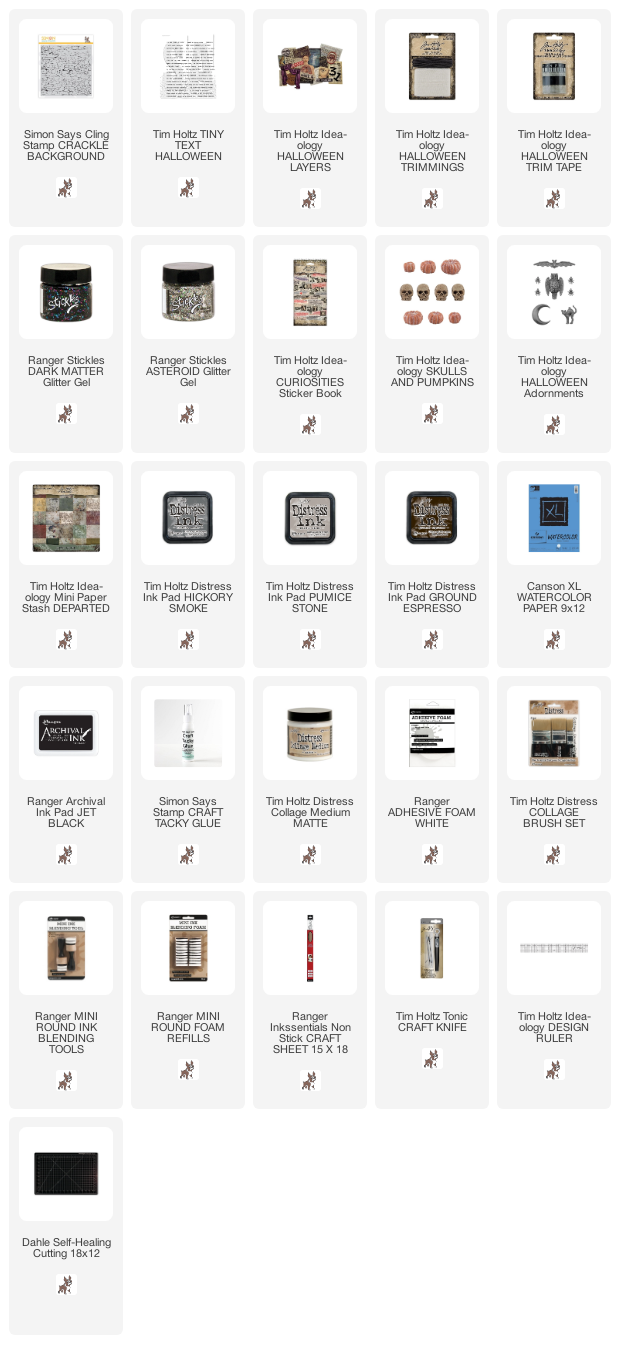
Hi crafters! I have a Halloween project to share today, a fun shadow box, which would also be a fun kids craft project for Halloween.

Layers of ink - Halloween Shadow Box Tutorial by Anna-Karin Evaldsson.

We are not going to go trick and treating this year, because of Covid. Instead, I am going to do a little ghost trail in the forest for the boys, where a friendly ghost has hidden sweets which they will have to go and look for. It will be a friendlier ghost than this one, since little brother will be scared otherwise, and I promised him that there will be no trolls. I used mainly ephemera and embellishments by Tim Holtz for this project.

Layers of ink - Halloween Shadow Box Tutorial by Anna-Karin Evaldsson.

I started out with a piece of cardboard from a parcel. It already had a natural shelf. Cut a corresponding piece of Tim Holtz Departed patterned paper.

Layers of ink - Halloween Shadow Box Tutorial by Anna-Karin Evaldsson. Stamp with Simon Says Stamp Crackle Background.

Stamp the paper here and there with the SSS Crackle Background stamp.

Layers of ink - Halloween Shadow Box Tutorial by Anna-Karin Evaldsson.

I added Halloween Trim Tape along the shelf part.

Layers of ink - Halloween Shadow Box Tutorial by Anna-Karin Evaldsson.

And then used two other pieces to create the sides of the box, also adding design tape. If you don't have a similar piece of packaging, you can score and fold your own shelf and sides.

Layers of ink - Halloween Shadow Box Tutorial by Anna-Karin Evaldsson. Apply Ranger's Stickles.

Smear Asteroid Stickles here and there on the background. These Stickles jars have larger pieces inside and I really like the effect that you get. And no glitter mess.

Layers of ink - Halloween Shadow Box Tutorial by Anna-Karin Evaldsson.

Sand and ink the edges of the ephemera from the Halloween Layers set. Glue the ephemera and other pieces inside the box.

Layers of ink - Halloween Shadow Box Tutorial by Anna-Karin Evaldsson. Tim Holtz idea-ology ephemera.

The number also comes from Tim's Halloween Layers and the sentiment was stamped with the Halloween Tiny Text stamp set. I love the Tiny Text sets, with all the great sentiments. Small sentiments are my favorites.

Layers of ink - Halloween Shadow Box Tutorial by Anna-Karin Evaldsson.

Pieces of mummy cloth were dyed with Hickory Smoke and Pumice Stone and glued to the base. Glue pumpkins and skulls and add some glitter to them too. I also used some Dark Matter Stickles.

Layers of ink - Halloween Shadow Box Tutorial by Anna-Karin Evaldsson.

I added a piece of foam under the curtains, for stability, and glued them to the edges of the shadow box. The sentiments were stamped with Halloween Tiny Text on left-over strips from my Dr. Jekyll and Mr. Hyde project.

Layers of ink - Halloween Shadow Box Tutorial by Anna-Karin Evaldsson.

More spider-web. I used a red version of these curtains on a Halloween shadow box project from last year, you can find that tutorial here.

Layers of ink - Halloween Shadow Box Tutorial by Anna-Karin Evaldsson.

I also added a few Clippings Stickers from the Curiosities book. The paper with the crackle stamping looks like an old wall paper.

Layers of ink - Halloween Shadow Box Tutorial by Anna-Karin Evaldsson.

Design Tape is perfect for quickly covering up edges.

Layers of ink - Halloween Shadow Box Tutorial by Anna-Karin Evaldsson.

My youngest have counted all the pumpkins from all our Halloween decorations. It is quite a many!

Layers of ink - Halloween Shadow Box Tutorial by Anna-Karin Evaldsson.

I hope you enjoyed this post and that you will have a fun Halloween, even though it might not be as usual.


Thank you so much for taking the time to visit my blog today!  

Happy crafting!

Anna-Karin

Supplies:

* Please note: the links are affiliate links, for which I receive a small percentage of sales generated by the link, at no extra cost to you.

1 comment:

  1. I adore this theatrical scene - brilliantly detailed and so full of drama! I hope you and your boys have a wonderful ghost trail... what a good idea to switch it up and create your very own tradition.
    Alison x

    ReplyDelete

Thank you so much for leaving a comment! Happy Crafting!