
Hello stampers! Autumn is clearly in the air, although we still have relatively warm weather. Some of the leaves are starting to turn and the air has an autumn quality to it. Today I have a sunflower project to share, using a combination of watercolors, colored pencils and stamping.

We are celebrating STAMPtember®this whole month at Simon Says Stamp and at the Simon Says Stamp Monday Challenge Blog our theme is Use Your Favorite Stamp. Since this is the first week of a new month, the team is showcasing products from a specific company/designer and this week it is Simon Says Stamp Exclusive products, with a focus on STAMPtember® products. You don't have to use Simon Says Stamp exclusive products to join, but it is always fun if you do. You can find the new fantastic collection of STAMPtember® products here and all the Simon Says Stamp exclusive products here.
We also have a new guest designer and during September the very creative Tracy Ware is our guest. You can see her beautiful creations at her Instagram account here.


Lately, I have enjoyed experimenting with coloring on tinted or patterned backgrounds. It really adds a great element to your coloring and is a fun variation if you usually color on white or cream paper. For this project, I wanted warm tones and started out by paint a piece of watercolor paper with Yellow Ochre watercolor paint. Let dry.


Select a variety of yellow, brown and green Prismacolor pencils. Start with the lighter yellow.
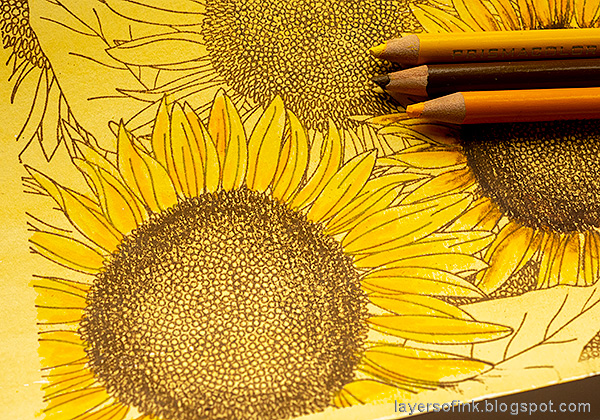
Add darker oranges and start coloring the center with brown. Leave the center almost uncolored in the middle.

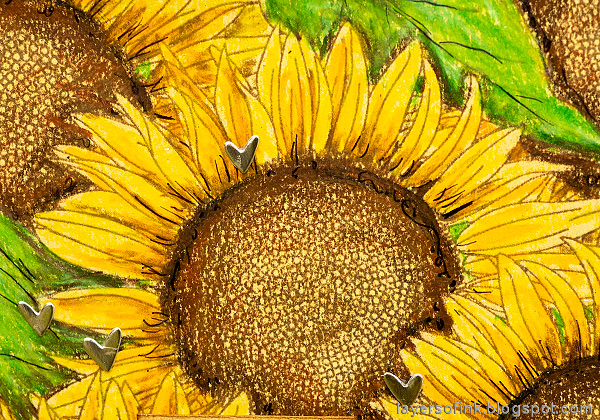
Continue adding darker shades, which makes the flower look dimensional. Don't worry too much about getting it perfect, little mistakes won't show in the end.

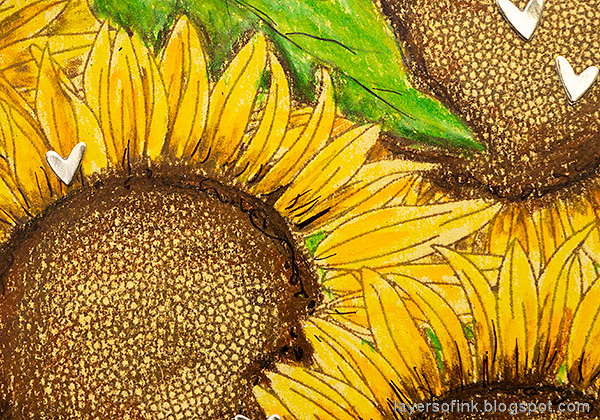
Continue coloring the leaves in the same way. Use the lightest shades to blend the colors. Add shadows and shading.

Finally, I added a few scribbles with a black pen. You can skip this step if you want to.

The edges were distressed and I mounted the panel on gold kraft paper, then on dark brown cardstock and finally on a piece of thick cardboard packaging.
The hearts were die cut from gold kraft core paper with Tim Holtz Falling Hearts die.

The title was die cut with the Simon Says Stamp Chunky Happy die, from the Send Happiness release. I die cut it from both gold kraft paper and cream paper and layered them to create a thin cream border. The small part of the title was stamped with a stamp from the Happy Days set. I cut of the word 'happy', to avoid repeating it.

This cool thick piece of packaging came from an IKEA order. I saved all the pieces and both me and the kids have used them for projects. My eldest in particular likes it a lot, so it was an easy choice for his wall-hanger. You can also use ordinary cardboard.
I hope you will join us this week in our Use Your Favorite Stamp challenge. You have a chance to win a $25 gift voucher to do some fun shopping at Simon Says Stamp. You have until next Monday 8am Ohio time. 1pm UK time, 2 pm CET to join in.


Do you use Instagram? If so please add #sssmchallenge so we can see your entries there too.

Thank you so much for stopping by here today!
Happy crafting!
Anna-Karin
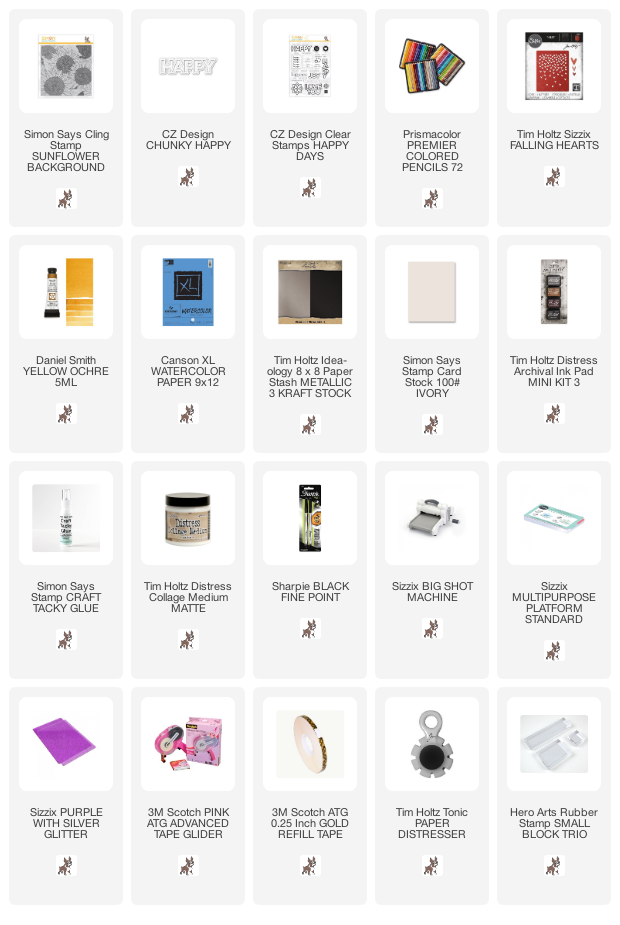
Supplies:
* Please note: the links are affiliate links, for which I receive a small percentage of sales generated by the link, at no extra cost to you.
* Please note: the links are affiliate links, for which I receive a small percentage of sales generated by the link, at no extra cost to you.
What a gorgeous wall hanging! I am sure he will love this!!! Your colouring is just fabulous!! Beautifully done :-)
ReplyDeleteHope you have a great STAMPtember®
luv
Lols x x x
I really love what you’ve done with this stamp. The colors are vibrant and beautiful. What a gorgeous wall hanging. Thank you for sharing how you did it.
ReplyDeleteBeautiful wall hanging! Love to see the process! I experimented with watercolor backgrounds lately, too. Wanted to add some color to my linoprints.
ReplyDelete