
Hello crafters! I hope you are well and that your weekend was good. We went on a bike ride to a lake where there were no other people and we even saw a very cute ermine.

This week at the Simon Says Stamp Monday Challenge Blog we have a Not A Card challenge. Lots of options! I hope you will join us. Don't miss the last project by our April guest designer Tracey Sabella, with her blog Garden of Grace.

I feel very lucky to live close to nature, in these days particularly, and I really enjoy my long walks. I often take a sketchbook with me and today I made a new nature sketchbook for myself, with a vintage theme. When making these types of books I avoid adding bulky items to the cover, since they might fall off or make it harder to just take the book along in a pocket. This sketchbook goes one step further since all the ephemera on the cover is coated with matte medium, creating something of a decoupage effect.

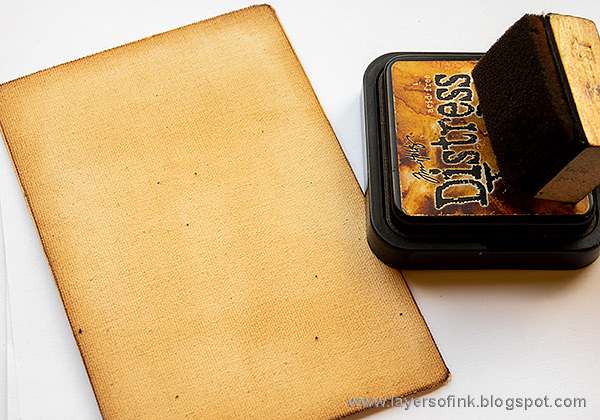
I used one of Tim Holtz Salvaged Baseboards as a base for my book. I love the vintage book look. I also picked a paper from the Field Notes ephemera to give the theme to the book.
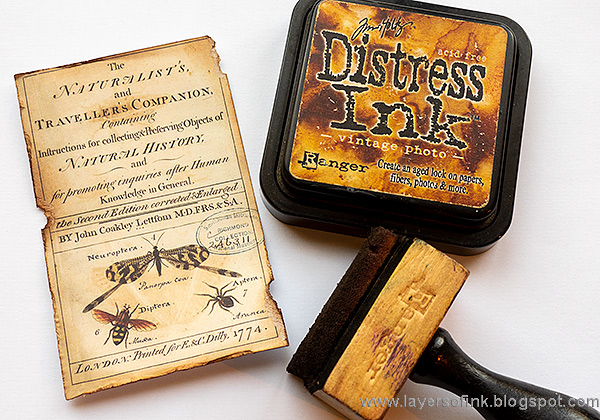
Tear and ink the edges of the paper. I used only Vintage Photo for this project, which is a nice warm brown.
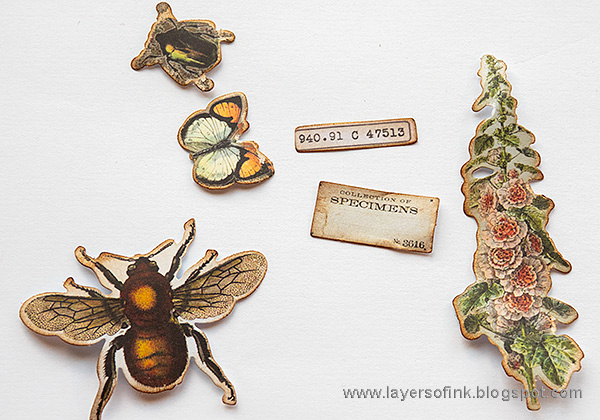
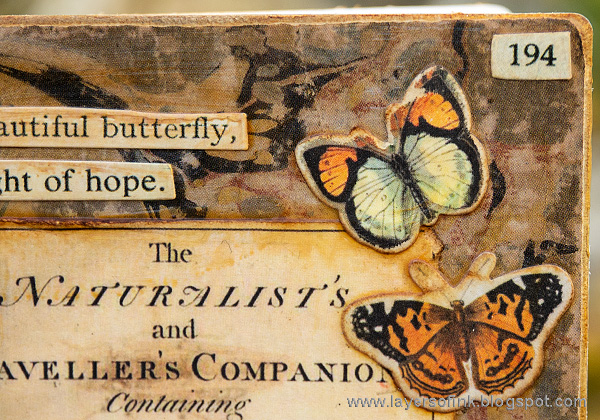
Find additional ephemera pieces from Field Notes and Field Notes Snippets. Sand and ink the edges.
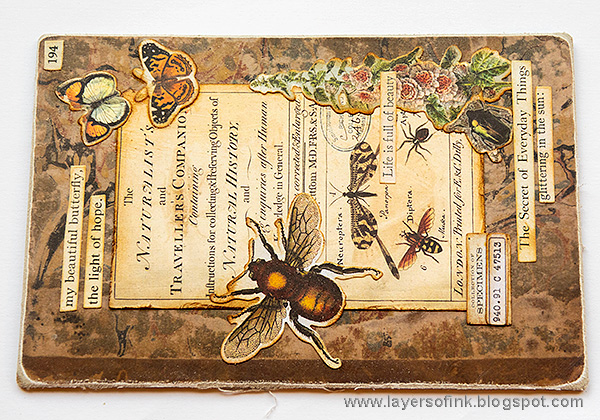
Sand the edges of the cover and then glue the ephemera to the cover using Distress Matte Medium. I also added a bunch of Clippings Stickers.

Ink the sanded edges of the cover and add more ink to the ephemera if needed.
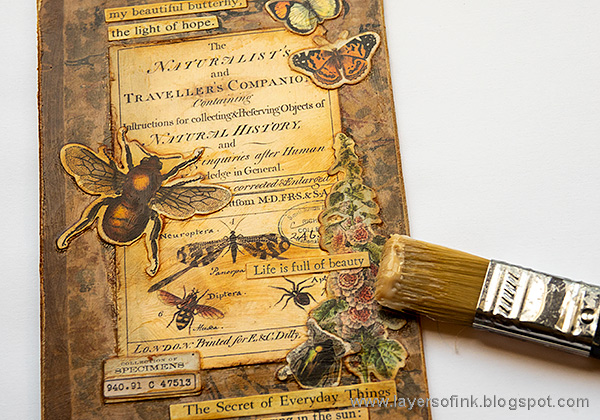
Now comes the fun technique. Scoop out a little matte medium and place in a container. You don't want to repeatedly put the paint brush into the ordinary container, since it might color the medium. The Distress Ink that is already on the cover will react with the matte medium and move around slightly. I also added Vintage Photo Distress Ink with my finger to some areas and rubbed it into the medium. This gives an instant vintage look to the cover in one step. As you can see on the paint brush in the photo, the matte medium is colored by the ink.

Cut a piece of mat board for the back cover and cover it with natural sticky-back canvas. You can also use another piece of Salvaged Baseboard.
Ink with Vintage Photo.
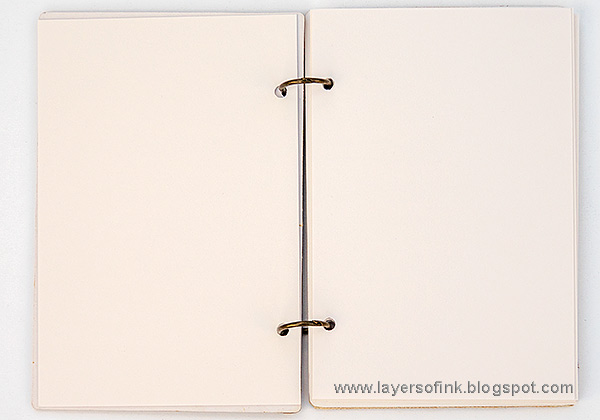
Punch holes with a crop-a-dile and bind with Tim's Mini Book Rings. The best thing with making your own sketchbook is that you can use your favorite paper on the inside. I cut sketchpaper to 3.8 x 5.9 in.
All the pieces are now 'baked' into the cover and will not fall off. It also gives a nice, solid feel to the book.

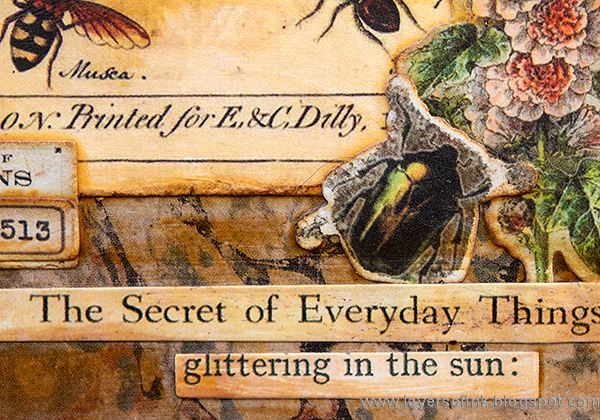
Here you can see the effect of the ink that I added with my finger into the medium. It collected especially around the shape of the insect. Be careful to clean your finger so that you don't get medium onto your ink pad. An even better method would be to smear the ink on a craft sheet and pick it up from there.

More fun ephemera pieces.

I love to sit with the Clippings Stickers and pick out sentiments, and was particularly happy with the ones I found for this book.
More sentiments and a beautiful insect.

You can decorate the back cover too, but I usually like to keep it plain.

Here is my new sketchbook waiting to be filled with nature moments and memories. You can of course make it in other themes too, but just changing the images and text.
I hope you will join us this week in our Not A Card Challenge. As always, you have a chance to win a $50 gift voucher to do some fun shopping at Simon Says Stamp. You have until next Monday 8am Ohio time. 1pm UK time, 2 pm CET to join in.
As you may know, the Simon Says Stamp Store have longer shipping times for the moment due to the coronavirus. With this in mind we have made the difficult decision to suspend the $50 voucher for this challenge.
We know that many people are staying safe at home and we would love it if you would continue to enter the challenges and have fun! We are all in this together!

Don't forget to follow Simon Says Stamp on Instagram, they post great stuff daily. We also have a new hashtag #SSSUnitedWeCraft

Do you use Instagram? If so please add #sssmchallenge so we can see your entries there too.


Thank you so much for taking the time to visit my blog today! Take care!
Happy crafting!
Anna-Karin
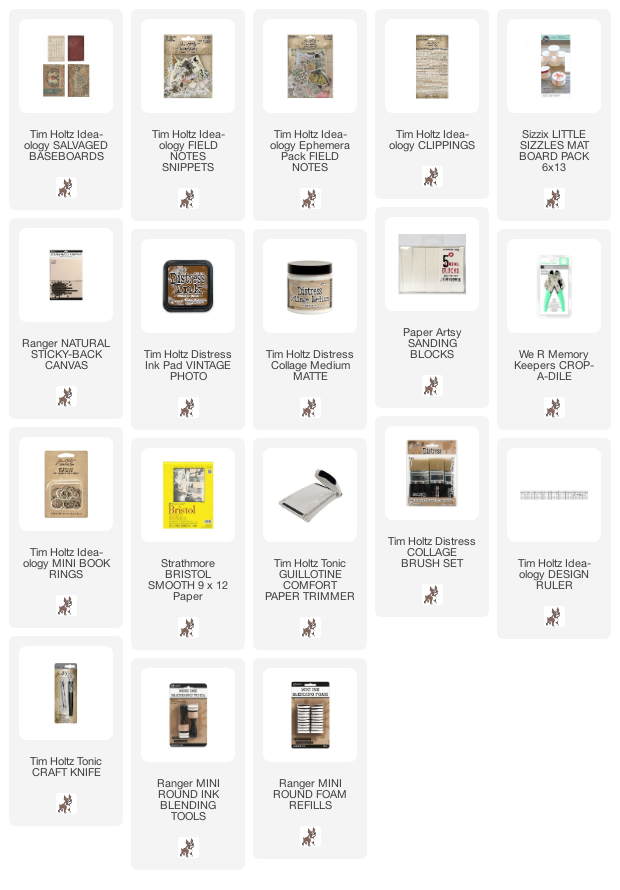
Supplies:
* Please note: the links are affiliate links, for which I receive a small percentage of sales generated by the link, at no extra cost to you.
* Please note: the links are affiliate links, for which I receive a small percentage of sales generated by the link, at no extra cost to you.
I adore this! The perfect way to showcase all those gorgeous Field Notes ephemera - and the main label is so beautifully distressed to look like antique paper. Brilliantly done... I'm inspired to play!
ReplyDeleteAlison x
So pretty!
ReplyDeleteGood
ReplyDeletegreat work, I love your work! thanks
nature