
Hello crafters! Today I have a gift box tutorial with a vintage transportation theme to share with you, including stamping, inking and masking. The box can easily be turned into any theme and you it can also become an art block instead of a box.
The Eileen Hull Inspiration Team is sharing projects made with Eileen's Chapter 1 release this month. Don't miss all the inspiration!

We have a birthday coming up soon, and I made this box for Leo, so that he can keep some of his tiny vehicles in it. He loves vehicles, so the theme was easy to pick. The box was made with Eileen's Gift Box w/Scallop Edges die, which makes a 3.8 x 3.8 in box. I didn't want the box to have any lose parts that could fall off, so it is all just one layer, except for the extra decorative closure flap.

Die cut two box parts from mat board. Mat board is a wonderful surface, very sturdy and it takes inks and paint beautifully. You need to use the Extended Cutting Pads, since this is an XL die, but it fits perfectly in an ordinary Big Shot or Vagabond. Stamp with Tim Holtz transportation stamps. The airplane comes from Warehouse District and the other three from Travel Ways.
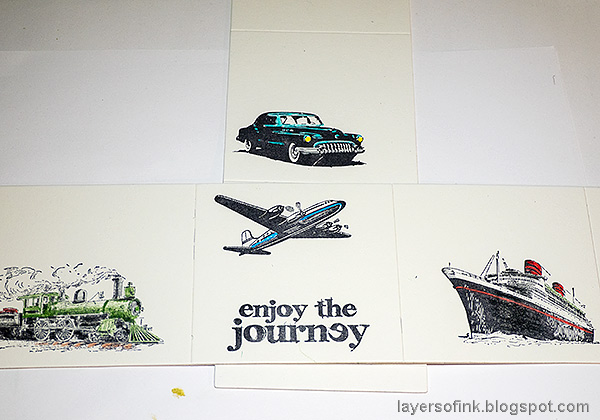
Color the images with colored pencils. I used Prismacolors.

Stamp them again on Simon Says Stamp masking paper, cut out and place over the images.

Use another piece of masking paper to mask out the sky and create a horizon line. Ink with Distress Ink and an in-blending tool.

Continue masking and inking, until you have created simple landscapes.
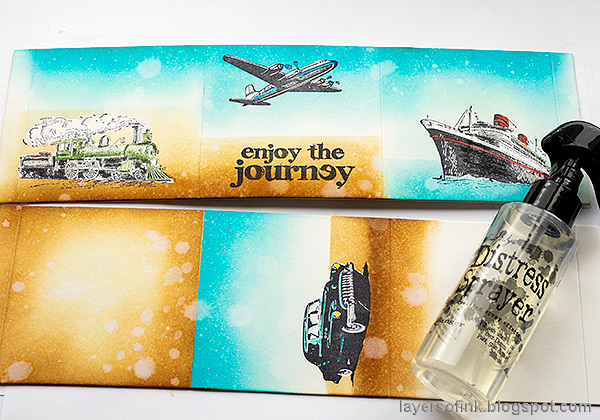
Before removing the masking paper, mist with water and water drops. Dab off the water with a paper towel.
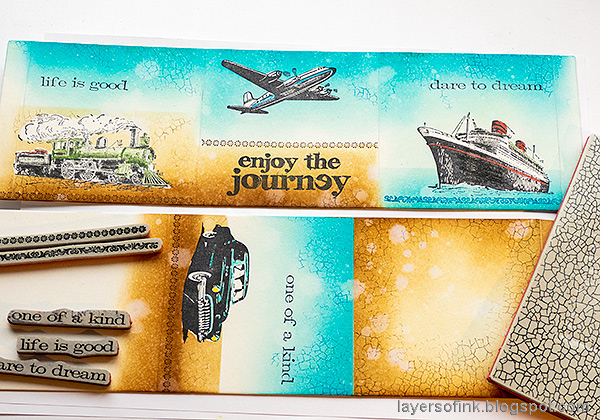
When dry, stamp sentiments, borders and a craze texture on the background. I stamped with Archival Ink Potting Soil and Manganese Blue.

Assemble the box with a strong adhesive. One of the reasons for why I stamped the Ornate Trim borders, was that I placed the masking paper a bit skewed on this side. The border stamp hides the mistake.

Sand the edges to reveal the white of the mat board.
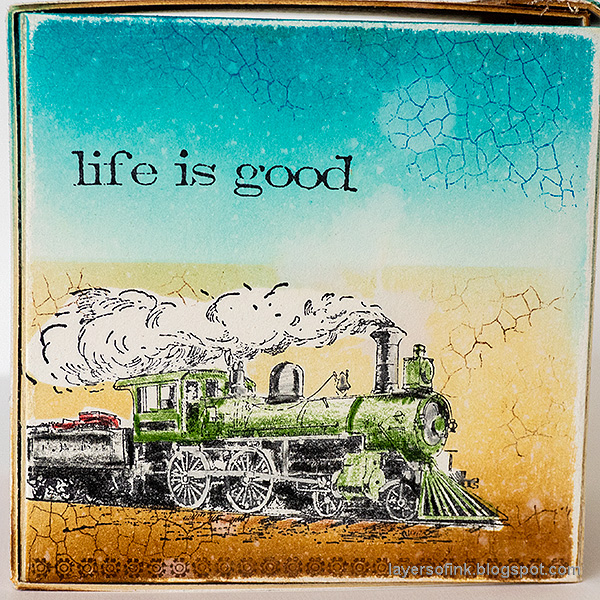
I added some more color to the train after taking the photos, since I discovered that there were white areas while taking the photos.
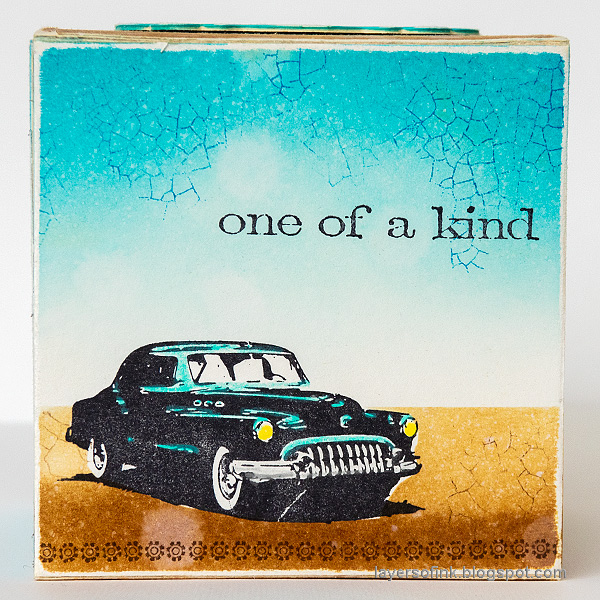
Just the little bit of color adds personality to the car. Even though this stamp is pretty solid, you now get the impression that it is a turquoise car and not a black car.

I always liked this ship stamp and have used it quite a few times before.
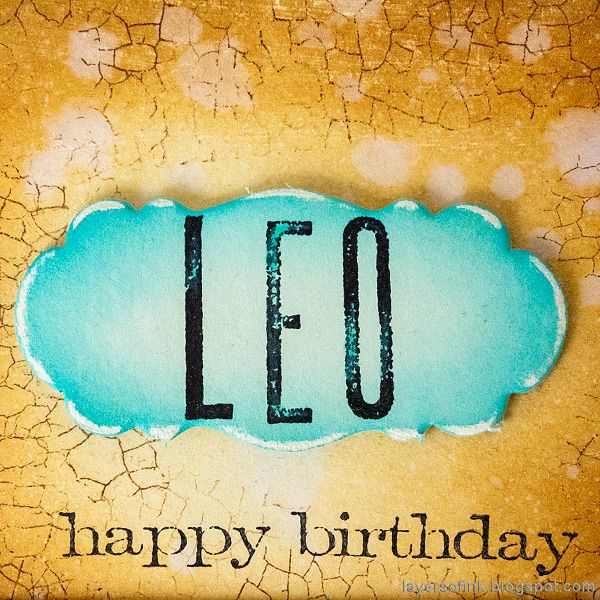
For the top of the box, I used the label that is a part of the die. It was stamped, inked and sanded. The alphabet stamps are from Tim's Tall Text set.
For more inspiration with the Gift Box w/Scallop Edges die, check out my Forest Photo Block.

Thank you so much for taking the time to visit my blog today!
Happy crafting!
Anna-Karin
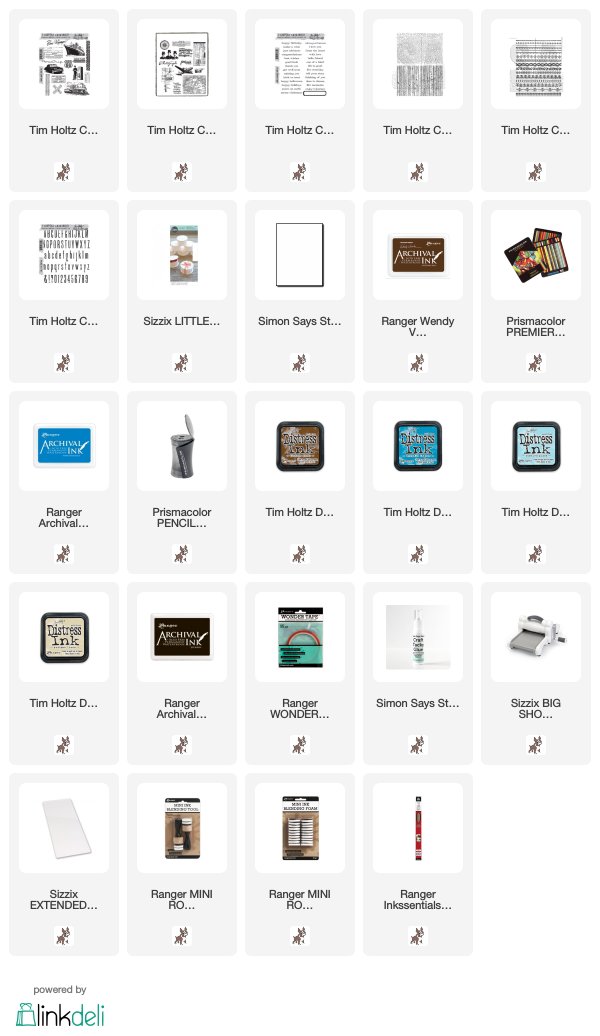
Supplies:
* Please note: the links are affiliate links, for which I receive a small percentage of sales generated by the link, at no extra cost to you.
* Please note: the links are affiliate links, for which I receive a small percentage of sales generated by the link, at no extra cost to you.
Additional supplies:
Eileen Hull Sizzix Gift Box w/Scallop Edges XL die.
I can't believe that Leo is 5! What a great way to use this die- for holding all those tiny treasured vehicles <3 Please give him a birthday hug from Aunt Eileen :-)
ReplyDeleteHappy birthday to Leo!!! I really can't believe he is 5! I remember when he was born! Wasn't that just last year? LOL
ReplyDeleteI love those transport stamps - and your ATBs always make me happy - gorgeous colours and a great present for Leo!
ReplyDeleteAlison x
WOW this is gorgeous! I am not a stamper so I found your process quite fascinating, it's a whole new world for me to explore.
ReplyDeleteYou always have such simple one layer stampings that turn into beautiful panels with your inkings and distressings Anna-Karin - this is so wonderful! Love the colors and images!
ReplyDelete