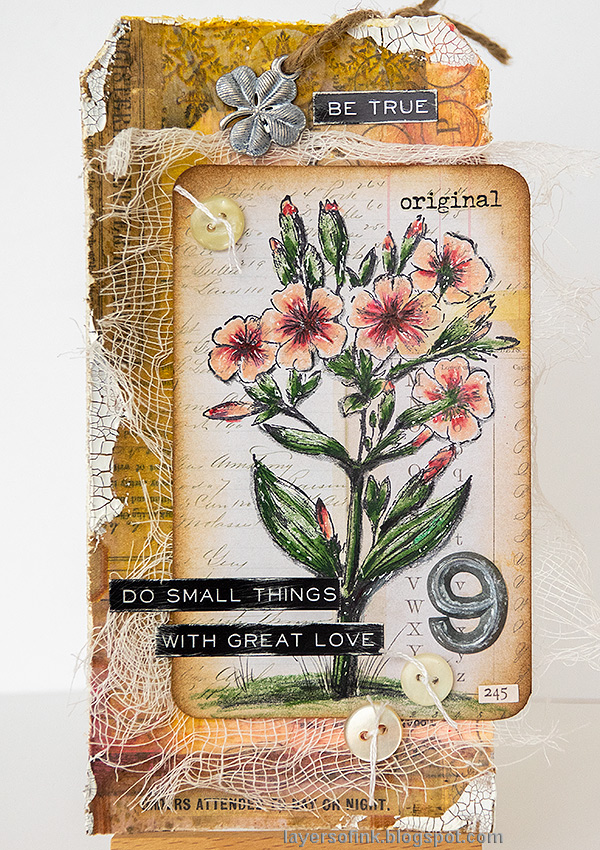
Hi crafters! Vintage floral images are so pretty and today I made a tag featuring a floral stamp, together with a printed tissue paper background. If you don't want to make a tag, turn it into a card instead or use the techniques for an art journal page.
The sun is shining and we actually got a little bit of snow, to the boys great joy. They could go downhill on their sleds for the first time this winter.
This tag has a vintage feel to it because of the combination of papers, stamps and old buttons. Both the stamps and the papers are by Tim Holtz. You can use the colored pencil technique with many types of images.
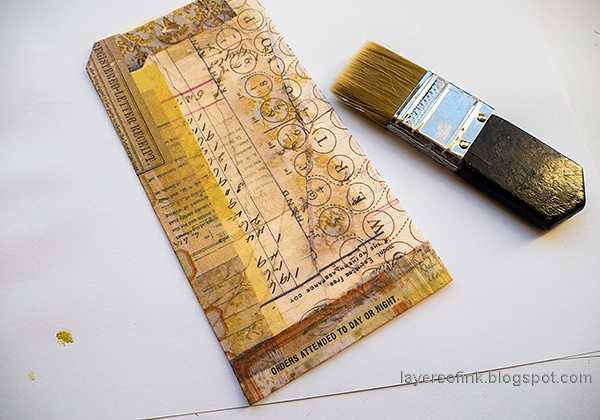
I started out by covering a heavystock tag with Typography Collage Paper, wrinkling it a little bit. There is also a small piece from the Documented Collage Paper at the bottom of the tag. Add a layer of matte medium on the tag and place the paper into the medium. Then add a second layer of medium on top.
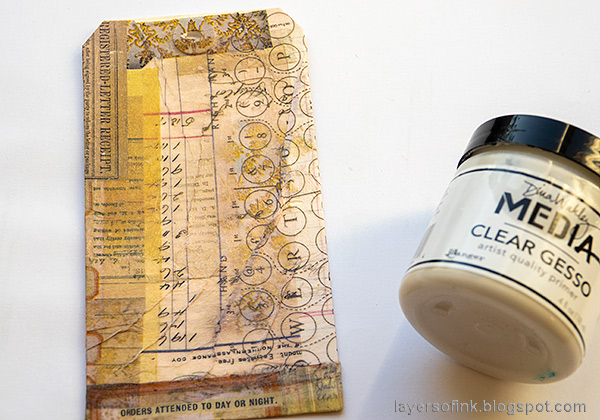
I decided to also add a layer of clear Gesso. You could skip the top layer of matte medium and go straight to the gesso instead. It will give tooth to the Distress Crayons in the next step.

Add color to the tag with Distress Crayons, smoothing them out with your finger.
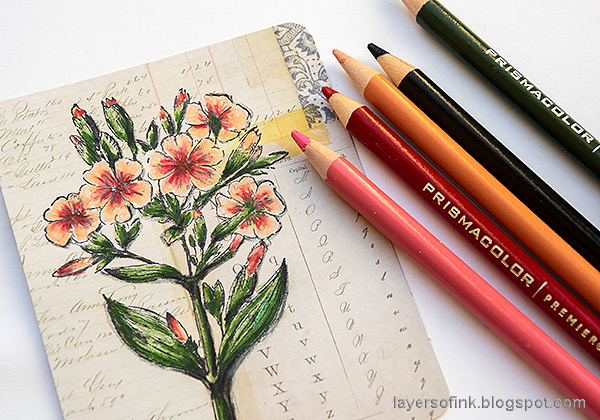
Stamp a flower from Tim Holtz Illustrated Garden on one of his journal cards. Color it with colored pencils, also adding shading. I used Prismacolors.

Bring back some of the details with a black pen, giving it more of a hand-drawn look. Add highlights with a white gel pen.

When the tag was assembled, I decided to add a little crackle paste here and there around the edges. White paint was rubbed into the metallic embellishments.

I don't know if you can see it, but I used a Wink of Stella to give a light shimmer to the flowers. Here you can also see the shading better.

The collage paper background is almost too pretty to cover up. If you make a card, you can give it more space than what I had here.

I inked the edges of the journaling card and cut off a small piece on the right hand side, rounding the corners. I also drew grass for the plant, to ground it to the background. The sentiment stickers were sanded.

Years ago, I scored several bags of old buttons, recycled from clothing. I have had so much use for them and still have many left. Pierce holes and then stitch the buttons to the tag.
Thank you so much for taking the time to visit my blog today!
Happy crafting!
Anna-Karin
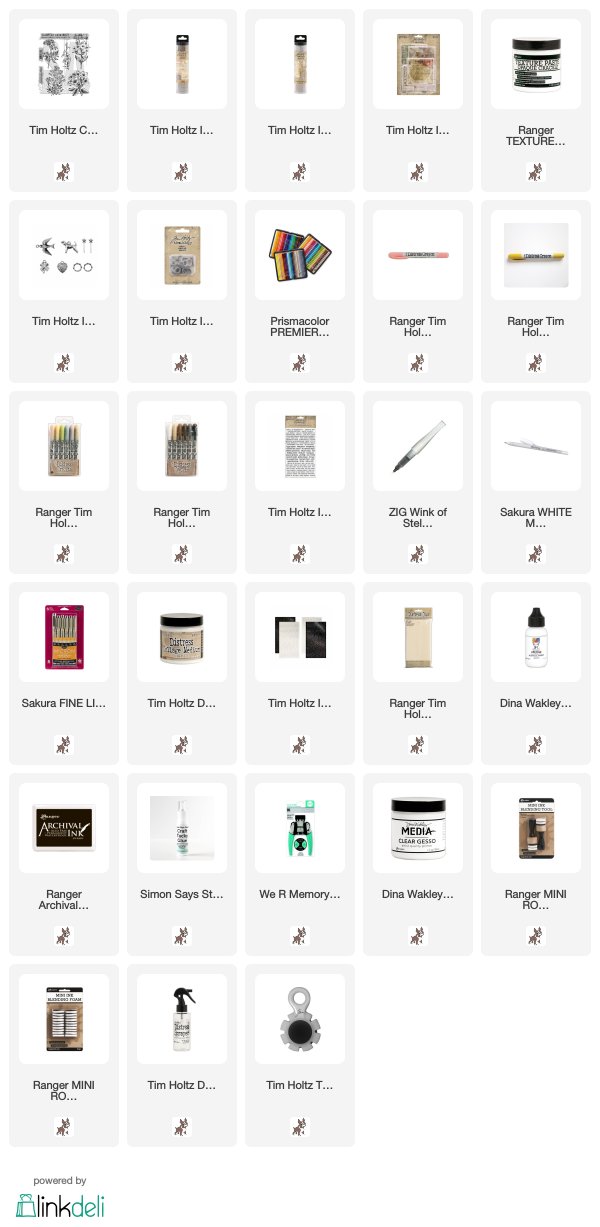
Supplies:
* Please note: the links are affiliate links, for which I receive a small percentage of sales generated by the link, at no extra cost to you.
* Please note: the links are affiliate links, for which I receive a small percentage of sales generated by the link, at no extra cost to you.


i love it fun
ReplyDelete