Friday, December 20, 2024

Glimmering Pines

Hi crafters! Today I have a card to share with a glimmering forest created with an embossing folder, ink, glitter glue, pens and gems.

Please note: this post has affiliate links, for which I receive a small percentage of sales generated by the link, at no extra cost to you.

Layers of ink - Glimmering Pines Tutorial by Anna-Karin Evaldsson.

I just love any embossing folder with trees, and perhaps particularly pine trees. Here I aimed for a light and glittery look, a snowy forest during day time. You can get a totally different look if you use darker inks. I used Simon Says Stamp Feathery Pines for the card.

Emboss Simon Says Stamp Feathery Pines embossing folder.

Start by applying Distress Ink directly to the Feathery Pines embossing folder. Mist the paper with water and emboss. You get a lovely random effect with this technique and you could stop here if you want to.

Paint with Distress Ink.

I smeared Distress Ink on a non-stick craft sheet and dry brushed the trees using a paint brush. Dabb off some of the ink you you get too much on the brush. This way, you will mainly get ink on the embossed parts.

Splatter with distress ink.

Splatter with two shades of Distress Ink, using a paint brush and adding some water to the ink on the craft sheet. 

Stamp with Simon Says Stamp Poinsettia.

Stamp the sentiment on the background with Simon Says Stamp Poinsettia Swag. Add white dots and lines with a gel pen. I added white to the branches of the pine trees with the white pen too.

Add Ranger Moon Dust Stickles.

Apply a little Moon Dust Stickles Glitter Gel to the branches. 


The embossing folder techniques gives a great mottled effect to the ink, which forms a nice backdrop to the forest and all the splattering.

Add Simon Says Stamp Pawsitively Dazzling Gems.


Stamp and die cut with Simon Says Stamp Mixed Labels.

The label was stamped with Tropic Pawsitively Saturated ink using Simon Says Stamp Mixed Labels and die cut with the coordinating die. It was adhered with foam tape.


Thank you for visiting!

Happy Christmas crafting!

Anna-Karin

Supplies:

* Please note: the links are affiliate links, for which I receive a small percentage of sales generated by the link, at no extra cost to you.


Wednesday, December 18, 2024

Frostie Watercolor Snowman

Hi stampers! The snow comes and goes here, but a paper snowman will always stay. Here is another snowman project.

Please note: this post has affiliate links, for which I receive a small percentage of sales generated by the link, at no extra cost to you.

Layers of ink - Mr Frostie Watercolor Snowman Tutorial by Anna-Karin Evaldsson.

I have done quite a few snowman projects this year and for this tag, I wanted to use the larger snowman from Tim Holtz Mr Frostie. He is covering most of the tag, with a dark snowy and sparkly sky as a backdrop. It looks pretty cold!

Stamp Mr Frostie on a watercolor tag.

Start by stamping Mr Frostie on a tag die cut from watercolor paper.

Draw the snowman's body with pens.

Extend his body to the bottom of the tag and add buttons. You need to use waterproof pens for this step.

Stamp on Simon Says Stamp Masking Paper.

Stamp him one more time on Simon Says Stamp Masking paper. Cut out and roughly cut the body too.

Stamp snowflakes.

With the masking paper in place, white emboss the Simon Says Stamp Twinkling Stars on the background. I got some embossing powder on the hat too, but that didn't matter.

Paint the snowman with watercolors.

Paint the snowman and the background with watercolor paint. Don't worry about perfection and leave some of the paper white.

Add Gansai Tambi Starry paint.

I added some shimmer to the sky with Gansai Tambi Starry Colors (the lightest shade).

Add snowflakes with a gel pen.

When dry, add more snow to the background and some white highlights to the snowman.

Add Stickles and Glossy Accents.

Add Glossy Accents to his eyes and Star Dust Stickles to the hat and here and there in the sky.

Mixed Media snowy winter night.


I don't know if you can see the Glossy Accents on his eyes here, but it adds a nice touch. 

Add more shadows and lines.

Add shadows to the snowman and more black linework if needed.


The sentiment also comes from the Mr Frostie set and was cut into two strips to avoid covering too much of the snowman.


Thank you for visiting!

Happy Christmas crafting!

Anna-Karin

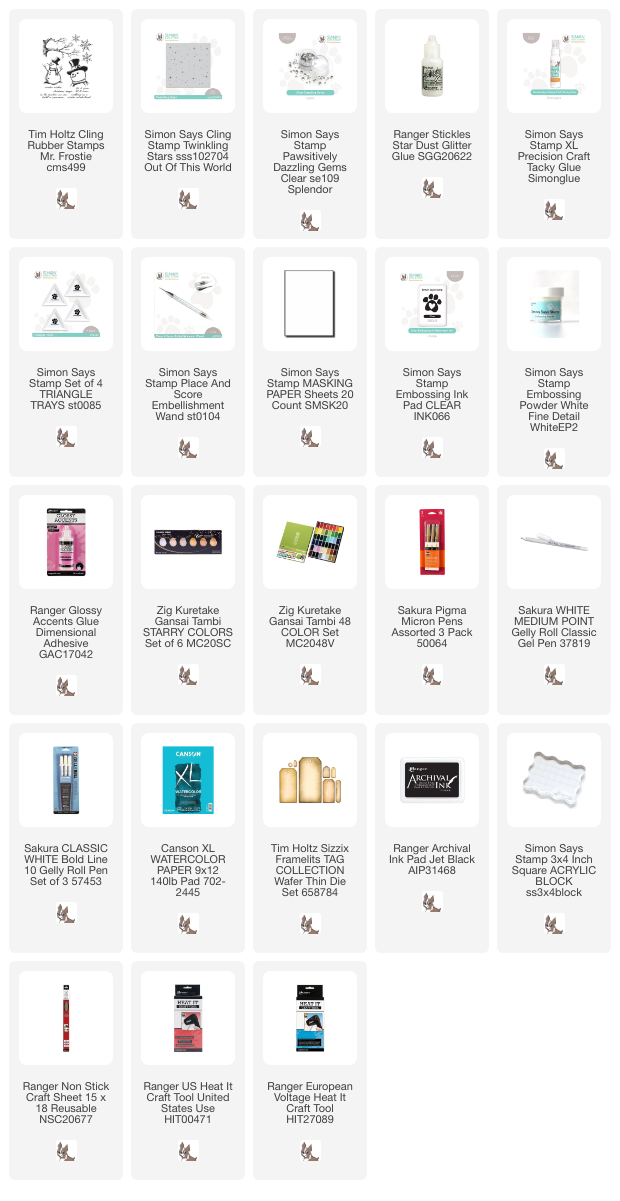
Supplies:

* Please note: the links are affiliate links, for which I receive a small percentage of sales generated by the link, at no extra cost to you.


Tuesday, December 17, 2024

Frosty Christmas Window Tutorial

Hello friends! Today, I am happy to have a tutorial on the Simon Says Stamp store blog. I enjoy making my own Christmas decorations and they also make great gifts. For this project, I made a sparkly window. Below is a sneak peek.

 Please note: this post has affiliate links, for which I receive a small percentage of sales generated by the link, at no extra cost to you.

Layers of ink - Frosty Christmas Window Tutorial by Anna-Karin Evaldsson.

For this project, I built a Christmas scene using mainly Tim Holtz idea-ology pieces. I wanted to add parcels, but the stamps that I had at home were all too large. The problem was solved with Simon Says Stamp Shrink Sheets, making the parcels the perfect size. I am very fond of creating snow for projects and here I used one of my favorite methods for that: texture paste, glitter and mica flakes.

Head over to the Simon Says Stamp Store blog to see the full project and all the steps in the tutorial.


Thank you for visiting!

Happy Christmas crafting!

Anna-Karin


Monday, December 16, 2024

Poinsettia Gift Box

Hi crafters! I hope you are well and had a good weekend! We had both snow and rain this weekend.

Please note: this post has affiliate links, for which I receive a small percentage of sales generated by the link, at no extra cost to you.


This week we have a It's a Wrap theme at the Simon Says Stamp Monday Challenge Blog. I hope you will join us! Don't miss the gorgeous project by our December guest designer Anita Rao.

Layers of ink - Poinsettia Gift Box Tutorial by Anna-Karin Evaldsson.

I recycled a jewelry box and turned it into a poinsettia Christmas gift box, with the use of the Simon Says Stamp Tall Poinsettia die and Pine Needle Cluster die. I also decorated the inside of the lid, which is a good place for a personal sentiment. You can of course also use the design on a card.

Ink with distress ink.

Start by smearing Distress Ink on a non-stick craft sheet and mist with water. Press heavystock paper into the ink. Let dry and repeat.

Die cut with Simon Says Stamp Tall Poinsettia.

I die cut the Simon Says Stamp Tall Poinsettia four times from each of the two inky papers.
   
Shape the paper flowers.

Shape the flowers with Tim Holtz Shaping Tools.

Die cut Simon Says Stamp Pine Needle Cluster.

Die cut the Simon Says Stamp Pine Needle Cluster from gold kraft-stock and Simon Says Stamp white glitter paper. I ended up not using the blue glitter die cuts.

Assemble the paper poinsettias.

Glue the poinsettias together and add a Simon Says Stamp Pawsitively Dazzling Gem to the centers.

Stamp the flower and sentiment.

Cut a piece from the pink inky paper for the inside of the lid. Stamp the Simon Says Stamp Poinsettia Swag in one corner and a sentiment in the other.

Color with Prismacolor pencils.

Color the flower with pencils. I used Prismacolors.

Add highlights with a white gel pen.

Add a dots with a white gel pen.


Glue the pine needles and the flowers to the lid of the box.


I used four large flowers and two small flowers for each poinsettia.


I added gems to the inside cover too.


One of my favorite sentiments during Christmas.

Altered gift box tutorial by Layers of ink.

You can also cover the box with paper, but since the box I used was already pretty, I left it as it was.


Join us this week in our It's a Wrap challenge! You have a chance to win a $25 gift voucher to do some fun shopping at Simon Says Stamp. You have until Monday 8am Ohio time. 1pm UK time, 2 pm CET to join in.


Do you use Instagram? If so please add #sssmchallenge so we can see your entries there too.


Thank you so much for visiting my blog today! 

Happy crafting!

Anna-Karin

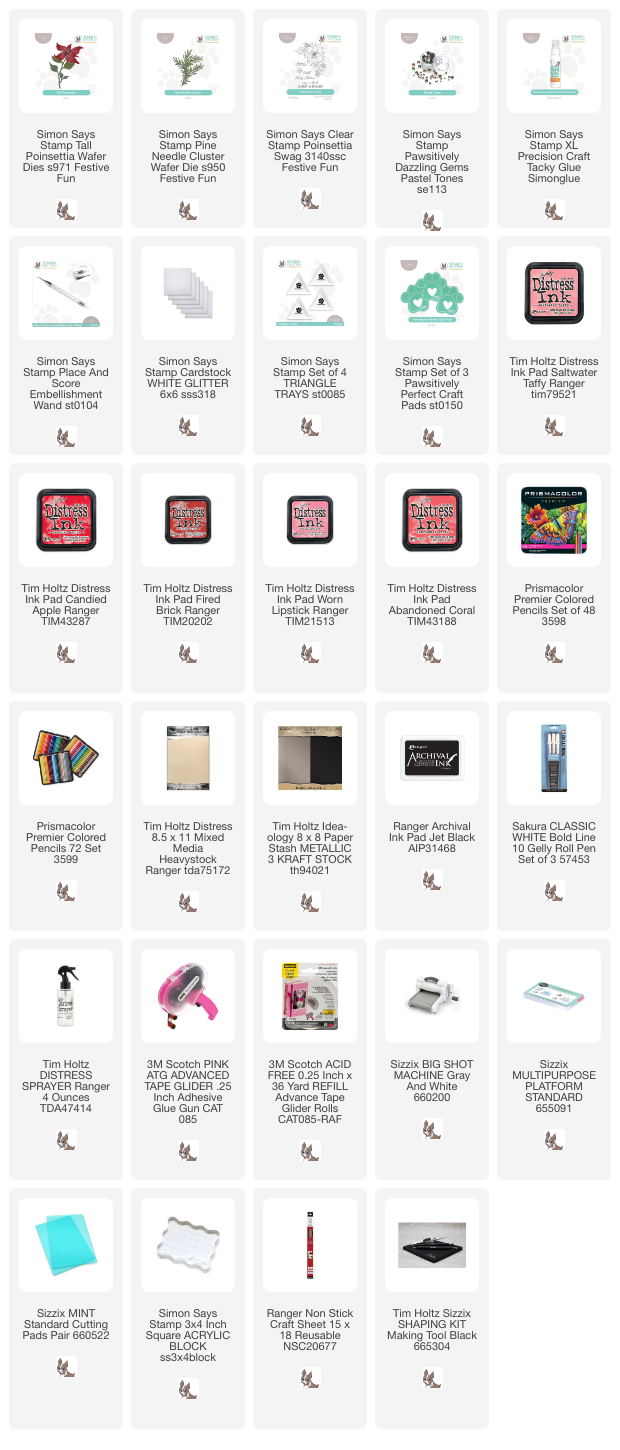
Supplies:

* Please note: the links are affiliate links, for which I receive a small percentage of sales generated by the link, at no extra cost to you.


Monday, December 9, 2024

Embossed Snowmen Tutorial

Hi crafters! It is Monday again and time for a new Simon Says Stamp Monday Challenge. 

Please note: this post has affiliate links, for which I receive a small percentage of sales generated by the link, at no extra cost to you.


This week we have an Use dies in DieCember® theme at the Simon Says Stamp Monday Challenge Blog. It is in honor of DieCember® which is celebrated during this month at Simon Says Stamp. I hope you will join us! 

Don't miss the stunning project by our December guest designer Anita Rao.

Layers of ink - Embossed Snowmen Tutorial by Anna-Karin Evaldsson.


I made a winter/Christmas card using very cute snowmen dies by Simon Says Stamp: Arthur the Snowman and Oliver the Snowman. I had fun dry embossing the snowmen. I really like snowmen and have made a bunch of projects this season with snowmen, and there might be more to come.The card also has an interesting die cut background.

The word 'can' is a part of the background paper, but I could have made a plan for including it as a part of the title. 

Die cut Simon Says Stamp Arthur the snowman.

I started with a piece of watercolor paper which had been colored with Antique Linen Distress Ink. Die cut Arthur the Snowman and Oliver the Snowman (not on the photo).

Emboss in an embossing folder.

Arthur has a big body, and it fit the cabin on Simon Says Stamp Wooded Cabin perfectly. Emboss the snowman. 

Ink with Distress Ink.

Ink the edges and also add some ink to the embossing to help it stand out. Die cut the larger snowman's head one more time. 

Add Pawsitively Dazzling Gems as buttons.

The hats and scarves were die cut from inky left-over papers, felt and Tim Holtz Christmas Backdrops paper. Add Simon Says Stamp Pawsitively Dazzling Gunmetal Gems as buttons.


Die cut the Simon Says Stamp EZ Strips Rectangles from watercolor paper. This die is from the DieCember® release.

Ink and coat with Rock Candy Glitter.

Ink slightly with Distress Ink and then place on another piece of watercolor paper. Coat with matte medium and sprinkle Rock Candy Glitter on top. Peel off the top layer and you have two glittery backgrounds. I only used the one to the right.

Die cut the title from gold paper.

Die cut the title from gold kraft-stock and black paper, using Tim Holtz Vault Seasonal Sketch.

Paper snowman

I added Glossy Accents to the eyes of the snowmen. The hat and scarf was shaped a bit and adhered with Simon Says Stamp Pawsitively Perfect Foam tape. The entire snowman is also adhered to the background with foam tape.


Dry embossing on die cut pieces is fun and there are lots of possibilities. 

The snowman has a felt hat.

This hat was die cut from felt. The white balls were die cut from Simon Says Stamp Pawsitively Luxury Velvet paper.

Rock Candy Glitter.

The glittery die cut was adhered to a piece of Tim Holtz Christmas Backdrops paper.

Join us this week in our Use dies in DieCember® challenge! You have a chance to win a $25 gift voucher to do some fun shopping at Simon Says Stamp. You have until Monday 8am Ohio time. 1pm UK time, 2 pm CET to join in.


Do you use Instagram? If so please add #sssmchallenge so we can see your entries there too.


Thank you so much for visiting my blog today! 

Happy crafting!

Anna-Karin

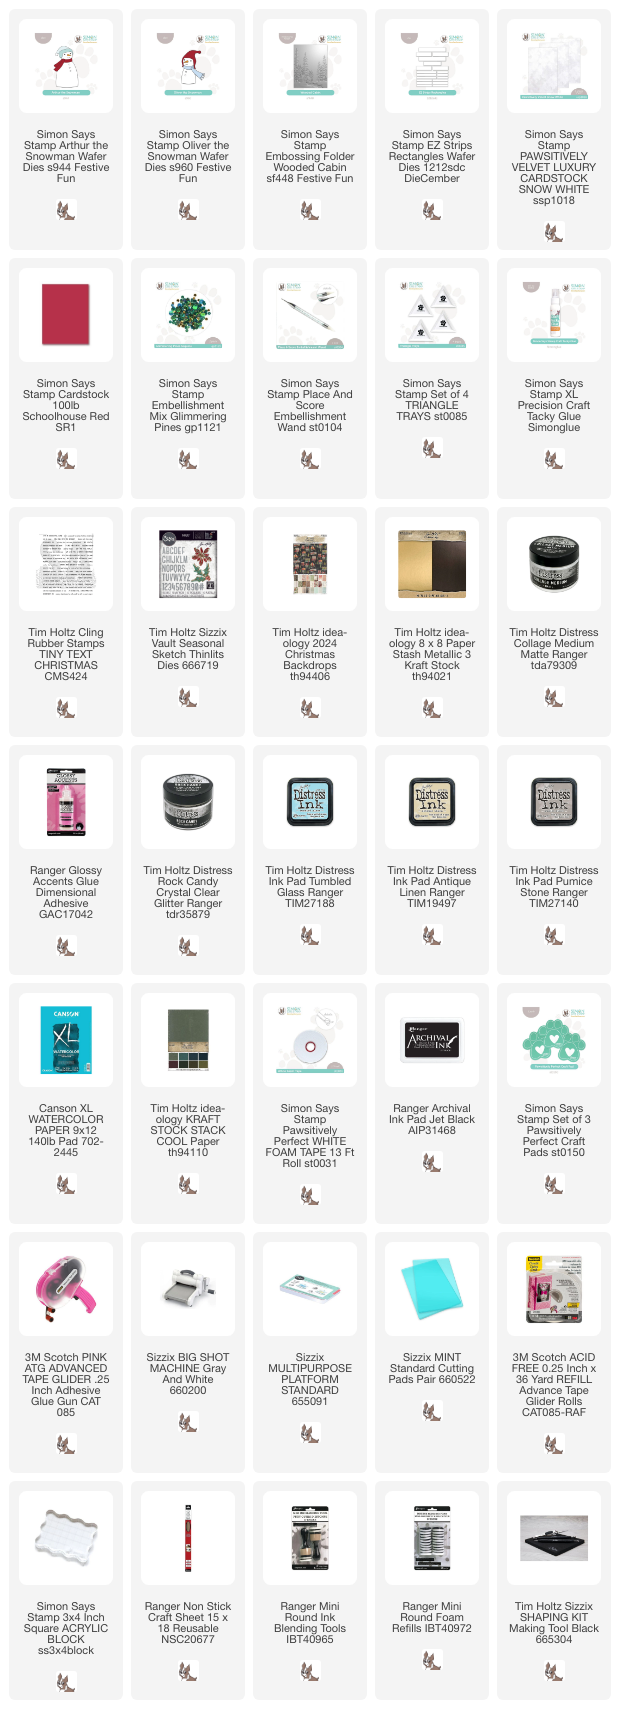
Supplies:

* Please note: the links are affiliate links, for which I receive a small percentage of sales generated by the link, at no extra cost to you.