Hi stampers! The snow comes and goes here, but a paper snowman will always stay. Here is another snowman project.
Please note: this post has affiliate links, for which I receive a small percentage of sales generated by the link, at no extra cost to you.
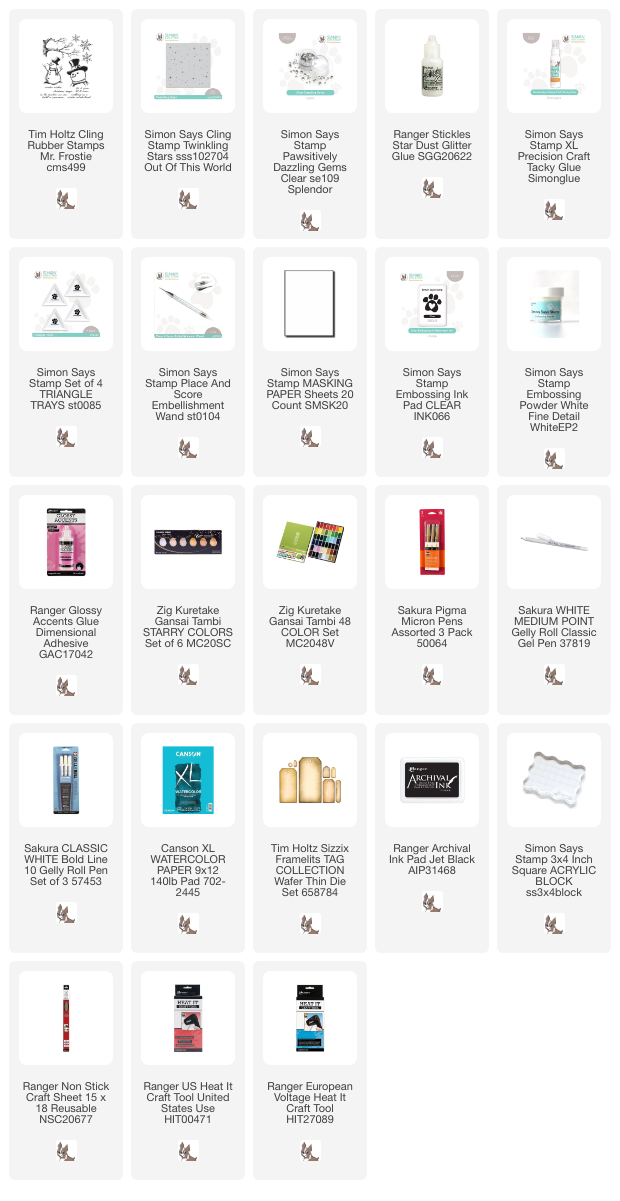
I have done quite a few snowman projects this year and for this tag, I wanted to use the larger snowman from Tim Holtz Mr Frostie. He is covering most of the tag, with a dark snowy and sparkly sky as a backdrop. It looks pretty cold!
Start by stamping Mr Frostie on a tag die cut from watercolor paper.
Extend his body to the bottom of the tag and add buttons. You need to use waterproof pens for this step.
Stamp him one more time on Simon Says Stamp Masking paper. Cut out and roughly cut the body too.
With the masking paper in place, white emboss the Simon Says Stamp Twinkling Stars on the background. I got some embossing powder on the hat too, but that didn't matter.
Paint the snowman and the background with watercolor paint. Don't worry about perfection and leave some of the paper white.
I added some shimmer to the sky with Gansai Tambi Starry Colors (the lightest shade).
When dry, add more snow to the background and some white highlights to the snowman.
Add Glossy Accents to his eyes and Star Dust Stickles to the hat and here and there in the sky.
I also added Simon Says Stamp Pawsitively Dazzling Clear Gems to the sky.
I don't know if you can see the Glossy Accents on his eyes here, but it adds a nice touch.
Add shadows to the snowman and more black linework if needed.


No comments:
Post a Comment
Thank you so much for leaving a comment! Happy Crafting!