Friday, August 27, 2021

Flowers in Colored Pencil Tutorial

Hi friends! I have a new tutorial for you, a floral tag with a combination of inking and colored pencils.

Please note: this post has affiliate links, for which I receive a small percentage of sales generated by the link, at no extra cost to you.
Layers of ink - Flowers In Colored Pencil Tutorial by Anna-Karin Evaldsson.

I used the Garden Greetings stamp set from the Simon Says Stamp July Garden Greetings Card Kit for this tag. The kit is sold out, but you can get the products separately. The floral designs in the set have fine details and small flowers and leaves, perfect for coloring with colored pencils. You can cover an entire background, or just add a small part of the design. 

Layers of ink - Flowers In Colored Pencil Tutorial by Anna-Karin Evaldsson. Ink with Distress Ink.

Start by inking a tag or a card with Antique Linen, Salvaged Patina and Pumice Stone. Mist with water and let a few drops fall on the background.

Layers of ink - Flowers In Colored Pencil Tutorial by Anna-Karin Evaldsson.

When dry, stamp with the floral designs from Garden Greetings. I used brown ink instead of black for a soft, vintage look. The small loose flowers and leaves were used here and there to fill out the design.

Layers of ink - Flowers In Colored Pencil Tutorial by Anna-Karin Evaldsson.

Color with colored pencils. I used Faber-Castell Polychromos pencils. 

Layers of ink - Flowers In Colored Pencil Tutorial by Anna-Karin Evaldsson.

Add more ink around the edges until you are happy with the look.

Layers of ink - Flowers In Colored Pencil Tutorial by Anna-Karin Evaldsson.

Add details with a white gel pen.

Layers of ink - Flowers In Colored Pencil Tutorial by Anna-Karin Evaldsson.

I stamped just a little bit of script with grey ink, using the Simon Says Stamp Old Letter background.

Layers of ink - Flowers In Colored Pencil Tutorial by Anna-Karin Evaldsson.

If you look closely, you'll see that the white gel pen work is not particularly neat, but it doesn't need to be. I also added some pearls.

Layers of ink - Flowers In Colored Pencil Tutorial by Anna-Karin Evaldsson.

The title has three parts. The larger word was die cut with the Big Scripty Hugs from the card kit. The word was die cut from Paper Rose patterned paper and the mat from heavystock paper. I also used Pink Fresh Mini Puffy Alpha Stickers and finished with stamping only a part of a sentiment from the Garden Greetings set and cutting it out. I actually stamped it on the background first, but the first and last letter didn't show well since it ended up over a floral design.

Layers of ink - Flowers In Colored Pencil Tutorial by Anna-Karin Evaldsson.

A white gel pen is great for adding highlights, like here along one side of the leaves.


Thank you so much for taking the time to stop by here today! 

Happy crafting!

Anna-Karin

Supplies:

* Please note: the links are affiliate links, for which I receive a small percentage of sales generated by the link, at no extra cost to you.

Tuesday, August 24, 2021

Embossed Shaker Card Tutorial

Hi friends! Today I have a fun shaker card to share with you, using both dry embossing and stitching, for a different look.

Please note: this post has affiliate links, for which I receive a small percentage of sales generated by the link, at no extra cost to you.

Layers of ink - Dry Embossed Shaker Card Tutorial by Anna-Karin Evaldsson.

It's been quiet here on the blog lately, since I was very busy packing, moving and unpacking, but now things are starting to settle down. I was in the mood for a fun card and the Simon Says Stamp Toadally Unfrogettable Card Kit was perfect for that. The kit is sold out, but you can still get the parts separately.

Layers of ink - Dry Embossed Shaker Card Tutorial by Anna-Karin Evaldsson. Dry emboss the acetate.

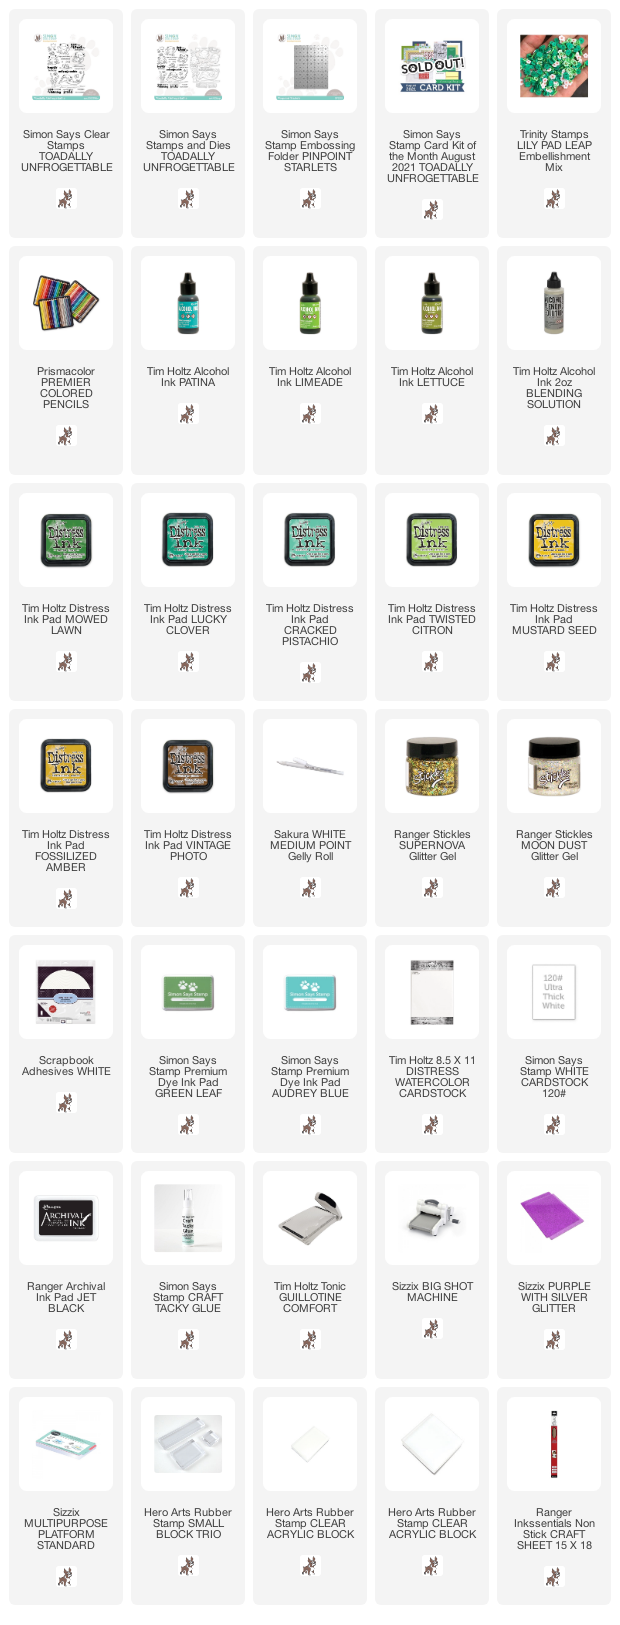
I love the look of dry embossed acetate. The sheet in the kit was folded in half and I embossed the front with the Pinpoint Starlets folder. Acetate embosses differently and it also depends on how detailed the folder is. 

Layers of ink - Dry Embossed Shaker Card Tutorial by Anna-Karin Evaldsson. Color with alcohol inks.

I smooched alcohol ink between the two layers and then added more ink and some drops of blending solution.

Layers of ink - Dry Embossed Shaker Card Tutorial by Anna-Karin Evaldsson.

At the end, I dropped Patina ink in a few areas, to create lily pad leaves.

Layers of ink - Dry Embossed Shaker Card Tutorial by Anna-Karin Evaldsson.

Trinity Stamps very cute Lily Pad Leap embellishment mix was placed in two areas in between the folded acetate sheet. I folded a card base and then stitched the acetate to the front, being careful not to stitch on top of the little embellishments. The embossing folder had a stitched look to it, which I thought worked well with the machine stitching.

Layers of ink - Dry Embossed Shaker Card Tutorial by Anna-Karin Evaldsson.

Frogs and cattails from Toadally Unfrogettable were stamped on watercolor paper. This stamp set has such a fun name.

Layers of ink - Dry Embossed Shaker Card Tutorial by Anna-Karin Evaldsson.

Watercolor with Distress Inks.

Layers of ink - Dry Embossed Shaker Card Tutorial by Anna-Karin Evaldsson.

Then I added details and shading with colored pencils, using my Prismacolor pencils. Highlights were added with a white gel pen.

Layers of ink - Dry Embossed Shaker Card Tutorial by Anna-Karin Evaldsson.

I used Ranger Stickles Super Nova gel on the crown and Moon Dust in a few places on the other two designs.

Layers of ink - Dry Embossed Shaker Card Tutorial by Anna-Karin Evaldsson.

The sentiment was stamped with two colors Simon Says Stamp ink.

Layers of ink - Dry Embossed Shaker Card Tutorial by Anna-Karin Evaldsson.

Since the card is stitched, the pieces inside don't move around as freely as they do in an ordinary shaker, but they do move and the layers of alcohol ink and embellishments give a fun look. I also glued a few pieces to the front of the card, making those inside the shaker look like they are in the water.

Layers of ink - Dry Embossed Shaker Card Tutorial by Anna-Karin Evaldsson.

These frogs are so cute. Here you can also see the bits of glitter.

Layers of ink - Dry Embossed Shaker Card Tutorial by Anna-Karin Evaldsson.

I hope you enjoyed this tutorial and that it inspired you to create some shaker cards. For another card with dry embossed acetate, check out my Clear Floral Card.


Thank you so much for taking the time to stop by here today! 

Happy crafting!

Anna-Karin

Supplies:

* Please note: the links are affiliate links, for which I receive a small percentage of sales generated by the link, at no extra cost to you.

Monday, August 23, 2021

Thankful Art Journal Page

Hi friends! I hope you are well and had a good weekend. School has started here and I can hardly believe that my youngest now also goes to the big school.

Please note: this post has affiliate links, for which I receive a small percentage of sales generated by the link, at no extra cost to you.

At the Simon Says Stamp Monday Challenge Blog we have a Spritz and Splatter theme this week. I hope you will join us and don't miss the gorgeous project by our August guest designer Anne Redfern.

Layers of ink - Thankful Art Journal Page by Anna-Karin Evaldsson.

I made an art journal page in Dina Wakley's 6x6 White Journal with lots of splatters.

Layers of ink - Thankful Art Journal Page by Anna-Karin Evaldsson.

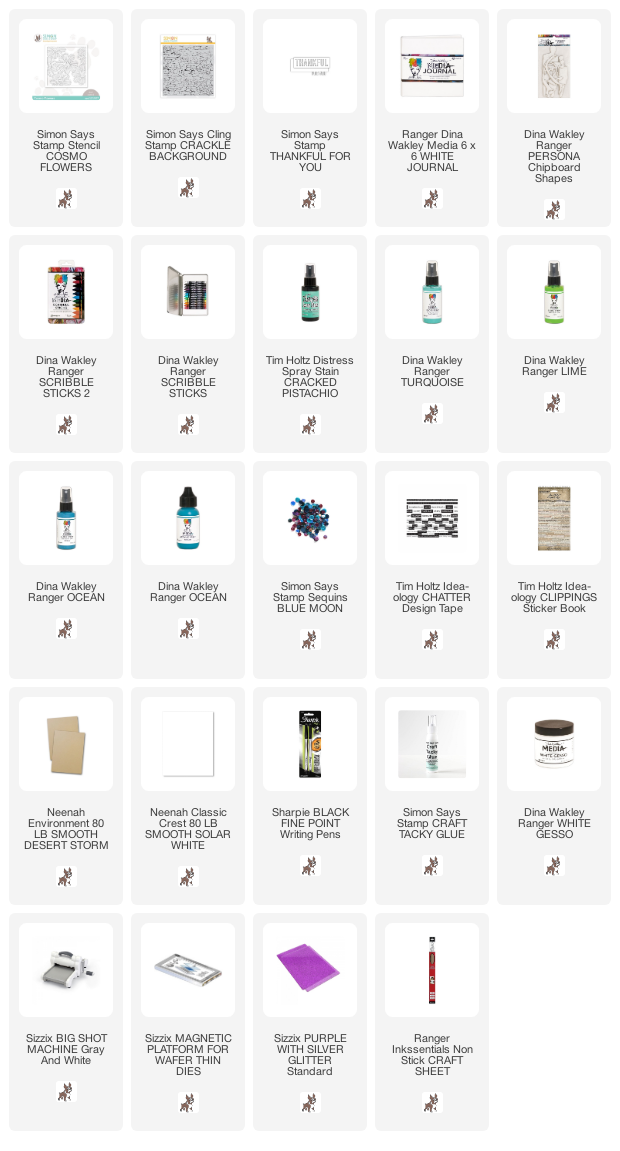
I started with a page that was left-over from another project. I had had spray left on a stencil and 'stamped' it on a page in the journal. The stencil is Simon Says Stamp Cosmo Flowers.

Layers of ink - Thankful Art Journal Page by Anna-Karin Evaldsson.

I added some more color with Crackled Pistachio Distress Spray Stain. Since the first layer was done with an acrylic spray, it won't be affected by the Distress Spray.

Layers of ink - Thankful Art Journal Page by Anna-Karin Evaldsson. Stamp with Simon Says Stamp Crackle Background.

Add more texture with the Simon Says Stamp Crackle background and Black Soot ink. I misted the stamp slightly with water before stamping.

Layers of ink - Thankful Art Journal Page by Anna-Karin Evaldsson.

My favorite way of adding splatters is with Scribble Sticks. Dip the stick in water and flick a paint brush against it. This creates great opaque splatters and is relatively mess-free.

Layers of ink - Thankful Art Journal Page by Anna-Karin Evaldsson.

Smear gesso on one of Dina's Persona Chipboard pieces.

Layers of ink - Thankful Art Journal Page by Anna-Karin Evaldsson.

When dry, paint and mist with water. Wait a short while and then dab off some the water to create texture.

Layers of ink - Thankful Art Journal Page by Anna-Karin Evaldsson. Add splatters with Scribble Sticks.

Add more splatters with Scribble Sticks.

Layers of ink - Thankful Art Journal Page by Anna-Karin Evaldsson.

Even on the darker acrylic paint background, the Scribble Stick splatters shows nicely. They are slightly transparent, but opaque enough. I also added some Tim Holtz Design Tape.

Layers of ink - Thankful Art Journal Page by Anna-Karin Evaldsson.

A few sequins and some Clippings Stickers finished the page.

Layers of ink - Thankful Art Journal Page by Anna-Karin Evaldsson.

Thankful was die cut from kraft and white paper.

Layers of ink - Thankful Art Journal Page by Anna-Karin Evaldsson.

Another look at the misted, stamped and splattered texture.

I hope you will join us this week in our Spritz and Splatter challenge. You have a chance to win a $25 gift voucher to do some fun shopping at Simon Says Stamp. You have until Monday 8am Ohio time. 1pm UK time, 2 pm CET to join in.


Do you use Instagram? If so please add #sssmchallenge so we can see your entries there too.


Thank you so much for taking the time to stop by here today! 

Happy crafting!

Anna-Karin

Supplies:

* Please note: the links are affiliate links, for which I receive a small percentage of sales generated by the link, at no extra cost to you.

Monday, August 16, 2021

Vintage Butterfly Page

Hello friends! I am sorry for having been absent for two weeks. We did a sudden and difficult move, but things are going to settle down and get better. It is so good to be crafting again.

Please note: this post has affiliate links, for which I receive a small percentage of sales generated by the link, at no extra cost to you.

This week we have a Dry Emboss theme at the Simon Says Stamp Monday Challenge Blog. Dry embossing has been one of my favorite techniques since I got my very first embossing folder long ago and I am happy to see more and more folders being released again. I hope you will join us in the challenge!

Don't miss the beautiful project by our wonderful August guest designer Anne Redfern.

Layers of ink - Vintage Butterfly Page by Anna-Karin Evaldsson.

I made an art journal page this week, with a butterfly theme and using the pretty Blossom Field embossing folder by Simon Say Stamp. Halfway into the project, I managed to find my Distress Inks, which were still missing in action since the move. 

Layers of ink - Vintage Butterfly Page by Anna-Karin Evaldsson. Emboss in Simon Says Stamp Blossom Field folder.

It is fun to dry emboss patterned paper and here I used a piece of Tim Holtz Backdrops Vol. 2 paper. I just love the designs on Backdrops Vol. 1 and Vol. 2. Emboss in the Blossom Field folder.

Layers of ink - Vintage Butterfly Page by Anna-Karin Evaldsson.

The paper was inked with a little Vintage Photo and I also dragged Ground Espresso Archival Ink over some of the areas (that was before I found my Distress Inks).

Layers of ink - Vintage Butterfly Page by Anna-Karin Evaldsson.

The rest of the papers also come from Backdrops. I adhered everything to a burlap page in my Dina Wakley Media Journal. The sentiments were stamped with Simon Says Stamp Thoughtful Flowers and Beautiful Butterflies, using Ground Espresso ink.

Layers of ink - Vintage Butterfly Page by Anna-Karin Evaldsson.

The butterflies and flowers come from Tim Holtz Field Notes ephemera. The edges were inked with Vintage Photo Distress Ink.

Layers of ink - Vintage Butterfly Page by Anna-Karin Evaldsson. Stamp sentiment with Simon Says Stamp Thoughtful Flowers.

This is a favorite quote of mine and comes from the Simon Says Stamp Thoughtful Flowers set (one of the sets that I designed).

I hope you will join us this week in our Dry Emboss challenge. You have a chance to win a $25 gift voucher to do some fun shopping at Simon Says Stamp. You have until Monday 8am Ohio time. 1pm UK time, 2 pm CET to join in.


Do you use Instagram? If so please add #sssmchallenge so we can see your entries there too.


Thank you so much for taking the time to stop by here today! 

Happy crafting!

Anna-Karin

Supplies:

* Please note: the links are affiliate links, for which I receive a small percentage of sales generated by the link, at no extra cost to you.