
Hi friends! Today I have a fun shaker card to share with you, using both dry embossing and stitching, for a different look.
Please note: this post has affiliate links, for which I receive a small percentage of sales generated by the link, at no extra cost to you.

It's been quiet here on the blog lately, since I was very busy packing, moving and unpacking, but now things are starting to settle down. I was in the mood for a fun card and the Simon Says Stamp Toadally Unfrogettable Card Kit was perfect for that. The kit is sold out, but you can still get the parts separately.

I love the look of dry embossed acetate. The sheet in the kit was folded in half and I embossed the front with the Pinpoint Starlets folder. Acetate embosses differently and it also depends on how detailed the folder is.

I smooched alcohol ink between the two layers and then added more ink and some drops of blending solution.

At the end, I dropped Patina ink in a few areas, to create lily pad leaves.

Trinity Stamps very cute Lily Pad Leap embellishment mix was placed in two areas in between the folded acetate sheet. I folded a card base and then stitched the acetate to the front, being careful not to stitch on top of the little embellishments. The embossing folder had a stitched look to it, which I thought worked well with the machine stitching.

Frogs and cattails from Toadally Unfrogettable were stamped on watercolor paper. This stamp set has such a fun name.

Watercolor with Distress Inks.

Then I added details and shading with colored pencils, using my Prismacolor pencils. Highlights were added with a white gel pen.


The sentiment was stamped with two colors Simon Says Stamp ink.

Since the card is stitched, the pieces inside don't move around as freely as they do in an ordinary shaker, but they do move and the layers of alcohol ink and embellishments give a fun look. I also glued a few pieces to the front of the card, making those inside the shaker look like they are in the water.

These frogs are so cute. Here you can also see the bits of glitter.


Thank you so much for taking the time to stop by here today!
Happy crafting!
Anna-Karin
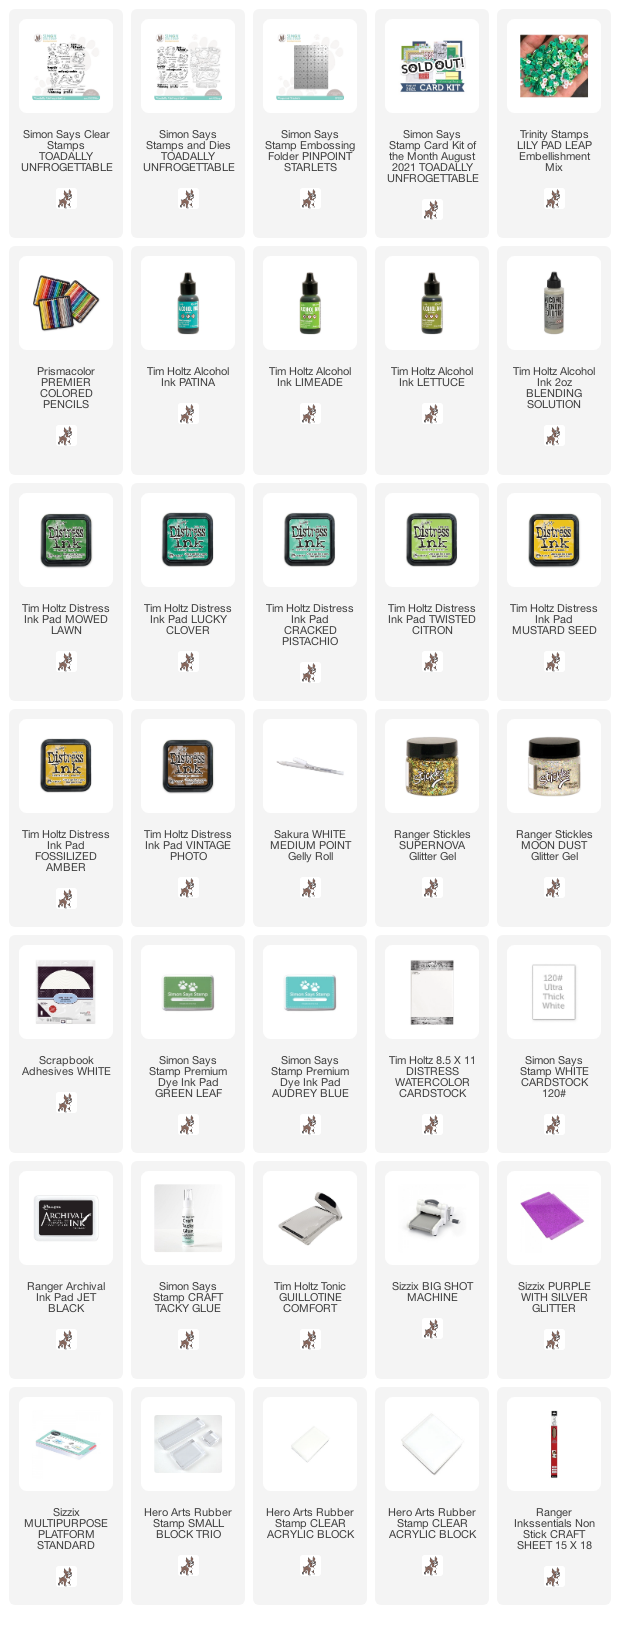
Supplies:
* Please note: the links are affiliate links, for which I receive a small percentage of sales generated by the link, at no extra cost to you.
* Please note: the links are affiliate links, for which I receive a small percentage of sales generated by the link, at no extra cost to you.
No comments:
Post a Comment
Thank you so much for leaving a comment! Happy Crafting!