Tuesday, August 31, 2021

Resist Circles Art Journal Page

Hi friends! It is the last day of the month. It was an eventful month here, with some major changes which we are still settling into. Today, I have an art journal page to share, with two different resist techniques. 

STAMPtember® starts tomorrow at Simon Says Stamp. It's a month long celebration of stamping with lots of suprices and fun. Don't miss is! Best month of the year for a stamper.

Please note: this post has affiliate links, for which I receive a small percentage of sales generated by the link, at no extra cost to you.
Layers of ink - Inky Resist Circles Art Journal Tutorial by Anna-Karin Evaldsson.

I started out being unsure of what colors to use, but something made me reach for orange and brown shades, which led the whole page into being autumn-themed. Lots of inky texture here and I also used two different resist techniques, one with matte medium and one with embossing powder. Let's start.

Layers of ink - Inky Resist Circles Art Journal Tutorial by Anna-Karin Evaldsson. With Simon Says Stamp Mix and Match Circles Stencil and All Seasons Tree stamp set.

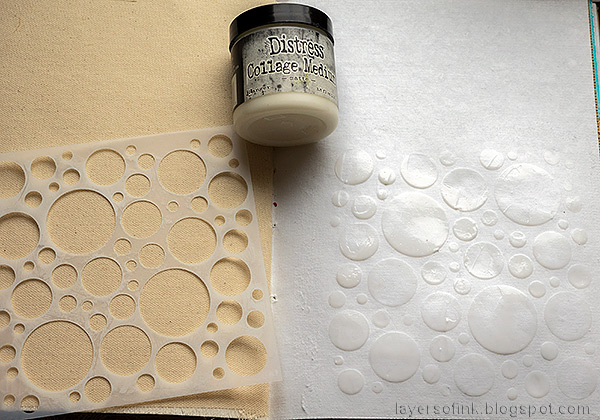
You can use Distress Collage Medium Matte for a resist effect and here I applied it through the Simon Says Stamp Mix and Match Circles stencil, on a cotton-rag watercolor page in Dina Wakley's Media Journal.

Layers of ink - Inky Resist Circles Art Journal Tutorial by Anna-Karin Evaldsson. Apply Distress Medium through the Simon Says Stamp Mix and Match Circles stencil.

When dry, repeat at the top of the page.

Layers of ink - Inky Resist Circles Art Journal Tutorial by Anna-Karin Evaldsson. With Simon Says Stamp Mix and Match Circles Stencil and All Seasons Tree stamp set.

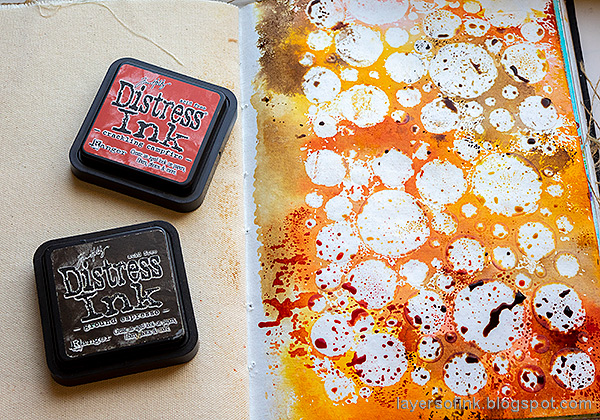
Let dry. Smear Distress Inks on a craft sheet and mist with water. Press the page into the ink. The matte medium will resist the ink.

Layers of ink - Inky Resist Circles Art Journal Tutorial by Anna-Karin Evaldsson. With Simon Says Stamp Mix and Match Circles Stencil and All Seasons Tree stamp set.

I added more layers of ink. You might notice that some of the ink will seep in under the matte medium. I didn't want a perfect look here, so that worked fine for me. If you want to keep the more crisp look, use less water or just one layer of ink.

Layers of ink - Inky Resist Circles Art Journal Tutorial by Anna-Karin Evaldsson. With Simon Says Stamp Mix and Match Circles Stencil and All Seasons Tree stamp set. Ink with Distress Oxide ink.

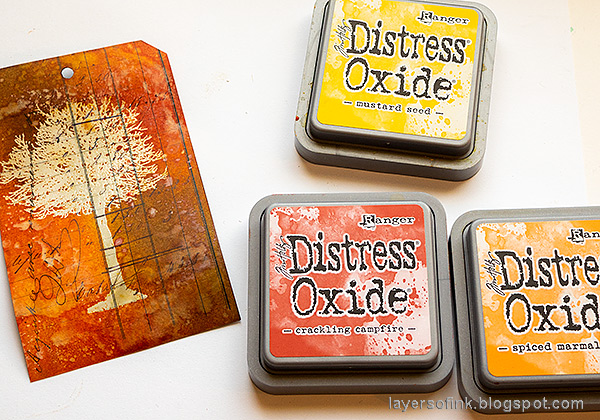
I repeated the process with a little Distress Oxide Ink too.

Layers of ink - Inky Resist Circles Art Journal Tutorial by Anna-Karin Evaldsson. Stamp with the Simon Says Stamp All Seasons Tree stamp set.

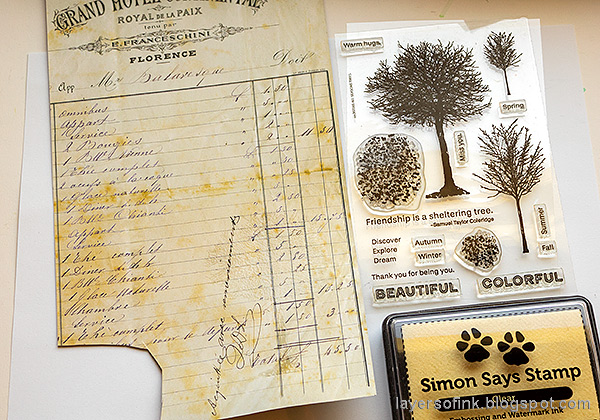
The larger tree from the Simon Says Stamp All Seasons Tree was clear embossed on a Tim Holtz Backdrop sheet. It is a chestnut tree.

Layers of ink - Inky Resist Circles Art Journal Tutorial by Anna-Karin Evaldsson. With Simon Says Stamp Mix and Match Circles Stencil and All Seasons Tree stamp set.

Cut out and use a Crop-a-Dile Angle Corner Chomper to cut the upper corners and create a tag. Ink with Distress Ink - I forgot to take a photo of that step. The embossed image will resist the ink, while also letting the background show through. Then, press the tag into some of the left-over Distress Oxide ink from last step of the background page.

Layers of ink - Inky Resist Circles Art Journal Tutorial by Anna-Karin Evaldsson. With Simon Says Stamp Mix and Match Circles Stencil and All Seasons Tree stamp set.

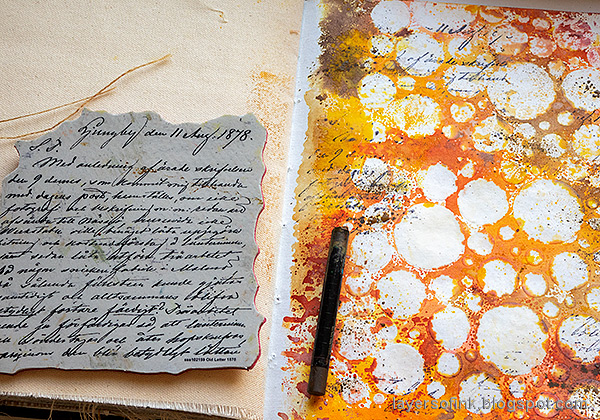
Stamp the Simon Says Stamp Crackle Background as ground on the tag, and the Old Letter Background in a few places.

Layers of ink - Inky Resist Circles Art Journal Tutorial by Anna-Karin Evaldsson. Stamp with Simon Says Stamp Old Letter Background.

I stamped the Old Letter on the background too and splattered it with a brown Scribble Stick. Dip the stick in water and then flick a paint brush against it. 

Layers of ink - Inky Resist Circles Art Journal Tutorial by Anna-Karin Evaldsson. With Simon Says Stamp Mix and Match Circles Stencil and All Seasons Tree stamp set.

Since matte medium was used instead of glossy paste, the dots are more subtle, and some of the ink will dry on them. You can wipe it off with a moist cloth if you want less texture.

Layers of ink - Inky Resist Circles Art Journal Tutorial by Anna-Karin Evaldsson. With Simon Says Stamp Mix and Match Circles Stencil and All Seasons Tree stamp set.

The Simon Says Stamp Leafy Branch was die cut from Memory Box Foil paper. I left some of the leaves inside the outlines.

Layers of ink - Inky Resist Circles Art Journal Tutorial by Anna-Karin Evaldsson. With Simon Says Stamp Mix and Match Circles Stencil and All Seasons Tree stamp set.

A few words from the All Seasons Tree set were stamped on the background.

Layers of ink - Inky Resist Circles Art Journal Tutorial by Anna-Karin Evaldsson. With Simon Says Stamp Mix and Match Circles Stencil and All Seasons Tree stamp set.

I also used Tim Holtz Field Notes ephemera mushrooms. The shiny pieces that you see here are mica flakes, which I found and picked up along one of my favorite walks.

Layers of ink - Inky Resist Circles Art Journal Tutorial by Anna-Karin Evaldsson. With Simon Says Stamp Mix and Match Circles Stencil and All Seasons Tree stamp set.

My favorite part of the tree is that you see the lines and writing of the background through it. It's a detailed stamp, but all the branches stand out beautifully against the background.

Layers of ink - Inky Resist Circles Art Journal Tutorial by Anna-Karin Evaldsson. With Simon Says Stamp Mix and Match Circles Stencil and All Seasons Tree stamp set.

The quote stamp also comes from the All Seasons Tree set.


Thank you so much for taking the time to stop by here today! 

Happy crafting!

Anna-Karin

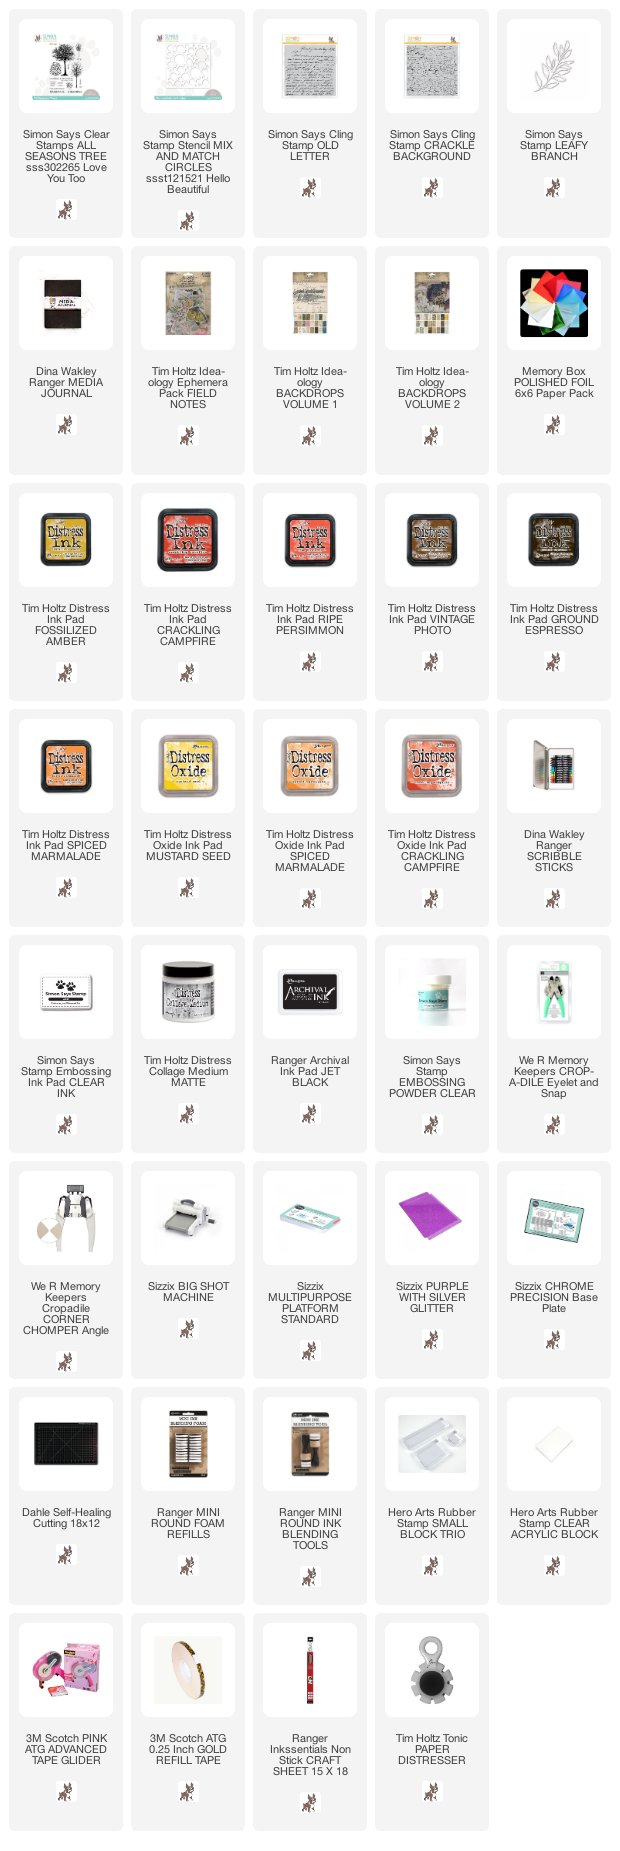
Supplies:

* Please note: the links are affiliate links, for which I receive a small percentage of sales generated by the link, at no extra cost to you.

No comments:

Post a Comment

Thank you so much for leaving a comment! Happy Crafting!