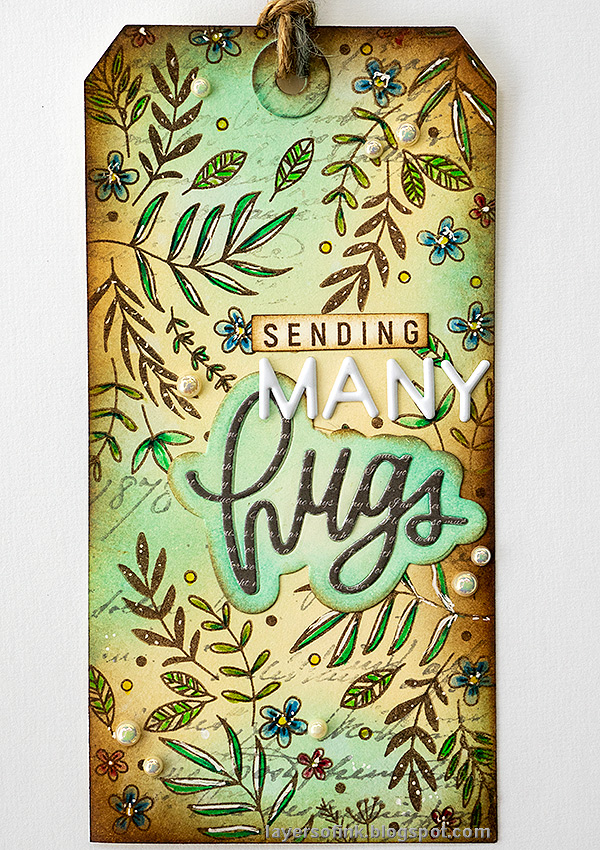
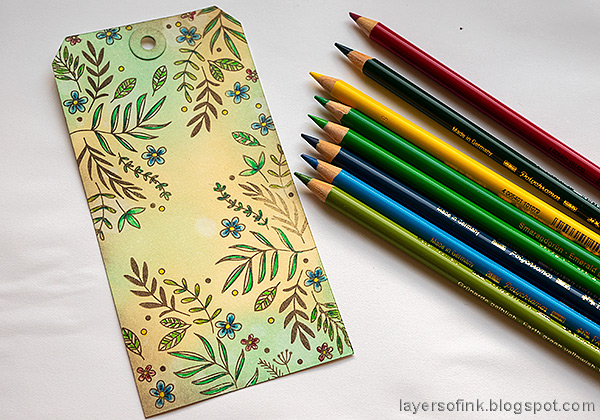
Hi friends! I have a new tutorial for you, a floral tag with a combination of inking and colored pencils.
Please note: this post has affiliate links, for which I receive a small percentage of sales generated by the link, at no extra cost to you.
I used the
Garden Greetings stamp set from the
Simon Says Stamp July Garden Greetings Card Kit for this tag. The kit is sold out, but you can get the products separately. The floral designs in the set have fine details and small flowers and leaves, perfect for coloring with colored pencils. You can cover an entire background, or just add a small part of the design.
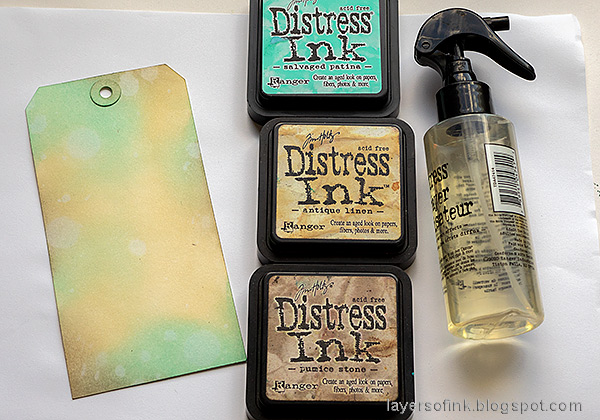
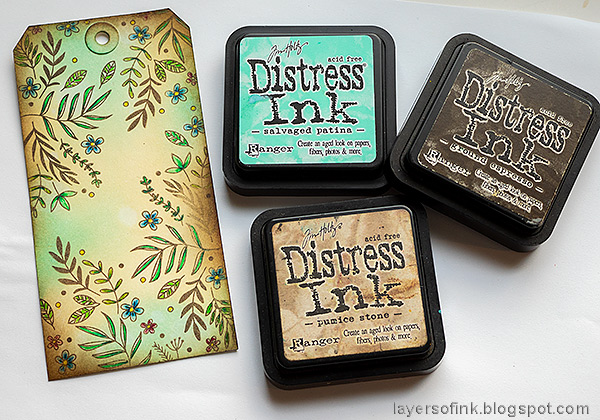
Start by inking a tag or a card with Antique Linen, Salvaged Patina and Pumice Stone. Mist with water and let a few drops fall on the background.
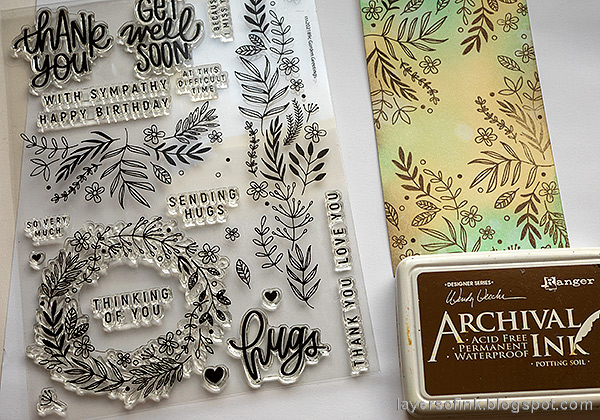
When dry, stamp with the floral designs from
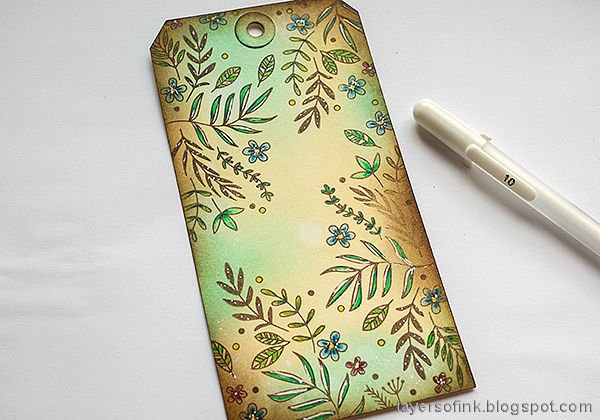
Garden Greetings. I used brown ink instead of black for a soft, vintage look. The small loose flowers and leaves were used here and there to fill out the design.
Add more ink around the edges until you are happy with the look.
Add details with a white gel pen.
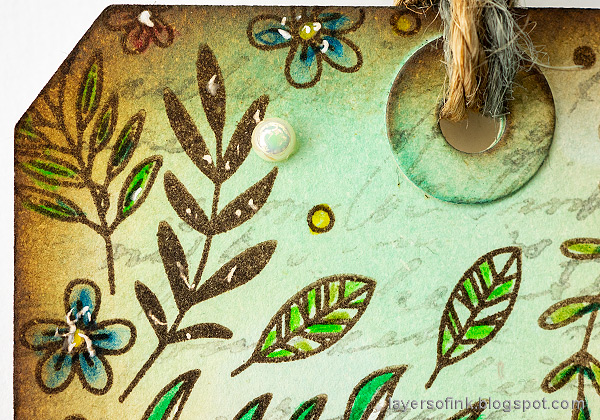
I stamped just a little bit of script with grey ink, using the Simon Says Stamp Old Letter background.
If you look closely, you'll see that the white gel pen work is not particularly neat, but it doesn't need to be. I also added some
pearls.
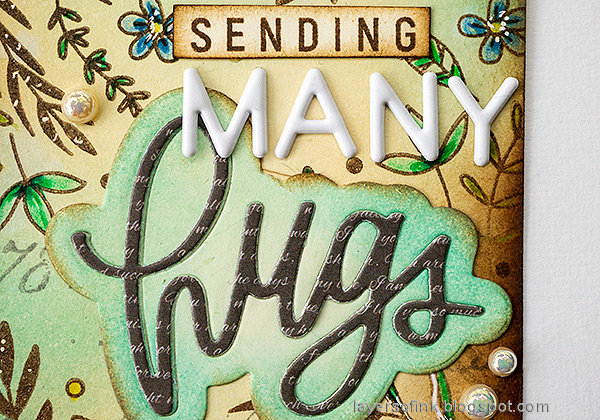
The title has three parts. The larger word was die cut with the Big Scripty Hugs from the card kit. The word was die cut from Paper Rose patterned paper and the mat from heavystock paper. I also used Pink Fresh Mini Puffy Alpha Stickers and finished with stamping only a part of a sentiment from the Garden Greetings set and cutting it out. I actually stamped it on the background first, but the first and last letter didn't show well since it ended up over a floral design.
A white gel pen is great for adding highlights, like here along one side of the leaves.
Thank you so much for taking the time to stop by here today!
Happy crafting!
Anna-Karin
Supplies:
* Please note: the links are affiliate links, for which I receive a small percentage of sales generated by the link, at no extra cost to you.





What a lovely tag, thank you for the tutorial.
ReplyDeleteThank you for the very detailed tutorial. Your tag is beautiful.
ReplyDelete