
Hi crafters! Today I have a sweet Easter card to share with a circle design.
Please note: this post has affiliate links, for which I receive a small percentage of sales generated by the link, at no extra cost to you.


I used products from Simon Says Stamp Favorite Things release: the Bunny Blessings stamp set and the Basic Shapes Circles. Die cut the circle from watercolor paper and stamp the bunny and flowers with waterproof ink. I used Archival Ink Jet Black.

Watercolor the images, leaving some of the white paper showing for highlights.

Watercolor the sky and add shading.

Add details with a black pen and highlights with a white gel pen.

Don't worry about perfection when watercoloring.

Distress the edges of the watercolor panel. The cardstock circles were die cut from Simon Says Stamp cardstock. Fold the green cardstock before die cutting and let the folded edge go slightly outside the cutting plate. The Simon Says Stamp Basic Shapes Circles is a very versatile die set. It consists of 18 circle dies.

I also added some sequins to the card.

I hope you enjoyed this project! Easter crafting is so joyful.

Thank you for visiting!
Happy crafting!
Anna-Karin
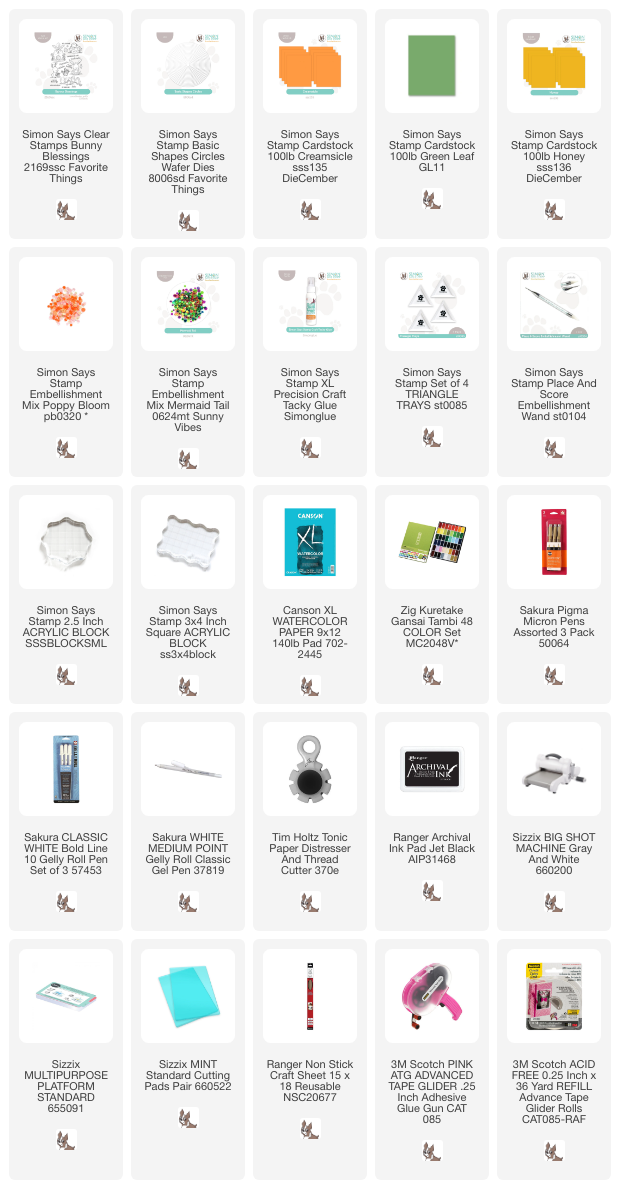
Supplies:
* Please note: the links are affiliate links, for which I receive a small percentage of sales generated by the link, at no extra cost to you.
* Please note: the links are affiliate links, for which I receive a small percentage of sales generated by the link, at no extra cost to you.
No comments:
Post a Comment
Thank you so much for leaving a comment! Happy Crafting!