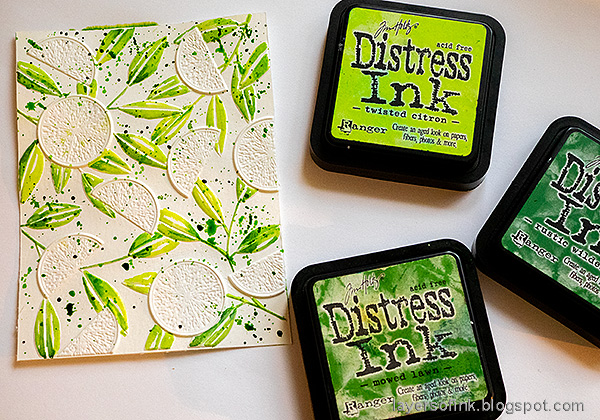
Hi crafters! Today I have a card tutorial to share of embossed oranges. I am very fond of citrus fruit so this was a fun card to make.
Please note: this post has affiliate links, for which I receive a small percentage of sales generated by the link, at no extra cost to you.
The card was made with the new Simon Says Stamp Sunny Vibes release, using the Lemon Tree embossing folder and cutting dies set. I love these embossing folder and die combos since you can do so many techniques with them. You don't have to use the background, but could also use the oranges on their own. And you get a great circle die that you can use for other projects too.
Start by dry embossing watercolor paper in the Lemon Tree Folder. Mist the paper with water on both sides first. When dry, the paper will feel like watercolor paper which has been stretched.
Die cut circles and half circles using the coordinating dies. Apply ink to the embossing folder and mist with water. Emboss the oranges and color them at the same time.
When dry, ink just the edges to color the peel orange.
Smear Distress Ink on a non-stick craft sheet, mist with water and watercolor the leaves using a paint brush.
When dry, repeat and splatter the background with ink.
Use a white gel pen or a white paint pen to add white lines to the oranges.
Adhere the oranges with Simon Says Stamp Pawsitively Perfect Foam Tape.
Die cut the banner using Tim Holtz Vault Boutique set and stamp the sentiment from Simon Says Stamp Beachcombing with green ink.
Matte the focal panel on Simon Says Stamp Bright Yellow and Orange Peel cardstock and then on folded Green Leaf cardstock.
The card has a summery and fresh look to it, almost making you smell the oranges.
Don't miss the new Sunny Vibes release.
Thank you so much for stopping by here today!
Anna-Karin
Supplies:
* Please note: the links are affiliate links, for which I receive a small percentage of sales generated by the link, at no extra cost to you.
* Please note: the links are affiliate links, for which I receive a small percentage of sales generated by the link, at no extra cost to you.


No comments:
Post a Comment
Thank you so much for leaving a comment! Happy Crafting!