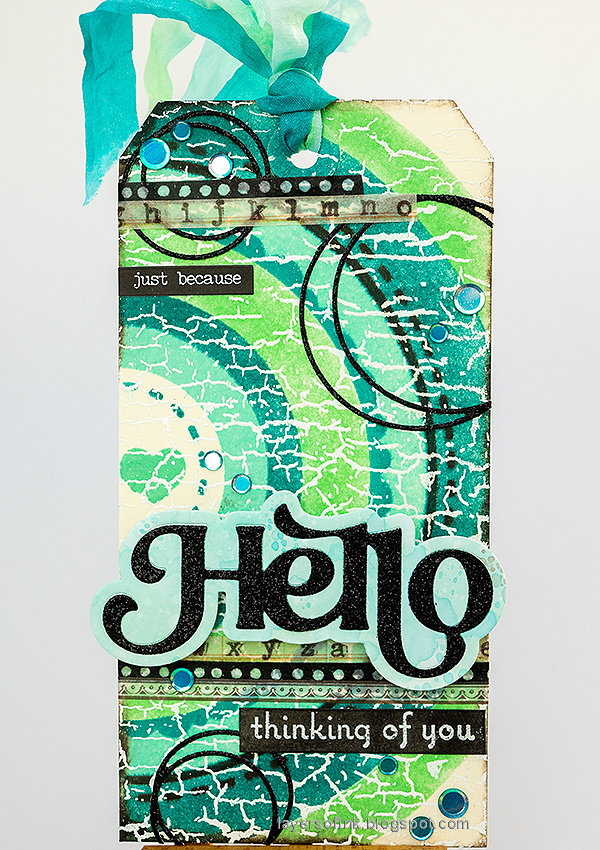
Hi friends! Today I have a tag to share using a rainbow stencil, but not really for a rainbow, but for an interesting background design.
Please note: this post has affiliate links, for which I receive a small percentage of sales generated by the link, at no extra cost to you.
Start by white embossing Simon Says Stamp Crackle Background on the entire tag.
Place down one of the stencils and ink with Seafoam ink using an ink-blending brush.
Take the next stencil and line it up. Ink with Pawsitively Saturated Ocean ink.
Next stencil, but this time with Spring ink. I turned the heart around since I didn't want it placed on it's side.
Repeat with Ocean ink again.
I wanted the ink to be darker for one of the designs and repeated it with Woodsy ink. The white embossing will resist the inks.
The May Arts Faux Wrinkled Silk Ribbon was dyed with three of the Pawsitively Saturated inks used on the project.
I added even more circle designs to the tag. Simon Says Stamp Circle Loops were die cut from black glittery cardstock. The dotted tape is from Tim Holtz Design Tape Trims and there are of course also some sequins.
I inked the edges with the Woodsy ink.
The Simon Says Stamp Fancy Hello was die cut from black glitter cardstock and from leftover inky Specialty Stamping paper. Adhere with foam tape.
This sentiment stamp comes from Simon Says Stamp Beachcombing, also from the Sunny Vibes release.
Don't miss the new Sunny Vibes release.
Thank you so much for stopping by here today!
Anna-Karin
Supplies:
* Please note: the links are affiliate links, for which I receive a small percentage of sales generated by the link, at no extra cost to you.
* Please note: the links are affiliate links, for which I receive a small percentage of sales generated by the link, at no extra cost to you.


No comments:
Post a Comment
Thank you so much for leaving a comment! Happy Crafting!